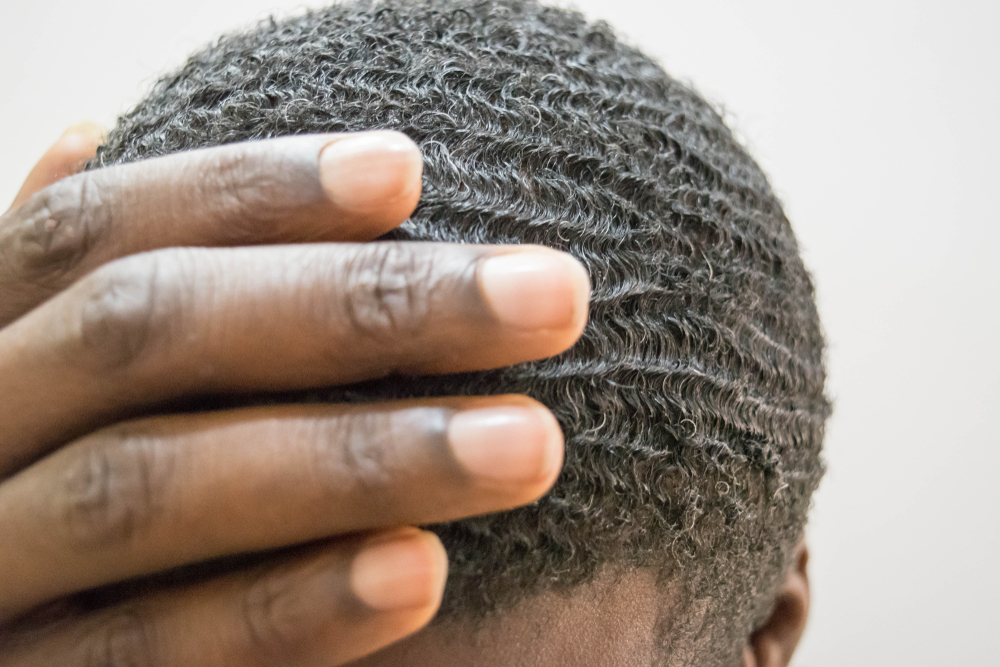
Have you been wanting to try 180 waves? If so, the time to try them is now. But it will take some calculated steps, patience, and a little elbow grease.
If you want to know how to get perfect 180 waves but don't know where to start, this article will help you out. We’ll cover the supplies you need and give you step-by-step instructions to make the waving process quick and easy.
Table of Contents
Gather the Right Tools
The tools you have will drastically affect your ability to achieve 180 waves. So, pay very close attention to this section. Here are the tools you need to get 180 waves:
Wave Brush
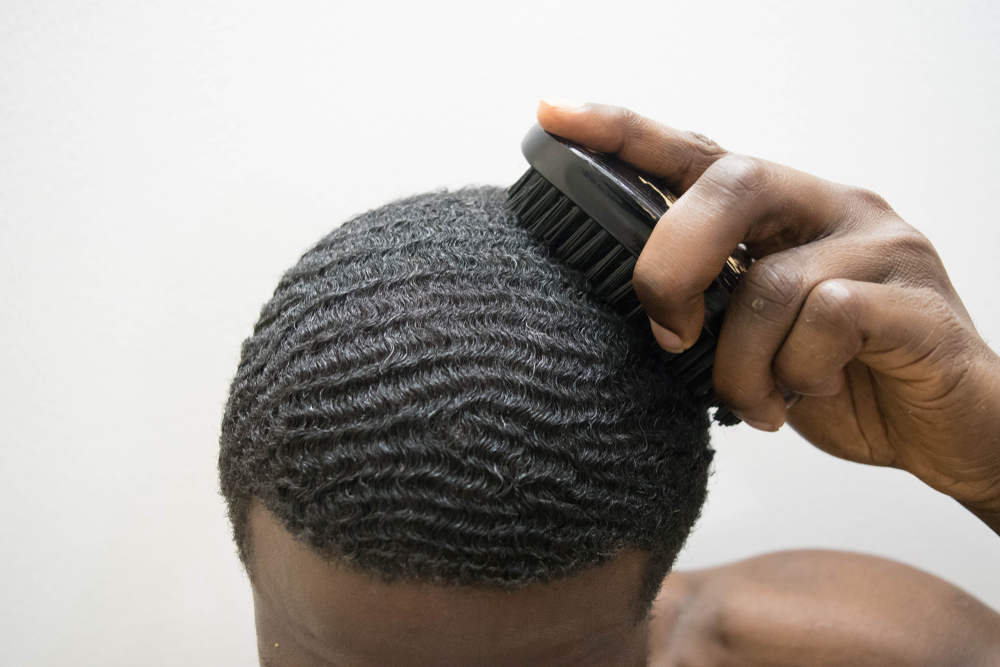
If you thought that just any brush would work for 180 waves, you’d be incorrect. To get these waves, you need a wave brush. These brushes are designed to make your hair softer and nudge your curls into a wave formation over time.
Shampoo and Conditioner
Dirty, gunky hair is never a good look, whether you’re waving it up or not. So, ensure that you’ve got some shampoo on hand before you start. And don’t forget the conditioner!
Conditioner is ideal for replenishing any moisture you lose when you shampoo your hair. It’ll also guard against moisture loss. Chronically dry hair doesn't wave up.
Durag
You simply can’t get 180 waves without a durag. A durag is a satin or silk head covering that flattens your hair to your scalp. It also helps to stave off moisture loss to keep your hair healthy during and after your waves have formed.
Wave Grease or Pomade
In addition to the previous supplies, get yourself some wave grease. It’s specifically formulated to enhance your hair’s waviness by clumping your curls together and holding them in place. This product is non-negotiable.
How to Get 180 Waves: Step-By-Step Instructions
Your supplies are essential, but if you want your 180 waves to come out perfectly, you’ll have to follow the below instructions to a T.
Go for a Haircut
If needed, your first step is to go to your barber or break out your clippers. To get 180 waves, you need hair that’s no longer than level 2. If your hair is too short, your waves (if you get any) won’t be as visible as you want.
And if it’s too long, your waves won’t be as manicured as they should be. So, we urge you to abide by the level 2 length requirement for the best results.
It’s also good to get a fresh cut before you start your waves because they could take a month or longer to fully form. And if your hair isn’t cut, to begin with, your waves could end up looking more overgrown than you’d like.

Prep Your Hair for the Waving Process
Your hair is the right length, and you’ve got your supplies - you’re in a good spot. Now it’s time to prepare your hair.
How do you do this?
You’ll wash and condition your hair.
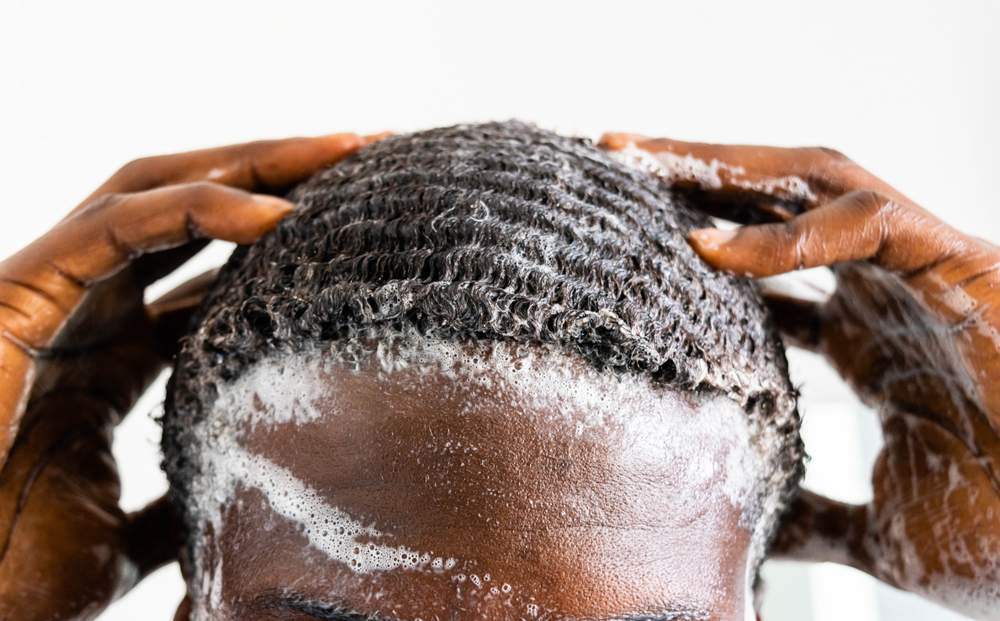
This part doesn’t have to be complicated. Just wash your hair with your typical shampoo. If you don’t have a shampoo, opt for one that’s clarifying. It’ll remove any gunked-up mess that could interfere with your wave’s formation.
To get a nice wash, wet your hair in the shower, apply some shampoo, lather, and then rinse thoroughly. You can repeat the shampoo process if you think you need to.
After shampooing, follow up with a conditioner.
You don’t want to skip this step because your hair might be a little dry after the wash. The conditioner will give your hair the moisture and nourishment it needs to comply with the rest of the process (and, of course, to be healthy overall).
Once your hair is shampooed and conditioned, wipe away any excess water with a dry towel.
Apply Your Wave Grease or Pomade
Your hair is clean and moisturized; the next step is applying your waving product to encourage curl formation. You’ll apply the product according to the instructions on the packaging. You don’t want to use too much, or it’ll start to build up on your hair.
If you apply too little, you may have to wait longer for your waves to form.
Apply the product with your fingers and ensure all the hair you want to wave up is covered. Any missed hair won’t wave up.
Brush Your Hair
Brushing your hair is another crucial part of the waving process. During this step, you’ll simply brush your hair in the direction you want your waves to go.
You’ll brush from the crown of your head towards the front and sides of your hair.
The sides will be brushed diagonally toward your ears. Aim to brush your hair for 30 minutes. The more brush strokes you do, the better.
Note: Don’t brush your hair with too much force. You could create superficial cuts on your scalp or pull out strands. That’s not what you want. Moderation is key.
Put on Your Durag
When you're finished brushing your hair, put on your durag. And don't put it on just any kind of way.
Here's how to put on a durag:
- Hold it in front of you and ensure that the strings are hanging down on either side.
- Pull the durag over the front of your head and allow the back part to hang down freely. Don’t slide the durag across your hair - you don’t want to mess up the work you did earlier.
- Wearing your durag, crisscross the strings behind your head, then in the front, and then tie them at the back. How you tie them will determine if you end up with any dents. Try not to wrap the strings behind your hairline - wrap them across your forehead.

Brush Your Hair Everyday
You’re not done with your waves yet; they take consistent effort to create. You’ll have to brush your hair every day for several minutes before seeing results. For most people, it takes 4 weeks, but for others, it can take 6 weeks or even longer.
If you skip days or weeks, your waves will take longer to form. As you might expect, this is where many people give up, but if you stick to it and make brushing your hair a habit, you'll get your waves.
Can You Get 180 Waves if You Don’t Have Curls?
The only prerequisite for 180 waves is that you need textured hair. The best type of hair for 180 waves is kinky hair - also known as type 4 hair. If you don’t have super curly hair, that’s okay.
People with looser waves have been successful in getting waves. But if your hair is 100% straight (or close), you'd just be wasting your time.
For any straight-haired folks who want waves, you can do so.
But first, get a curly perm. It’s a chemical hair treatment that breaks down your hair’s bonds and reforms your strands in the shape of the perm rods your stylist uses.
Though there are home perm kits available, we don’t recommend doing your own perm if you don’t have to. So many things can go wrong. Before you get a perm, your hair should be at least a few inches long, so it’ll have enough length to wrap around the perm rods.
Afterward, you can cut your hair to level 2 and start the waving process.
Just be aware that your hair will grow in straight, and you’ll eventually need another perm. That means you'll have to get a perm every time your hair grows out - keep all of this in mind before going through the process.
So, there you have it - everything you need to know about how to get 180 waves. Remember that patience is key. At first, it'll seem like not much is happening, but trust the process. We hope you found this article helpful and that you’ve got all you need to get your waves.


