Ghana braids, often called cornrows, straight-backs, or banana braids, are a classic french braid style for women with naturally curly hair. The ghana braid style is also known as invisible braids or Cherokee braids.
Although, Ghana braids are more than regular French braids, as they require strategically braided extensions.
Ghana braids can trace their roots all the way back to Africa. They were an integral part of many different ethnic, religious, social, and cultural traditions. The earliest depictions of Ghana braids appear in hieroglyphics and sculptures carved around 500 BC.
Cornrows, Ghana braids, goddess braids, box braids, and other protective styles are more popular with women than ever before. The braided hairstyle is worn by many different ethnicities today.
Ghana braids are suitable for all ages, and they work great with decorative options, such as wooden beads, flowers, metal rings, and much more.
If you’ve wanted to try Ghana braids but aren’t sure how to do them, this article is for you. Everyone can do Ghana braids with our detailed step-by-step instructions.
How To Create Ghana Cornrow Braids For Beginners
Table of Contents
- 1 How To Create Ghana Cornrow Braids For Beginners
- 2 Obtain Your Ghana Braid Supplies
- 3 Get Your Natural Hair Ready
- 4 Install Your Ghana Braids
- 5 Dos and Don’ts of Ghana Braids
- 6 Pros and Cons of Ghana Braids
- 7 How to Install Ghana Cornrows: Invisible Cornrows on Natural Hair
- 8 Pictures of Ghana Braids Styles
- 9 1. Fishbone Braids and Ghana Braided Ponytail
- 10 2. Beautiful Golden Asymmetrical Pigtail Braids
- 11 3. Whirlpool Braids
- 12 4. Long Cute Ghana Braids With a Center Part
- 13 5. Purple Ends On Thin Ghana Braids
- 14 6. Chunky Jumbo Ghana Braids
- 15 7. Black, Blue, and Purple Cornrows
- 16 Common Questions About Ghana Braids
- 17 DIY Large Cornrows - Feed-in Braiding Method
Obtain Your Ghana Braid Supplies
Without the proper supplies, your Ghana braids won’t turn out as crisp and clean as they could otherwise. So, do yourself a big favor and make sure that you’ve got all the supplies you need:
- Rat-tail comb
- Wide-toothed comb
- Blow-dryer (optional)
- Heat protectant (optional)
- Shampoo
- Conditioner
- Braiding hair
- Butterfly clips
- Moisturizer
- Denman brush
- Scissors
- Pitcher
- Piping Hot Water
The Best Extension Hair for Ghana Braids
You need 100% Kanekalon braiding hair for Ghana braids, which is easy-to-braid synthetic hair that comes in various colors. Kanekalon hair is easy to find at your local beauty supply store and online retailers.
Browse the below Kanekalon braiding hair options:
Now that you know which type of hair you need for Ghana braids keep on reading to find out how much hair you may need to purchase.
How Much Extension Hair is Needed for Ghana Braids?
As a general guideline, you will need between 3 to 5 packs of synthetic Kanekalon braiding hair, depending on the braiding style. For low-profile Ghana braids, you may be able to get away with just three packs of hair. On the other hand, if you want super thick Ghana braids, at least five packs will be needed.
Therefore, every head of hair will require a different amount of extension hair depending on the braiding hairstyle. Ultimately, the amount of hair you’ll need for your braids will depend on two main factors:
- The size of your head: Larger heads will require more braids, and consequently, more hair to create the braids.
- The thickness of your Ghana braids: Thick braids will require more hair.
- Braiding technique: The ghana braid hairstyle you choose will influence the amount of braiding hair you need. For example, twists, buns, or braids in a zig-zag fashion may require more or less braiding hair.
Get Your Natural Hair Ready
Preparing your natural hair is a non-negotiable step you should take before doing any protective style. Since your natural hair will be tucked away within the braids for weeks, your natural hair must be adequately prepped. The following sections will help you get your natural hair ready for Ghana braids.
Shampoo, Condition, and Detangle
Begin by shampooing your hair thoroughly with a gentle cleanser. Not every shampoo will do, as many shampoos on the market are formulated with harsh surfactants that strip the hair of moisture. Go with a sulfate-free shampoo.
Once your hair is free of dirt and debris, it’s time to condition your hair. Good natural conditioners will be free of bad silicones and other potentially harmful chemicals. The point of the conditioning step is to nourish and moisturize the hair, so if you have a conditioner that works great for your hair, feel free to use it.
Putting parched hair in a protective style is a recipe for thinning and breakage. So, if your hair is extremely dry, give it some heavy-duty hydration with a deep conditioner.
Deep conditioners are packed with hair-loving ingredients that make your hair softer and more supple. You don’t need to condition and deep condition your hair simultaneously - choose one or the other.
Before you rinse out the conditioner or deep conditioner, detangle your hair using the wide-toothed comb. This will ensure that the conditioner gets on all of your hair.
Moisturize Your Hair
It’s essential to moisturize your hair before putting it in any protective style. Luckily, moisturizing your hair only takes a couple of minutes.
Once your hair is shampooed and conditioned, apply your favorite moisturizing cream or spray. To make sure that you get even coverage, part your hair into several sections and comb the moisturizer through with the wide-toothed comb.
Stretch Your Hair
Stretched hair blends easily with extension hair, which makes for cleaner Ghana braids. While stretching your natural hair is optional, you don’t want to skip this step if neatness is important to you. Choose from one of the following natural hair stretching options:
Blow Dry
Blow drying your hair is the quickest, most painless way to stretch hair. However, the method may require heat (unless your blow dryer has a “cool” button).
If you’ll be using a heated setting on your blow dryer, apply a heat protectant to all of your hair before you get started. As you blow-dry your hair, use a Denman brush to brush through your hair. We recommend that you use the “cool” setting on your blow dryer, if possible, to minimize the risk of heat damage.
Elastic Bands
If you don’t want to fiddle around with a blow dryer to stretch your hair, you don’t have to. Instead, you can use elastic bands as a 100% heat-free stretching method. Use the instructions below to learn how to stretch your hair using elastic bands.
- Part your hair into four equal sections. If your hair is very thick, you can make more than four sections.
- Wrap an elastic band around the base of each section to keep them separate.
- Continue wrapping elastic bands from root to tip to stretch the hair. You may need several bands to cover the entire length of your hair.
- Air dry each of the sections. Because it takes a long time for banded hair to dry, you may want to dry the sections overnight.
- When your hair is completely dry, remove the bands. If your hair is the least bit damp, your hair may return to its curly state.
Braid It
If you prefer a simpler hair stretching method and know-how to braid, this option may be best for you. After moisturizing your hair, separate it into at least four sections and three-strand-plait your hair from roots to ends. After a few hours, or when your hair is totally dry, take out the braids and comb through your hair with the wide-toothed comb.
Install Your Ghana Braids
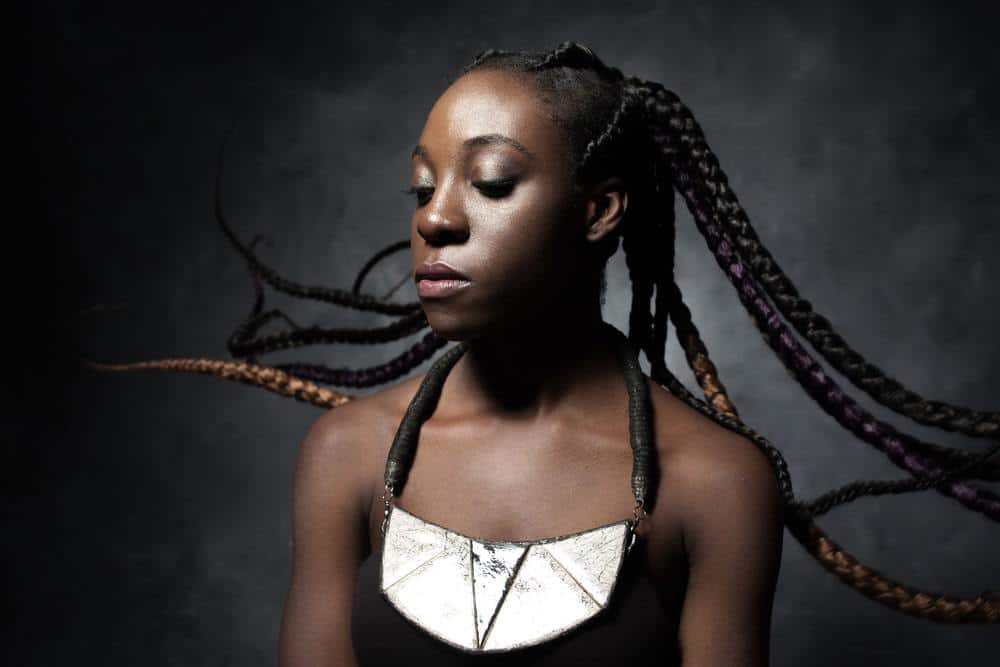
The hardest part of doing Ghana braids is braiding the extension hair in. But with clear instructions, you’ll be able to master this in no time. Let’s go over the Ghana braid installation process in detail in the below sections.
Prepare the Braiding Hair
Some bundles of braiding hair come already stretched, meaning that the ends of the hair are not blunt. However, many bundles of hair come blunted, which does not lend itself well to braiding.
If your braiding hair is not stretched, take the following steps to stretch/feather it:
- Remove the hair from the packaging and take off the rubber band or twist tie holding the hair together.
- Hold one end of the hair in one of your hands so that the ends are facing upward.
- With the other hand, pull up small sections of the braiding hair. The purpose of this is to make the ends uneven.
- Continue pulling small sections of hair upward until the ends are no longer blunt.
- Hold the middle of the bundle of hair in one hand.
- Use your fingers to comb through the hair.
Now the braiding hair is ready to be used.
Part and Oil Your Natural Hair
Now’s the time to break out the rattail comb and put your parting skills to work! Using your rat tail comb, part several sections of hair from front to back. You can make them as large or small as you’d like, though most Ghana braids are medium to large.
Take extra care to make the parts as straight as possible. Part of the appeal of Ghana braids is their crisp, straight parts.
Note: You can pre-part your hair to get a feel for how the braid layout will be. Alternatively, you can part and braid one section at a time.
Do Your Ghana Braids
Ghana braids look simple enough, but to get professional quality Ghana braids, you need to follow the below steps to the letter:
- Apply edge control or strong hold gel to the first section that you parted out.
- Comb the sides of the section inward to define the part.
- Take a small amount of the extension braiding hair and separate one side of the section in two. Now you should have three extension hair sections.
- Hold the extension hair at the front of the parted section and then begin French braiding the extension hair in with your natural hair.
- After braiding about a quarter of an inch, add a larger section of the extension hair and continue braiding.
- Repeat the previous two steps repeatedly. When you get to the nape of your neck, braid the hair down to the very ends.
- Do steps 1-6 all over your head.
Dip Your Ends
After braiding your hair down to the ends, you’ll likely notice that the hair at the ends is stiff and dull. To remedy that, you’ll need to dip the ends of your braids in piping hot water to seal them.
Do the following to dip and seal your braids safely:
- Boil some water in a small to medium pot and then turn off the fire. Alternatively, you can heat water in a microwave until it is steaming hot. The amount of water you need will depend on the thickness of your braids. At least 6 cups of water should be sufficient.
- Dip a few braids in the water, take them out, and then wrap them in the towel.
- Repeat the process all over your head.
Now that your braids are sealed, the style is finished.
Dos and Don’ts of Ghana Braids
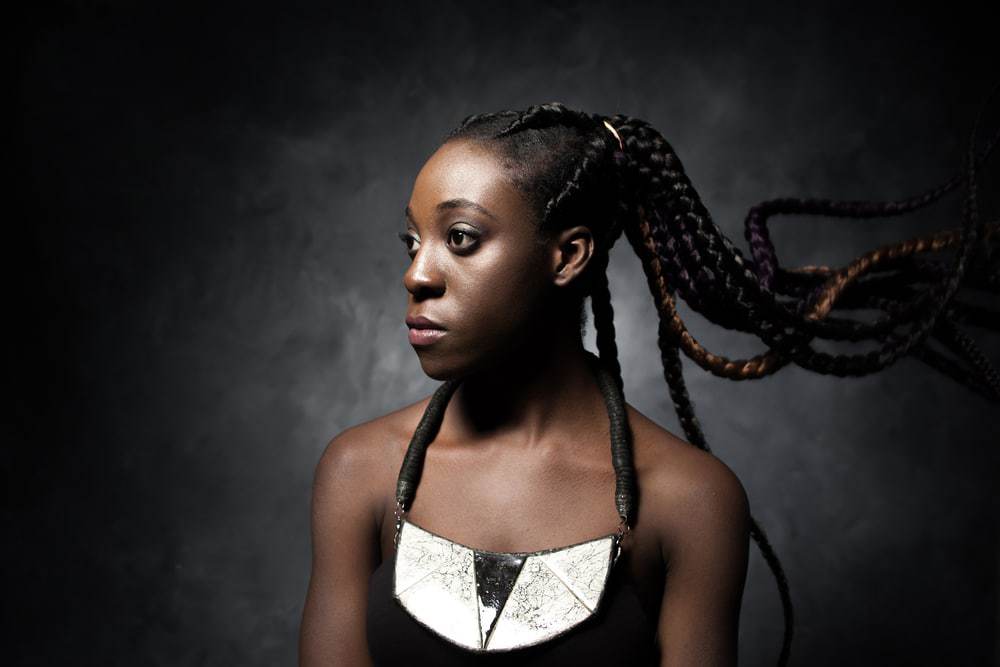
Ghana braids are created with a technique that takes some time and dedication to master. If you want to make sure that they turn out right, follow the below dos and don’ts.
Do
- Do use a tiny section of extension hair at the start of each cornrow. Ghana braids are supposed to be undetectable, but they won’t be if you start with an extension hair section that is too large. The knot will show, making it easy for others to tell that the braids aren’t natural.
- Do add extension hair often as you cornrow. If you don’t add enough extension hair, the change in the braid’s thickness won’t be very noticeable.
- Do take your time as you braid. It’s in your best interest not to rush the braiding process.
Don’t
- Don’t forget to add edge control to define your parts. This will not only ensure that your parts are defined, but it will also help keep frizz at bay, making your style last longer.
- Don’t braid too tightly. Just like any extension hairstyle, it’s essential not to braid too tightly, as this could lead to tension alopecia.
Pros and Cons of Ghana Braids
When it comes to Ghana braids, there are many pros and cons to be aware of. Please read the following section to learn all about them.
Pros
- The style protects your hair from the elements.
- With practice, anyone can learn how to do Ghana braids on themselves or someone else.
- The installation time is short compared to other protective styles. It may take up to a couple of hours.
Cons
- The style doesn’t last as long as other braided protective styles, as large braids look frizzy and worn quicker than smaller ones.
- Straight-back braids have the potential to pull on your edges more than other types of cornrows.
How to Install Ghana Cornrows: Invisible Cornrows on Natural Hair
While bantu knots might be one of our favorite hairstyles, sometimes we like to change things up every now and then. This video features a brilliant method for braiding Ghana cornrows from Samantha Pollack.
It shows off the technique with straight hair rather than kinky hair, but all of the advice is spot on. If you're looking for braiding hair recommendations, here is a link to X-Pression kinky hair on Amazon.
Also, please note that this style was done after a blowout. According to Samantha, this makes her hair much easier to braid. Just be sure that you're as gentle with your hair as possible. We don't recommend blowouts because of the increased probability of heat damage.
However, after a blowout, a product like ORS HAIRepair Coconut Oil & Baobab should be gently massaged into your scalp and hair. The goal is to replenish and nourish dehydrated, damaged hair, and moisture is also crucial. Learn more in our insider's guide to preventing & repairing heat damage (link).
 Pictures of Ghana Braids Styles
The Ghana braids hairstyle is one of the most popular braided hairstyles in the natural hair community. Below is a gallery of pictures of Ghana braids hairstyles with brief descriptions of our favorite hairstyles.
1. Fishbone Braids and Ghana Braided Ponytail
Ghana braids can be created with a virtually endless range of patterns, sizes, and combinations. Your imagination is the only limit to the options presented to you. A fishbone design executed carefully, as shown here, creates an impressive hairstyle.
2. Beautiful Golden Asymmetrical Pigtail Braids
These beautiful golden braids create a dynamic, unique hairstyle, and pulling them into curvy designs adds even more interest to your hair.
3. Whirlpool Braids
This is an example of something you can come up with if you remember to search widely for Ghanian hairstyle examples. This dynamic whirlpool look, created with curvy braids and daring style, creates a brilliant look that presents a unique, attractive hairstyle.
4. Long Cute Ghana Braids With a Center Part
This style incorporates a stylish Ghana sensibility. Note that paying careful attention to the part is what really makes this look distinctive; the centerline is arrow-straight, and all of the braids are evenly spaced.
5. Purple Ends On Thin Ghana Braids
This style delivers something appealing and unconventional regarding both style and texture. Dip dying works great with thin cornrows, and adding lilac extensions creates an eye-popping burst of color.
6. Chunky Jumbo Ghana Braids
This Ghana braid hairstyle adds oomph with chunky braids. You can even break up the big braids with micro braids in between.
7. Black, Blue, and Purple Cornrows
The contrast between alternating thick and thin braids would be distinctive enough in a single natural color. Turning the bigger braids, blue and purple, sets the whole thing off and creates an incredible hairstyle.
Common Questions About Ghana Braids
How long do Ghana braids typically last?
Typically, the braids can be worn for several weeks, although it really depends on how well you take care of the braids. If you'd like to extend your style longer than two or three weeks, be sure that you're sleeping with either a satin pillowcase, bonnet, or scarf.
What differentiates regular cornrows and Ghana braids?
Ghana braids are commonly referred to as cornrows, invisible cornrows, Cherokee cornrows, pencil braids, banana braids, and goddess braids.
While many of these braiding types are similar, the primary difference usually relates to the braiding techniques used to create the hairstyles.
Ghana braid hairstyles often start out like traditional cornrows towards the front of your hairline, and braiding hair (i.e., extensions or weave) is gradually added as the cornrow braid approaches the top of your scalp.
DIY Large Cornrows - Feed-in Braiding Method
How versatile are Ghana braids?
As can be seen in this article, Ghana braids are very versatile. You can create a variety of beautiful hairstyles, so you aren't limited to straight-back styles.
You can put them in a bun or ponytail, add a bang to cover the forehead, add hair color, or include beads and other types of jewelry. You're only limited by your styling imagination.
- Different Types of Braids Styles for Black Hair
- Lemonade Braids With Weave
- How to Braid Yarn Into Hair
- Poetic Justice Janet Jackson Braids
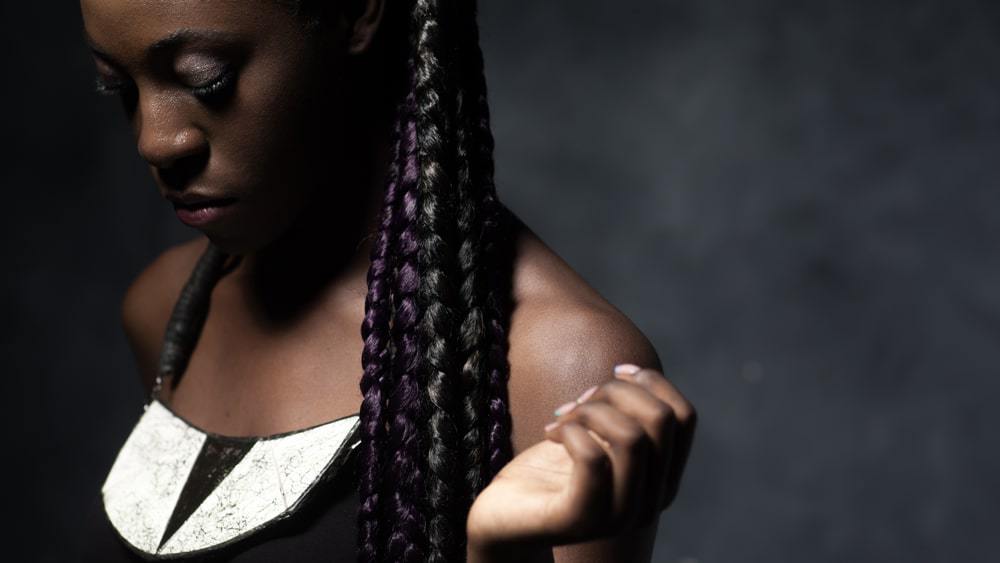
Ghana braids are commonly referred to as cornrows, straight-backs, and banana braids - sometimes incorrectly. At any rate, the Ghana braids are considered a protective style in the natural hair community.
The history of Ghana braids traces back to approximately 500 B.C. as they were often worn to honor various ethnic groups, ages, social statuses, and religions. Sculptures and hieroglyphs from that 500 B.C. era saw the first-ever Ghana braids.
Nowadays, we're seeing women of different races and ethnicities wear Ghana braids and cornrows more than ever.
Ghana braids usually transcend ages and can even be adorned with hair jewelry such as metal rings, wooden beads, or even just a lone flower tucked behind one ear.
Many hairstylists start with their client's natural hair, which gets braided from the front hairline and then to the back, where added extension hair provides more length and thickness.
So, do these goddess braids inspire you enough to hit up your favorite hair salon with new ideas for a fresh look? Or, are you a do-it-yourself (DIY) type? Let us know about your Ghana braid styling experience in the comments.
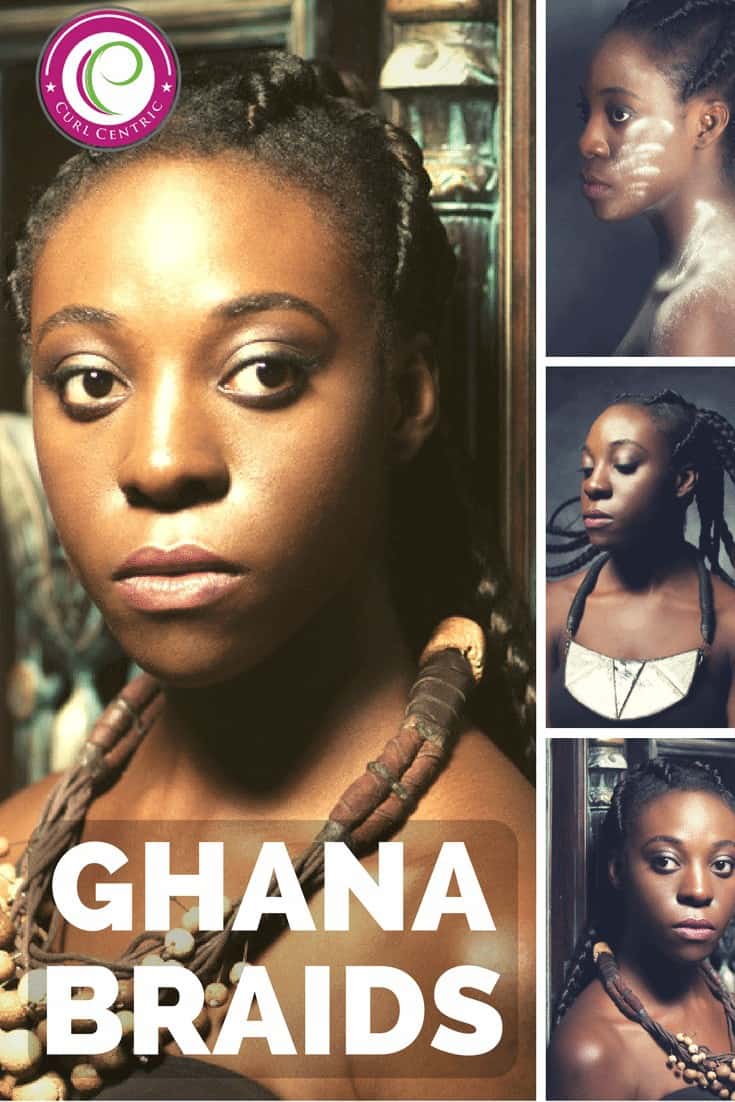

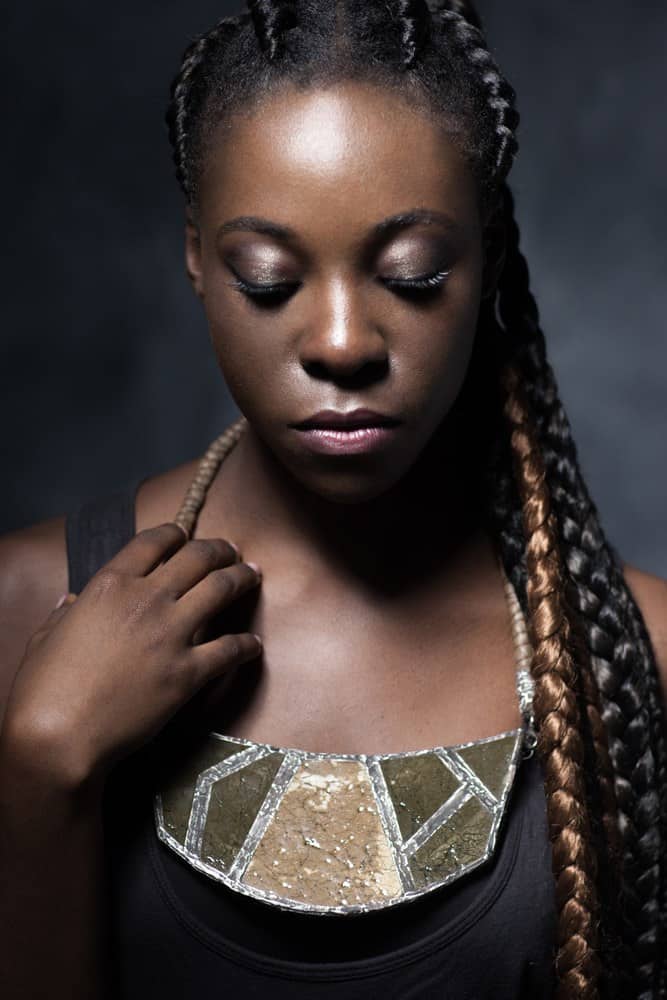 Pictures of Ghana Braids Styles