Have you fallen in love with halo braids?
We certainly have, mostly because it's a beginner-friendly, elegant, and versatile hairstyle.
This beautiful hairstyle dazzles those who see it, and its become pretty high profile since celebrities like Tracee Ellis Ross, Ciara, and Beyonce have been seen wearing halo braids over the past few years.
They've all shown how halo braids can work well for a variety of hair types.
Frankly, halo braids look good on straight, wavy, curly, and kinky hair. It's really a versatile style that can work well in many circumstances, including weddings.
There are tons of beautiful protective hairstyles out there, but none are more fit for a queen than the halo braid!
Table of Contents
- 1 What Is a Halo Braid?
- 2 How To Do a Halo Braid on Yourself
- 3 Prepare Your Hair for a Halo Braid
- 4 Complete a Halo Braid Without Weave or Extensions
- 5 Complete a Halo Braid with Weave or Extensions
- 6 Pros and Cons of the Halo Braid
- 7 Dos and Don'ts of the Halo Braid
- 8 1) Easy Halo Crown Braid Tutorial
- 9 2) Simple Beaded Halo Braid on 4C Hair
- 10 3) Halo Braid on Short Natural Hair
- 11 Additional Tips and Considerations
- 12 Faux Halo Braid for Short Hair
What Is a Halo Braid?
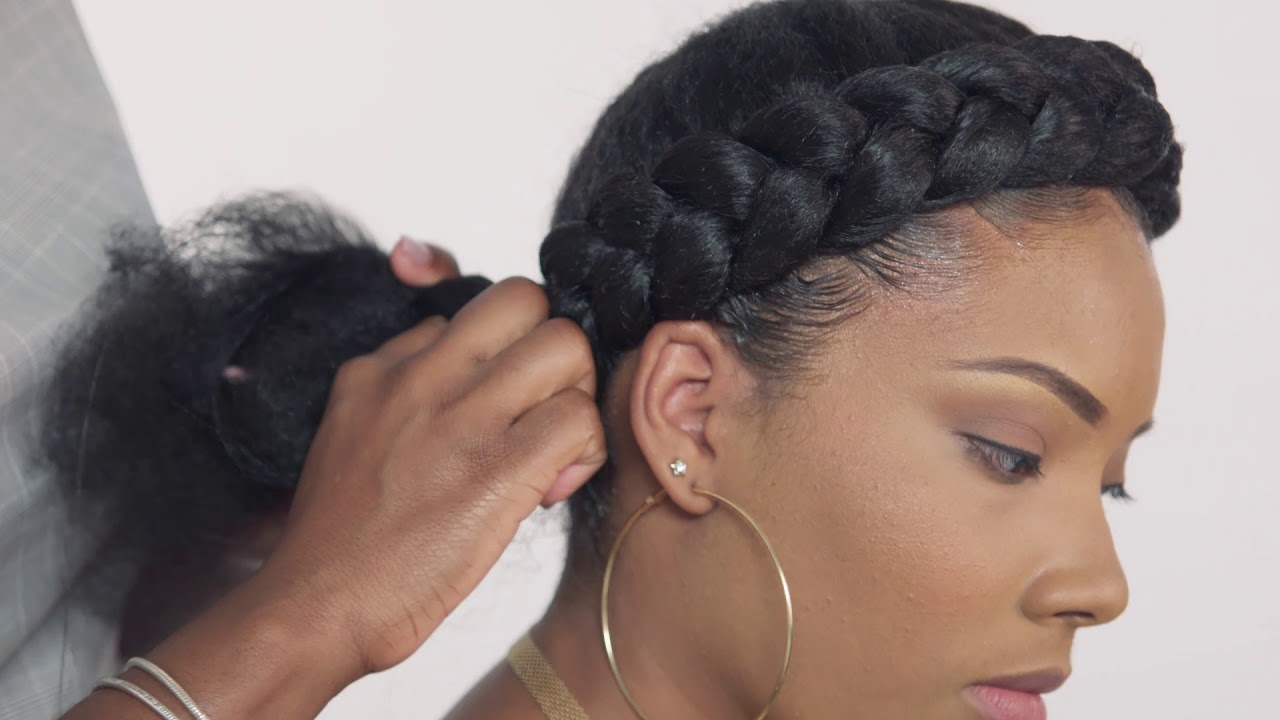
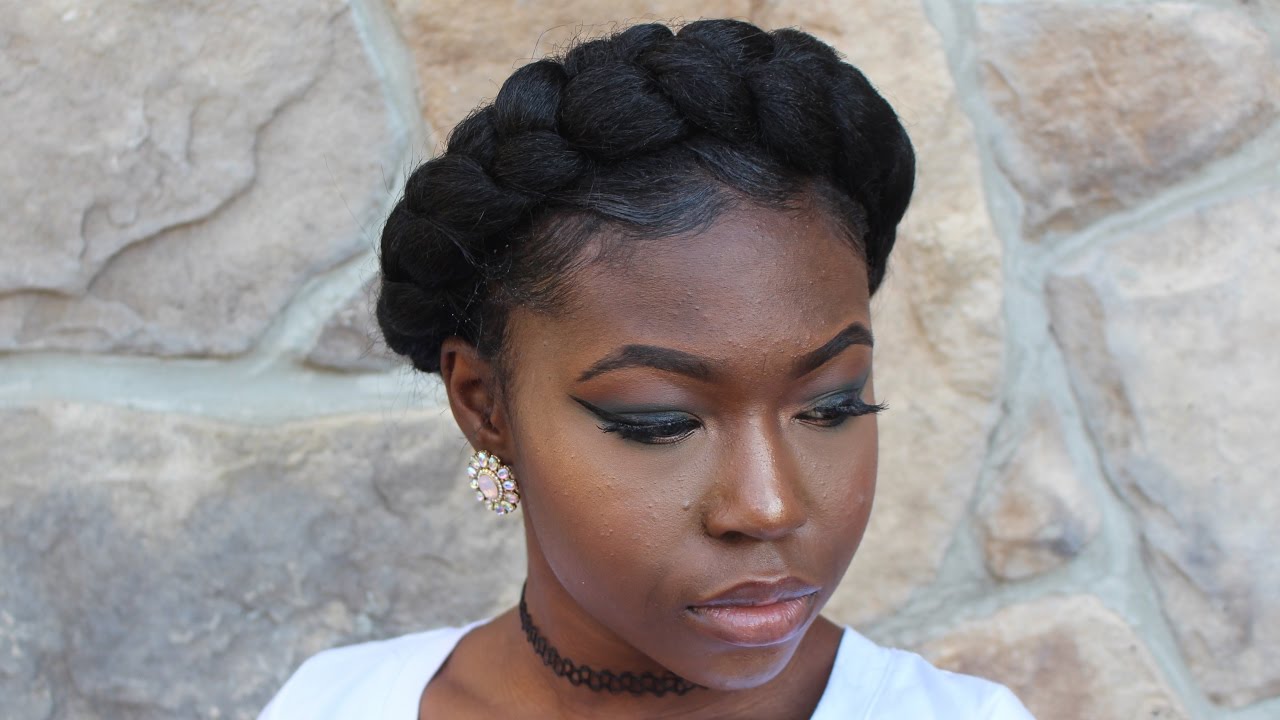
A halo braid is a beautiful plaited protective hairstyle created when a cornrow-style braid (or long dutch braid) wraps around your head. The style creates a "halo effect," hence the name halo braid. It's a great option if you're looking for a quick and easy protective hairstyle for your naturally curly hair.
If you're looking for step-by-step tutorials on how to create halo braids, then keep reading. In this article, you will learn exactly how you can achieve a perfect halo braid, even if you're a beginner.
How To Do a Halo Braid on Yourself
There are two primary ways to create halo braid hairstyles: (1) using only your natural hair or (2) adding extension hair to create a fuller braid. We will explain how to do both types of halo braid hairstyles in the following sections.
Gather Your Supplies
Before you jump into the styling process, make sure you have all the supplies you need. Doing this will make the process much quicker and easier and help you to achieve a flawless look in no time.
Hair Prep Supplies
- Clarifying Shampoo
- Moisturizing Shampoo
- Moisturizing Conditioner
- Leave-In Conditioner, Oil, or other moisturizing products of your choice
Hair Stretching Supplies
- Hair Bands
- Blow dryer
Styling Supplies
- Edge control
- Wide-tooth comb
- Rattail comb
- Denman Brush
- Synthetic braiding hair (Xpressions or another brand)
- Bobby Pins
- Toothbrush
What Type of Hair Should You Use for a Halo Braid?
Halo braids can be created without extension hair. However, if you choose to use extension hair in this style, we recommend using a pack of synthetic braiding hair to create a halo braid.
One commonly recommended brand is Xpression synthetic braiding hair. It is preferred for this style because it comes in a longer length than competing brands.
It is long enough to wrap around your head without having to feed in multiple pieces of extension hair (more on this in the following sections).
If you’re going for a natural look, be sure to get a color that will match and blend well with your natural hair color. If you’re up for an adventure, try a bright, fun color.
How Much Hair Should You Buy
As a general recommendation, if you choose to add extension hair to your halo braid, you will need one pack of Xpression synthetic braiding hair.
Prepare Your Hair for a Halo Braid
Doing a protective style on unwashed, dry hair is not a good idea. It can lead to excessive pulling, snapped-off strands, pain, and a not-so-great result.
Hair prep includes cleaning your hair to get rid of product buildup, conditioning to nourish the strands, and moisturizing to ensure your hair stays happy and healthy while the style is in place.
Shampoo Your Hair
The first step to preparing your hair for a protective style is to wash it. First, wet your hair and apply a clarifying shampoo. This type of shampoo is best for removing product buildup from your hair.
When shampooing, be sure to focus on your roots, and let the shampoo work down to the ends on its own. Applying shampoo directly to your ends can cause tangles and unnecessary dryness.
Next, rinse out the clarifying shampoo and, if you have time, repeat the process with a moisturizing shampoo. This will replace some of the moisture that the clarifying shampoo may have taken away, prevent tangles, and ensure your hair is clean.
We recommend staying away from shampoos formulated with sulfates, drying alcohols, or parabens.
Condition Your Hair
Next, follow up with a moisturizing conditioner or deep conditioner. This time focus the product on your ends rather than your roots, as your ends need the most moisture. While your hair is coated in conditioner, detangle it with a wide-toothed comb.
If using a regular rinse-out conditioner, follow the instructions on the product label for the best results. When using a deep conditioner, allow the product to sit in your hair for 15 mins or more.
You can even put a shower cap on to trap the heat from your scalp and boost the penetration of the moisturizing treatment.
When rinsing out the conditioner, try to use cold water, as cooler temperatures will close up your hair's cuticles and lock in the moisture.
Moisturize Your Hair
After you are done shampooing and conditioning your hair, be sure to use moisturizing products, including moisturizing cream, an oil, a leave-in conditioner, or all three!
It is often best to apply these products while your hair is still soaking wet, as this ensures that your hair is getting as much moisture as possible.
One popular method of moisturizing curly natural hair is the "LOC Method."
- L - Start with a leave-in conditioner.
- O - Next, apply oil to lock in the moisture from the leave-in.
- C - Finish it off with a cream to seal the hair cuticle and maintain the moisture in your hair.
Here are some great moisturizers for curly hair:
- SheaMoisture Curl and Style Milk
- Maui Moisture Curl Quench
- Organic Virgin Coconut Oil
- Carol’s Daughter Black Vanilla Leave-in
Stretch Your Hair
Stretching your hair can prevent knots and tangles and make it easier to do your halo braid. There are multiple ways to stretch your hair, as explained below:
Banding
The first method of stretching your hair is called banding. It is a no-heat option, and you can use this method by following these steps:
- First, apply a leave-in conditioner or oil before banding to achieve the best results (if you haven’t already).
- Separate your hair into two or more sections. If your hair is extremely thick, you shouldn’t do less than four sections.
- Wrap bands down the length of each section until you reach the ends.
- Wear the bands until your hair is completely dry. Cover your hair with a bonnet or silk scarf if you’ll be sleeping in the bands.
- Carefully remove the bands from your hair when they’re dry. Your hair should appear much longer than before you applied the bands.
- Comb through your hair with a wide-toothed comb.
Blow Drying with Tension
Another stretching method involves blow-drying your hair to stretch it a bit. This method is quicker than any other method.
- Separate your hair into four sections.
- Apply a heat protectant spray if you plan on using a heated blow dryer setting.
- In sections, blow-dry the hair while gently pulling and applying tension to your hair. To maximize the stretch, brush through each section with a Denman brush as you blow-dry.
- Continue until your hair is dry and stretched.
Braiding
Braiding your hair is another no-heat option for stretching your hair.
- Separate your hair into multiple sections. You can make as many sections as you'd like.
- Apply leave-in conditioner, serums, or other moisturizing products to each section of your hair if you haven’t already.
- Braid the sections and secure them with small rubber bands if needed.
- Cover your hair with a bonnet or silk scarf and wear the braids overnight (or just wait a few hours for the braids to dry).
- Remove the braids after they’re completely dry, and then gently comb through your hair with a wide-toothed comb.
Complete a Halo Braid Without Weave or Extensions
Read below for detailed steps on how to complete a halo braid without using extension hair:
- Use a styling gel or cream and a toothbrush to lay your edges down.
- Part your hair at the crown of your head at the highest point. Comb the hair away from the crown of your head in a bowl shape all the way around.
- Part your hair from about 2 inches behind your ear to the crown of your head. This will be the beginning of your braid.
- Begin to braid, incorporating medium-sized sections of your own hair into the braid as you braid around your head. Because you are using only your natural hair, the braid shouldn't be too tight. This will allow you to achieve a fuller look with your braid.
- *Helpful Tip: Be sure to smooth out your hair as you braid. Doing this will prevent tangles and keep the braid looking neat.
- Continue braiding all the way around your head until all of your hair has been incorporated into the braid, and you've reached the ends of your hair.
- Tuck the end of the braid underneath your completed halo braid, either above or below it. Use bobby pins to secure it into place.
- Tuck away any flyaways or smooth them down with product, and you are all finished!
Here’s a video demonstration of how to do a halo braid.
Complete a Halo Braid with Weave or Extensions
Read below for detailed steps on how to complete a halo braid with extension hair:
- Use a styling gel or cream and a toothbrush to lay your edges down.
- Trim your braiding hair by the appropriate amount as mentioned above. Trimming the hair will ensure that you don't have too much hair to tuck away when you reach the end of the braid.
- Separate your braiding hair into two sections. One of the sections should be ¾ of the pack, and the other section should be ¼ of the pack. Place the smaller section under the larger section in the shape of a lowercase “t.” Then combine the two halves of the smaller section so that they look like an uppercase “T.” Now you have three sections to braid in with your natural hair.
- Part your hair at the crown of your head at its highest point. Comb the hair away from the crown of your head in a bowl shape all the way around.
- Begin by parting your hair about 2 inches behind your ear. This is where you will begin your braid.
- Hold the extension hair at your roots, where you just parted your hair. Combine a section of your natural hair with a section of the extension hair and begin to braid, incorporating more sections of your natural hair into the other two sections as you go.
- *Helpful tip: Apply product to your natural hair as you incorporate it with the extension hair to prevent frizz and flyaways and help the two types of hair blend nicely.
- As you continue braiding around your head, be sure to stay as close to your hairline as possible and continue incorporating your natural hair into the braid as you go.
- Braid to the ends. You should be left with a small braid consisting of only your natural hair.
- Tuck the end of the braid underneath your completed halo braid, either above or below it. Use bobby pins to secure it into place.
- Tuck away any flyaways or smooth them down with hair product, and you are all finished!
Here’s a video demonstration of how to do a halo braid with extensions.
Pros and Cons of the Halo Braid
If you’re still on the fence as to whether a halo braid is a style for you, we can help. Below are the pros and cons of the style.
Pros
- Once you get the hang of this style, it will only take about 15-20 minutes to complete.
- This protective hairstyle is a gorgeous yet low-maintenance style for any occasion, from everyday life to weddings and other events.
Cons
- If you are new to braiding your own hair, this style may require some practice to perfect. This is because you will not be able to see your hair as you braid it at the back of your head, and you will need to reposition your hands several times as you go along the braid.
- Due to the size of halo braids, imperfections in your braiding technique will be noticeable.
- The style may only last for a week or so.
Dos and Don'ts of the Halo Braid
Check out the below dos and don’ts of the halo braid style to prevent mistakes and frustration throughout the styling process.
Do
- Use as much moisturizing product as you feel your hair needs before and during the styling process to ensure the style will stay in place with little frizz or flyaways.
- Be aware of how much tension is being applied as you braid. If the braid is too tight, this can cause damage to your scalp and hairline.
Don't
- Skip out on the steps to prepare your hair before this style. It can be tempting to jump right into styling, especially if you're in a hurry, but taking the time to properly care for your hair beforehand will ensure that the style actually protects your hair rather than causing damage.
- Use the entire length of your extension hair without trimming it. This will make the end of the braid very thick and difficult to tuck away.
- Get your hair wet after styling, especially if using extension hair. Your natural hair will curl up, causing frizz.
1) Easy Halo Crown Braid Tutorial
This classic hairstyle, demonstrated by Tola Revamps, is one that you will need to master before you can create the other styles shown in this article. This basic halo braid tutorial is fundamental to the remaining hairstyles.
Whether you want to use this style as a building block to learning more complex hairstyles or you only want to learn how to create a basic halo braid, this short tutorial is where we recommend you get started.
During the tutorial, Tola uses jumbo Kanekalon braiding hair, beeswax, edge control gel, argan oil, heat protection spray, Pump It Up Spritz, Gorilla Snot Gel, and hair pins.
2) Simple Beaded Halo Braid on 4C Hair
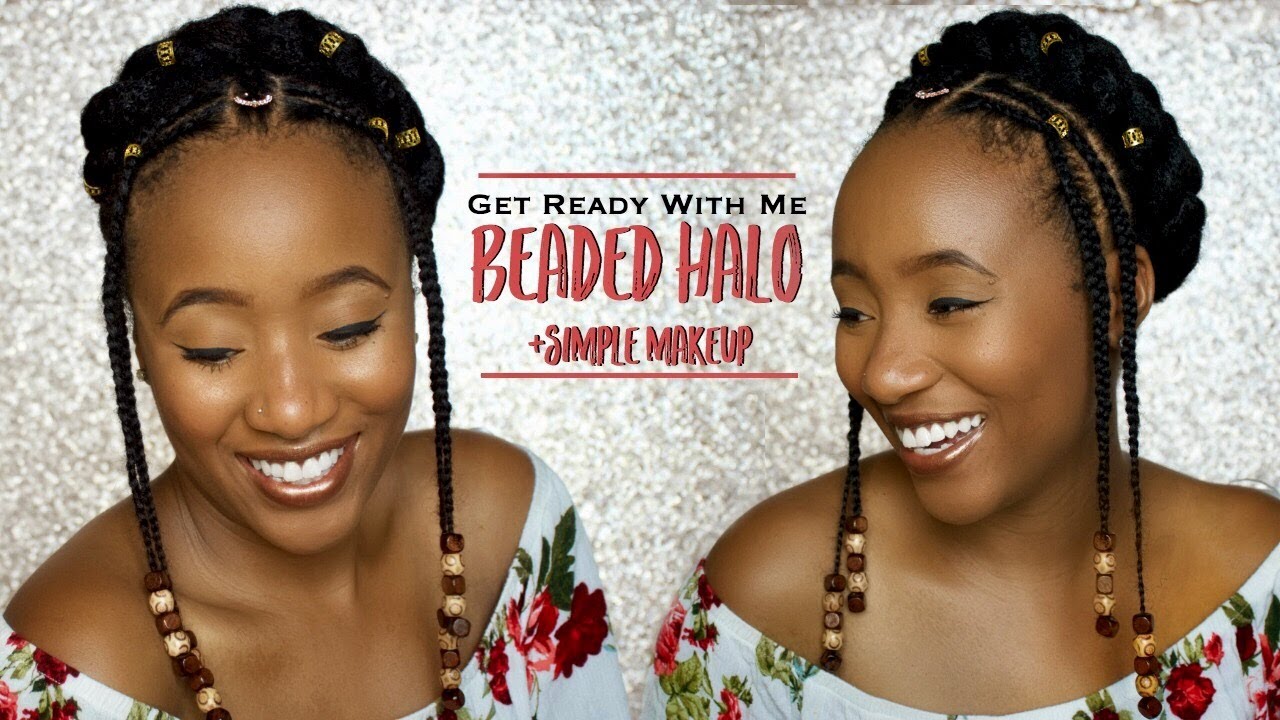
If you liked the basic halo braid but would like to put a unique twist on the hairstyle, then you should check out this fresh beaded look by Asea Mae. We're big fans of Asea Mae's YouTube channel, plus she has two sweet twin babies that periodically join her videos.
The basic conventional halo braids will keep your hair strands protected and tucked inside of the braid, but this style will help you frame your face adding accessories and texture to your appearance.
Asea starts this style on freshly washed, stretched hair. It's 100% air-dried, and she slept in twists overnight. To begin, she parts off the middle center braid.
Now, this braid is only gonna go as far back as your halo starts, so keep that in mind when parting. Once she has nice clean parts, she starts creating the halo braid.
Asea mentions that her hairline is unique, so take that into consideration as you start your halo braid. Some women won't be able to create a perfectly straight line; you have to take your hairline into account for the first braid.
Once you have your first couple of sections, go ahead and create the middle braid. This is just to get it out of the way; we're gonna make it look nice at the end. Then part the right side, and make sure that the line matches up with the left side. You want to make sure that the style is symmetrical.
Now that you've completed the first two sections, go ahead and part another section. To switch it up and be a little different, Asea decided to do a design on the sides instead of the traditional straight-down braids.
Although, the crossover should be easy for you to recreate. The most important tip we can give you is to be patient and gentle with your hair.
If you're patient, your style will usually look a lot better, but you'll also mitigate the possibility and causing unnecessary hair breakage.
3) Halo Braid on Short Natural Hair
One thing that we really like about the halo braid hairstyle is that it can be done on nearly any length of hair.
There are exceptions, but unless you have a short tapered TWA, then most ladies can easily supplement their natural hair with extensions.
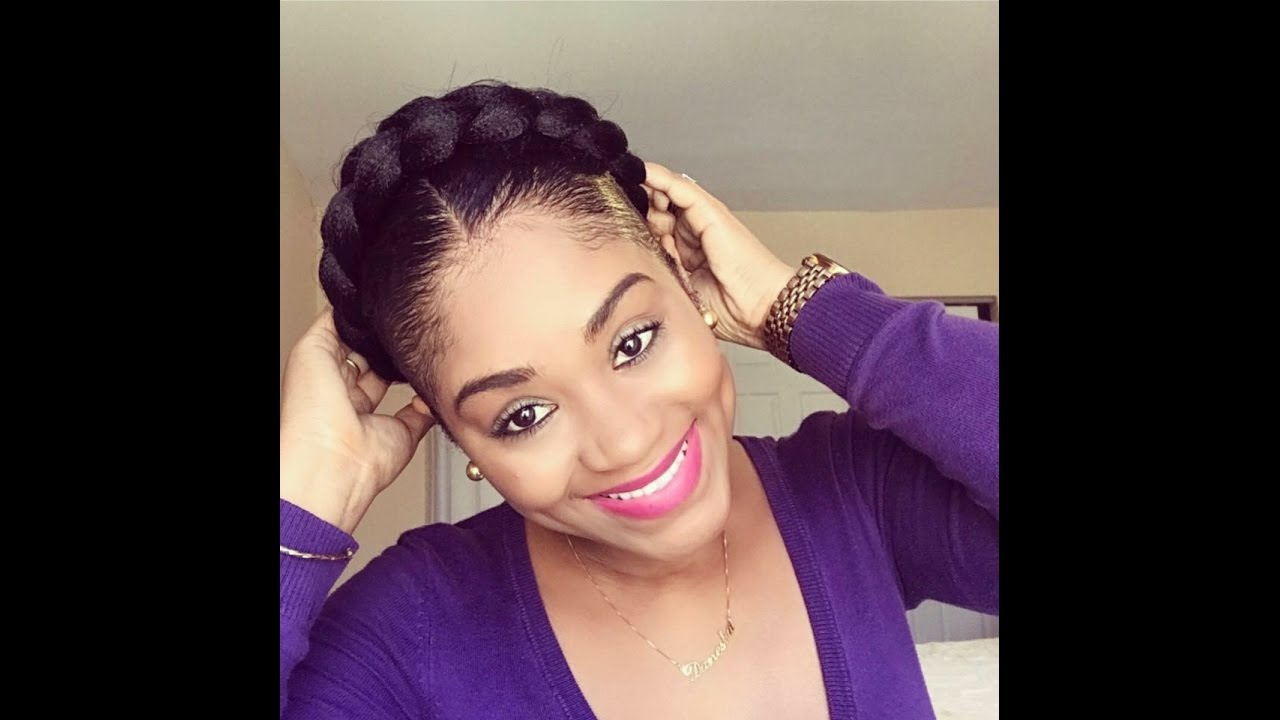
In this video, Danesha, from the YouTube channel DaneshaB Danesha, provides a detailed halo braid tutorial, which doubles as a protective style for those with short natural hair.
Additional Tips and Considerations
 1. Preparation
It would be best if you started with hair that has been freshly washed and conditioned. Once it's approximately 90% dry, move to step two.
Note that we have written a comprehensive article on how often you should wash your hair and whether using shampoo is required. I highly recommend using this article if you don't have a structured hair-washing schedule.
This next step will depend on your personal preferences. The videos that are included show several different ways to dry your hair.
Some women choose to allow their hair to air dry, while other women choose to use a blow dryer with a diffuser attachment. Please read this article to see our favorite hair dryers.
Depending on what works best for your hair, you'll need to determine how you want to dry your hair.
2. Part and Section Your Hair
Use a rattail comb, like the wide-tooth rake comb from Tearsheet, to part your hair from ear to ear, right across your crown.
This comb is made from a heat-resistant, carbon-based plastic that can be used while blow-drying your hair. Of course, if you decide to let your hair air dry, having a heat-resistant comb is less important.
3. Use a Styling Product

This step is where many naturals use their favorite styling product before braiding their hair, for example, using a leave-in conditioner.
One product that we've been loving recently is the Coconut Oil Hair Serum by Hair Chemist. This hair serum contains sweet almond oil, olive oil, argan oil, jojoba oil, and coconut oil.
It's important to call out that the Coconut Oil Hair Serum by Hair Chemist contains dimethicone, a popular silicone used in many hair products. If you're avoiding silicons, check out this creamy silicon-free leave-in hair butter by OGX.
If you're on the fence regarding whether you should use silicones, read this article.
4. Braiding Your Hair

The next several steps involve braiding your hair or creating the halo braid. We recommend watching the videos included in this article to see the braiding technique used step-by-step for your particular hair type.
For a finishing touch, use you can use the Natural Honey & Shea Edge Tamer from Design Essentials. We've fallen in love with how well this one holds up without getting flaky or sticky. It's got a combination of shea butter, honey, and castor oil that conditions with a firm hold.
If you'd like to add just a bit more shine, use the moisturizing coconut oil leave-in hair mist by Hair Chemist. This hair mist includes sunflower oil, olive oil, argan oil, and coconut oil. It smells wonderful, and it's very lightweight.
Faux Halo Braid for Short Hair
In this video, Erica, from Absolutely EricaTV, creates a faux halo braid hairstyle for short to medium length natural hair. Usually, halo braids form a circle around the crown of your head; however, you can create a unique look by having a braided bun in the back.
This is a beautiful hairstyle for professional occasions or special events where you want to wear a unique style that's sure to turn heads. Now that you know all there is to know about doing a halo braid, we urge you to try the style for yourself!
