Blow drying hair may look super easy, especially on blow dryer commercials. But that's just not the reality for curly hair. You've got to use specific techniques based on the results you're going for and the type of curls you were blessed with.
In this article, we'll tell you how to blow dry curly hair to achieve your desired results without the frustration. Let's get right into it!
Table of Contents
- 1 Diffusing Curly Hair for Definition
- 2 Tips for a Good Diffusing Session
- 3 How to Blow Dry Curly Hair for Straightening
- 4 Air Dry Curly Hair as an Alternative
- 5 Partial Drying for Curly Hair
- 6 Is It Best to Dry Curly Hair with Cold or Hot Air?
- 7 Is Towel Drying or Air Drying Better for Curly Hair?
- 8 Is Blow Drying Without an Attachment Okay?
- 9 Mistakes People Make When Blow Drying Curly Hair
Diffusing Curly Hair for Definition
For those who like to wear their hair in a defined state, there's a specific way to go about it. Diffusing is the preferred method of blow drying curly hair for definition, as it gets the hair dry without a ton of frizz or definition loss.

Here's how to diffuse curly hair for definition:
Prepare Your Hair for Diffusing
Many have no idea that they need to do some hair prep before diffusing. But it's a non-negotiable part of the process. The main goal of prepping the hair is to give it the nourishment and moisture it needs to retain its shape once dry.
When your hair is dry and lacking in nourishment before diffusing, it won't look good post-diffusing, nor will it be healthy overall. So, don't skip this step.
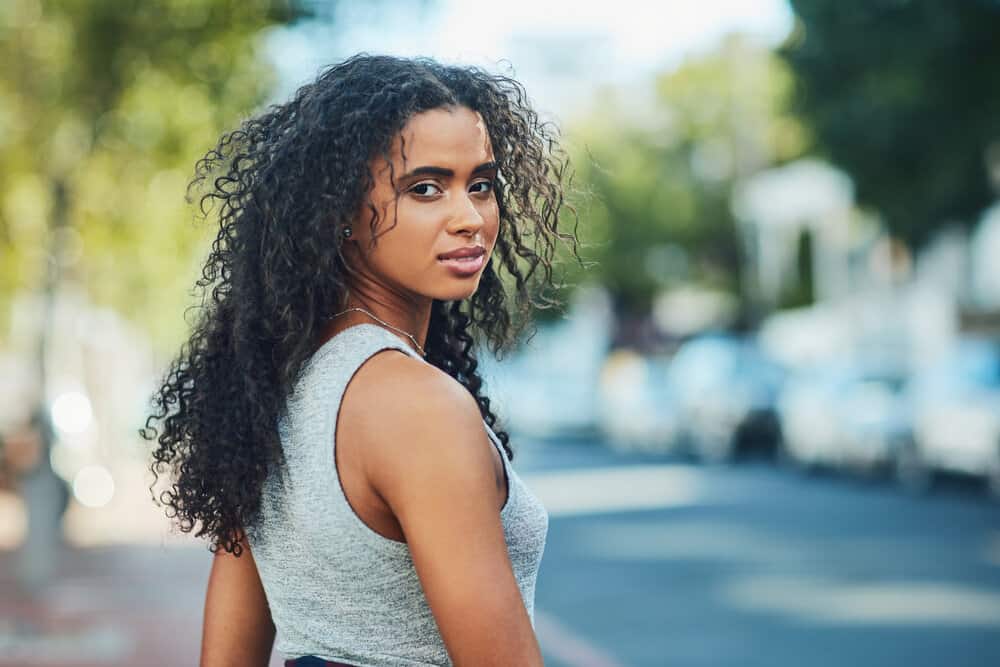
Here's how to prepare your hair for diffusing:
- Start by washing and conditioning your curls with a hydrating shampoo and conditioner of your choice. It's best to choose products that contain moisturizing ingredients and leave out ingredients that dry your hair out or do it harm - like sulfates, salt, parabens, and mineral oil, to name a few.
- Wash your hair in sections to remove debris and excess oils from your scalp. Focus the shampoo on your scalp and roots instead of your ends. Rinse very thoroughly after scrubbing your scalp with your fingers.
- Condition your hair. After shampooing, it's time to condition. To get a good conditioning session, you'll focus the conditioner on the ends of your hair. They are the oldest and most fragile part of the hair and need the most help. If your hair is super dry and in need of some extra TLC, don't use conditioner - use a deep conditioner instead. It's got heavy-duty oils, butters, and nutrients that leave your hair softer, shinier, and better hydrated than your regular rinse-out conditioner can. Use your judgment to determine which conditioner type might be the best for you. The deep conditioner should be left on for longer than your rinse-out conditioner. So, read the instructions on your products and keep that in mind. While the conditioner is in your hair, comb through your hair to remove tangles.
- Apply your leave-in. Apply your leave-in conditioner to your hair in sections and smooth it through with your fingers. If you're concerned about your hair being weighed down, go with a spray leave-in conditioner versus a cream leave-in. For those with super coarse, thick hair, a heavier cream leave-in will be ideal. Be sure to get the leave-in on all of your strands, without overapplying it. If you're not able to smooth the product through efficiently with your fingers, go ahead and use a wide-tooth comb or detangling brush to distribute it.
- Apply your heat protectant. Then follow that up with a heat protectant spray - though you won’t be applying a ton of direct heat to your hair, it’s better to be safe than sorry when it comes to heat application. Get the product all over your hair.
- Define your curls. Moving on to the defining step - all it takes is to apply a defining product to your hair in sections with your hands. Depending on how thick or thin your hair is, you may be able to define your curls without sectioning, but it never hurts to do it and be more thorough. As you're applying the product to your hair, you can use one of many curl-defining methods.
- Shingling - Smoothing the product through the hair in tiny sections, curl by curl. This method will define virtually every curl type.
- Praying hands method - This method requires you to smooth the product into your hair with your hands pressed together as if you're going to pray. This will make your curls clump together nicely and reduce frizz.
- Rake and shake - The rake and shake method works wonders for those with looser curls that need a little coaxing to define. You'll rake the product into your hair, and when you get to the ends, you'll shake the section vigorously to make the curls pop.
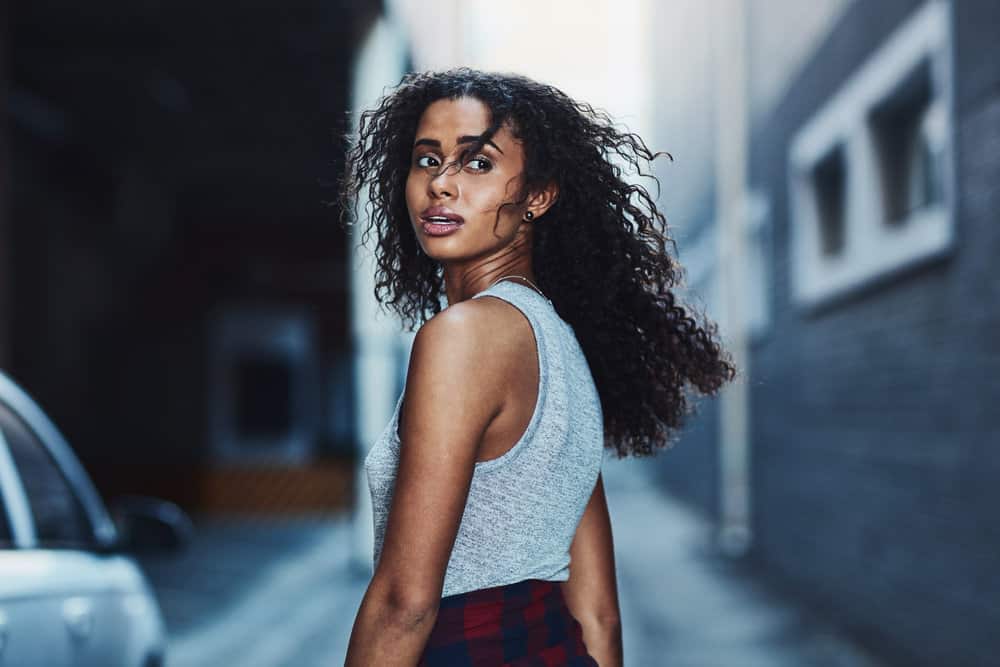
Diffuse Your Curls
With your hair sufficiently prepped, it's time to get to the diffusing step. Regardless of your hair type or your desired results, the diffusing process will remain relatively similar.
Here are the steps to follow:
- Get yourself a blow dryer with a diffuser attachment. If you already have a blow dryer, you can get a universal diffuser attachment. Either way, you'll get the same results.
- Turn the blow dryer on and set it to a moderate temperature. You don't have to blast the blowdryer on high. Doing so will increase your risk of heat damage and scalp burns. So, keep the heat at a low to moderate level.
- Lean your head in the direction of the side you're going to dry first.
- Allow some hair to fall in the cup of your diffuser attachment.
- Push the blow dryer upward towards your scalp to encourage curl definition as your hair dries.
- Wait for 10 seconds or so before moving on to another section and repeating the process. Repeat the previous steps until all of your hair is dry and defined.
Fingerstyle and Spritz
Once you're done diffusing, you'll shake your hair out, fingerstyle a bit, and finish things off with a flexible holding spray (optional).

Tips for a Good Diffusing Session
When diffusing your hair, it's essential to keep your hands out of your head as much as possible. The more you touch your hair with your fingers, the more frizz you'll create.
Also, don't shake the blow dryer wildly as you dry your curls. This could also make your hair super frizzy and ruin your look. Keeping these things in mind as you diffuse your hair can greatly increase your chances of success.
You may be thinking that the process of diffusing curly hair might be a little too involved. But we guarantee that it gets a lot easier to do once you get used to the process.

How to Blow Dry Curly Hair for Straightening
Blow drying your hair for straightening is a little different than it would be for defining your curls. The goal of this type of blowdrying is different too. When blow-drying curly hair for straightening, your goal is to minimize frizz and stretch out your curl pattern.
With your natural curl pattern stretched out, it’ll be much easier to get your strands bone straight with a flat iron.
Here’s how to blow dry your hair for straightening.
- Wash, condition, and detangle, as we explained earlier.
- Apply your leave-in conditioner. A lighter leave-in is much better for this process than a cream leave-in. Going too heavy with your leave-in could result in your hair turning out flat and lifeless.
- Use a heat protectant. Spritz your hair with a heat protectant of your choice. It’ll reduce your chances of heat damage and give your mane a sleeker overall look post-straightening. After applying the heat protectant, you’ll comb through your hair to ensure it’s distributed evenly. Otherwise, some sections could be left unprotected.
- Get your hands on a blow dryer with a comb attachment. When you’re drying your hair pre-straightening, the best way to stretch and dry it simultaneously is to use a blow dryer with a comb attachment.
- Part your hair into 4 sections and secure each of them with an elastic or clip. You’ll want to do that to keep unwanted hair out of the way.
- Start drying your hair section by section by simply combing through the hair. But make sure you’re combing the hair from the ends to the roots to stave off knotting and breakage. Take your time with this process, and avoid yanking the blow dryer through your hair. Keeping this in mind will ensure that your hair remains where it should be - on your head. When you’ve finished one section, and it appears dry and stretched, you’re ready to move on to the next section. Keep going until you run out of hair to dry/stretch.
- Proceed with the hair straightening process.
Alternative Blow Dryer for Straightening
Another option you can use to blow dry your curly hair for straightening is the RevAir hair dryer. It’s a device that sucks your hair in and dries and stretches it simultaneously.
To use it, you’ll turn the device on, grab a small section of hair (up to 3 inches by 3 inches) and allow the device to suck it in. After 30 to 90 seconds, pull the device down to reveal your dry, stretched hair.
We urge you to use a heat protectant before using a RevAir dryer, especially if you’re going to use it on a heated setting.
Air Dry Curly Hair as an Alternative
For those who want to take a more hands-off approach to drying their curls, air drying might be your best bet. It involves leaving your hair alone after washing, conditioning, and applying your leave-in and styling products.
The main downside to air drying curly hair is that it can take several hours for the hair to dry on its own. That’s not ideal in situations where you have plans and need your hair done for the occasion.
But if you’ll just be hanging out at home, air drying your hair shouldn’t be an issue.
If you want to preserve your natural hair texture while air-drying it, you should definitely keep your hands out of your hair. That’s a surefire way to rough up your cuticles and create frizz.
Overnight Air Drying
Air drying your hair at night is a little more complicated than doing so during the day. One of the biggest issues with overnight air drying is waking up with your hair in an odd shape (flat on one side, crinkly, etc.). There's also a risk of mold and mildew growth when you sleep with wet hair. So, avoid this if you can.
Partial Drying for Curly Hair
Sometimes, you’ll want to partially dry your hair to speed up the air drying or diffusing process. There are a couple of ways to do this, including plopping and micro-plopping.
Plopping involves wrapping your hair in a microfiber towel or soft t-shirt after applying your styling products and defining your hair. After about 15 minutes or so, you’ll remove the towel or shirt and diffuse or let your hair air dry the rest of the way.
The main benefit is the amount of time you’ll save.
Micro-plopping is similar to plopping in that it involves absorbing surface moisture from the hair. But the main difference is that you won’t wrap your hair in a microfiber towel - you’ll simply lay the towel over your hand and squeeze your hair in sections to partially dry them.
After that, you’ll continue with the rest of your hair styling routine. You can micro-plop whenever you want to stop your hair from dripping and give it a head start in the drying process.
Is It Best to Dry Curly Hair with Cold or Hot Air?
The temperature of your blow dryer will depend heavily on your goals and the condition of your hair. If you are trying to get your hair super straight and it’s in relatively good condition, it’s okay to turn the heat up (don’t forget your heat protectant). But if your hair is on the unhealthy side, it’s always best to use a lower temperature or let your hair dry in the open air.
Is Towel Drying or Air Drying Better for Curly Hair?
Making the choice between air drying or towel drying your hair can be difficult. If you’re ultra-concerned about your hair’s health or want to ensure that your curl pattern is left undisturbed, go with air drying.
But don’t touch your hair at all while it’s drying, or you’ll disturb your curls’ natural texture.
Towel drying has its place, too - it can save you time, but it may also mess with your curl pattern, especially if you haven’t defined it with a curl-defining product.
Still, as long as you’re using a soft, microfiber towel and you’re not vigorously rubbing it all over your head, you shouldn’t have much of an issue. The defining factor to keep in mind is how quickly you need your hair to dry. If you have time to kill, air dry only. If you don’t, towel dry and then air dry.
Is Blow Drying Without an Attachment Okay?
Blow drying curly hair without any type of attachment is usually not a good idea. When you take this route, you’re essentially blasting your strands with uncontrolled air, causing frizz and tangles galore.
You’ll then have to do quite a bit to get rid of the frizz and define your curls. There are much better blow drying techniques out there targeted to curly hair types, and it’s much better to use them instead of blow drying without an attachment.
Mistakes People Make When Blow Drying Curly Hair
Following the instructions we’ve mentioned in this article can help you get the results you’re looking for when blow drying. Still, there’s ample room for mistakes, and we want to help you avoid them.
In this section, we’ll share several mistakes people make when blow drying their hair:
- Not using enough heat protectant. You may have heard people instruct you to use a heat protectant before blow drying your hair. But do you know how important it is to use enough of the product? It’s not enough to simply spritz your hair and grab the blow dryer. Take your time and apply the heat protectant in sections, and then comb it through. Only then can you expect your hair to be protected from the heat.
- Drying all of your hair at once. It might seem like you’re saving time by not sectioning your hair, but skipping this step can do more harm than good. It’s very easy to get lost while blow drying all your hair at once. It can be so problematic that you end up creating a ton of frizz and missing spots. And that could make the rest of the styling process more difficult.
- Blow drying your hair too often. Though blow drying isn’t as harsh on curls as flat ironing is, you’d do well to limit how much you blow dry your hair. The heat and manipulation involved with blow drying can lead to hair damage over time. So, if your hair is already on the unhealthy side, blow dry sparingly.
- How to Dry Curly Hair
- How to Towel Dry Curly Hair
- How to Dry Your Hair Without a Blow Dryer
- Hooded Dryer for Natural Hair
So, there you have it - everything you need to know about how to blow dry curly hair. We hope you found all the information you were looking for, and we wish you the best with your styling endeavors.

