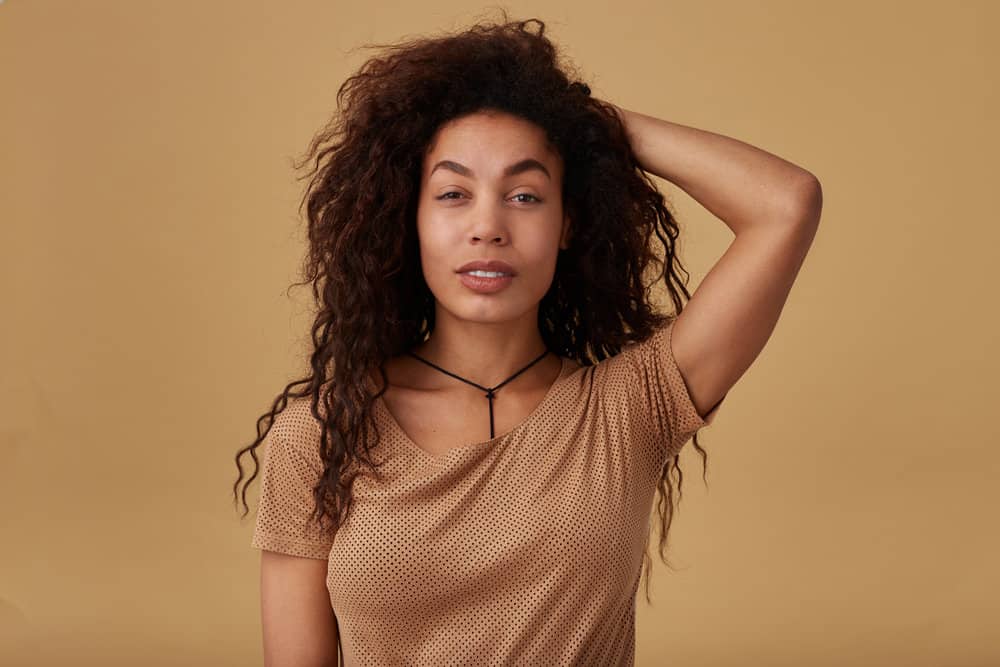
Move over sleek, bone-straight hair! The 90s are making a comeback, and we couldn’t be happier to see the 90s blowout come along for the ride.
If you want to try this revamped bombshell look, this is the article you’ve been searching for.
Today we’ll walk you through everything you could possibly want to know about 90s blowouts and teach you how to do a 90s blowout style at home. So, sit back, relax, and keep reading until the end!
Table of Contents
- 1 What Is a 90’s Blowout?
- 2 This Is How to Do a 90’s Blowout
- 2.1 How to Create Voluminous Blowout on Curly Hair
- 2.2 How to Get the Perfect Blowout at Home on Straight Hair
- 2.3 Get Your Supplies Ready
- 2.4 Wash and Condition Your Hair
- 2.5 Partially Dry Your Hair
- 2.6 Separate Your Hair into Four Sections
- 2.7 Blowdry Your Hair
- 2.8 Blow-Dry the Front
- 2.9 Do the Finishing Touches
- 3 How to Do a 90s Blowout With Rollers
- 4 Who Does a 90’s Blowout Look Good On?
- 5 Should You Do a 90’s Blowout?
- 6 Pros and Cons of Doing a 90’s Blowout
- 7 Do’s and Don’ts of Doing a 90’s Blowout
What Is a 90’s Blowout?
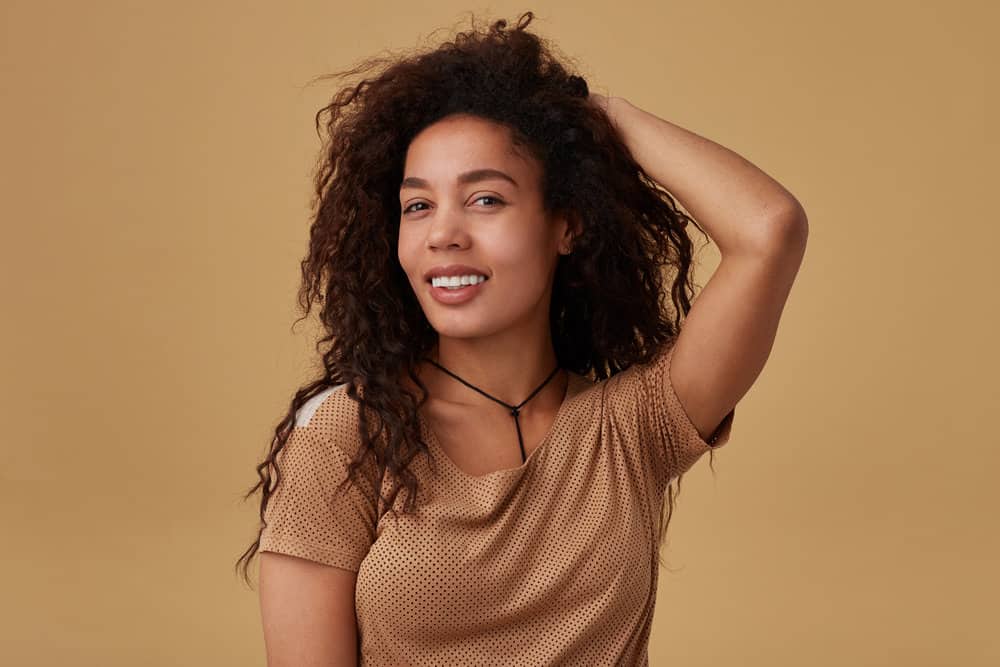
The current 90’s blowout is a slightly updated version of the classic 90’s hairdo. Today’s 90’s blowout is big, bouncy, and paired with rounded layers and long, face-framing bangs. A 90s blowout leaves your hair super smooth and shiny like traditional blowouts.
Where Did the 90’s Blowout Originate?
It’s no surprise, but the 90’s blowout exploded onto the scene in the mid to late 90s. Although the style has been around for much longer, it was made famous by supermodels like Cindy Crawford, Claudia Schiffer, and Tyra Banks.
It was also popularized by silver screen darlings like Jennifer Anniston, Alicia Silverstone, and Danielle Fishel, further cementing the 90s blowout in beauty history.
While the modern 90s blowout is clearly a nod to the original look, today’s modern interpretation emphasizes sky-high volume, soft romantic layers, and on-trend curtain bangs.
This Is How to Do a 90’s Blowout
The 90s blowout is a glamorous style that’s perfect for nearly every occasion. If you’re wondering how to get it, we’ve got you covered. In this section, we’ll provide detailed, step-by-step directions on how to achieve a perfect 90s blowout.
How to Create Voluminous Blowout on Curly Hair
How to Get the Perfect Blowout at Home on Straight Hair
Get Your Supplies Ready
Ready to begin your blowout? Start things off by gathering the following materials.
- Heat protectant
- Round brush
- Blow dryer
- Shampoo
- Conditioner
- Rattail comb
- Hair clips
- Leave-in conditioner
- Pin curl clips
- Wide-tooth comb
- Finishing hair spray
Wash and Condition Your Hair
You’ll want to start your blowout on the right foot by ensuring your hair is clean and thoroughly moisturized. To do that, shampoo and condition your hair as usual.
After you finish, use a microfiber towel to absorb the excess water.
Once your hair is no longer dripping wet, apply a small amount of leave-in conditioner to lock in moisture and prepare your hair for heat styling. Comb it through to evenly distribute the product and get a head start on detangling your hair.
Partially Dry Your Hair
Apply your favorite heat protectant to your hair and comb it through to make sure all of your strands are evenly coated. Then, blow-dry your hair until it’s about 70% dry.
Want to pump up the volume even more?
Bend over and blowdry your hair upside down to create a little extra lift. As your hair dries, it’ll retain its lifted position and help your blowout sit higher on your head.
Separate Your Hair into Four Sections
Use the end of a rattail comb to separate your hair into four or more sections.
Try to create at least two sections in the front and two in the back. Secure each one with a hair clip to keep it out of the way while you work on your blowout.
Blowdry Your Hair
Attach a concentrator nozzle to the end of your blowdryer. That will help direct the flow of heat so your hair comes out perfectly defined.
Take out one of the sections at the back of your head and break it up into smaller sections of hair. Work out any knots and tangles, and then nestle the round brush against your roots.
Pull the brush down an inch or two to pull your hair taut.
Using your other hand, turn your blow dryer onto a warm or hot heat setting and point it at the section of hair. Keep it pointing downwards, so your hair cuticles dry closed and stay smooth, shiny, and frizz-free.
Once you’ve created enough tension, slowly rotate the brush and pull it all the way down to your ends.
Chase the brush with your blowdryer, and keep it pointing towards your ends the entire time. Try not to rush through the process, as you’ll need to hold the round brush in place for a few seconds to give your curl enough time to set.
When you reach the ends of your hair, spin your brush to wrap the ends securely. Switch your blowdryer onto the coldest setting and give your hair a blast of cold air.
The cold air helps lock your hair in place, so it retains the curved shape of the round brush. Carefully remove your brush from the section of hair but be careful not to disturb the curl too much, or it will start to fall.
If you want your curls to last for a few days, gently roll each finished section up to your scalp and secure it with a pin curl clip.
After you’ve secured your curl, move on to the next section and repeat the process until you’ve finished everything but the front of your head.
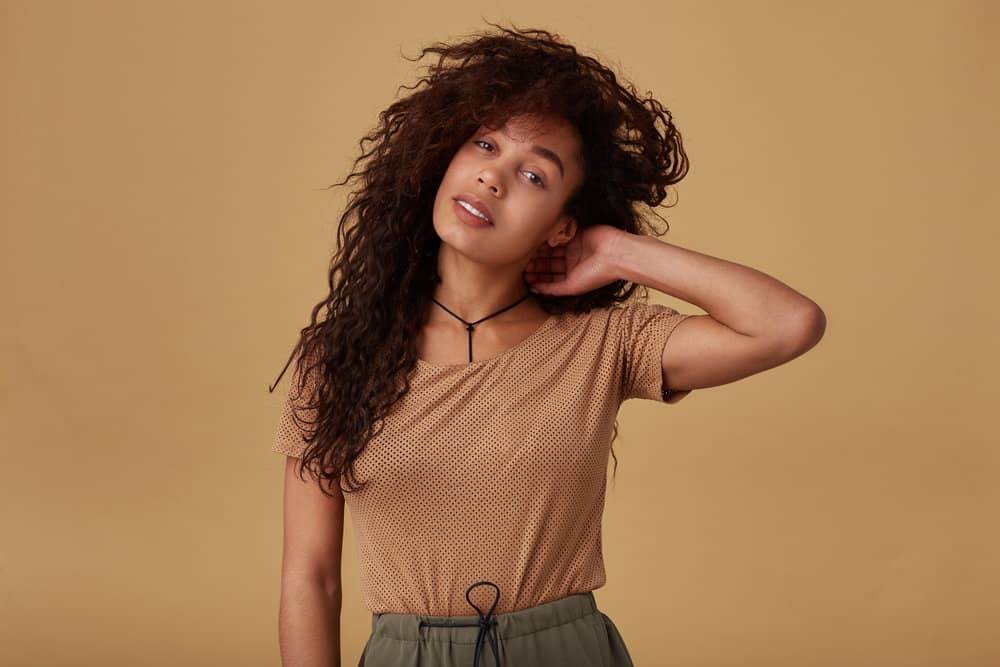
Blow-Dry the Front
Since the front of your hair is the first thing people see, styling it perfectly is essential. Luckily, the front is much easier to blow out than the rest of your head!
Use the end of your rattail comb to carve out your part and use it to guide how you blow-dry your hair. Then, use the same round brush technique as you did with the back and sides of your hair to shape the front carefully.
Blow-dry the hair away from your face to create a flattering shape and get that classic 90s blowout body. You also want to amp up the volume in the front, so make sure you’re lifting your hair up and away.
If you have bangs, pay extra attention to how they fall.
You want them to sit up slightly so they give the illusion of extra fullness. Then, curl the ends toward your chin, so they frame your face just right.
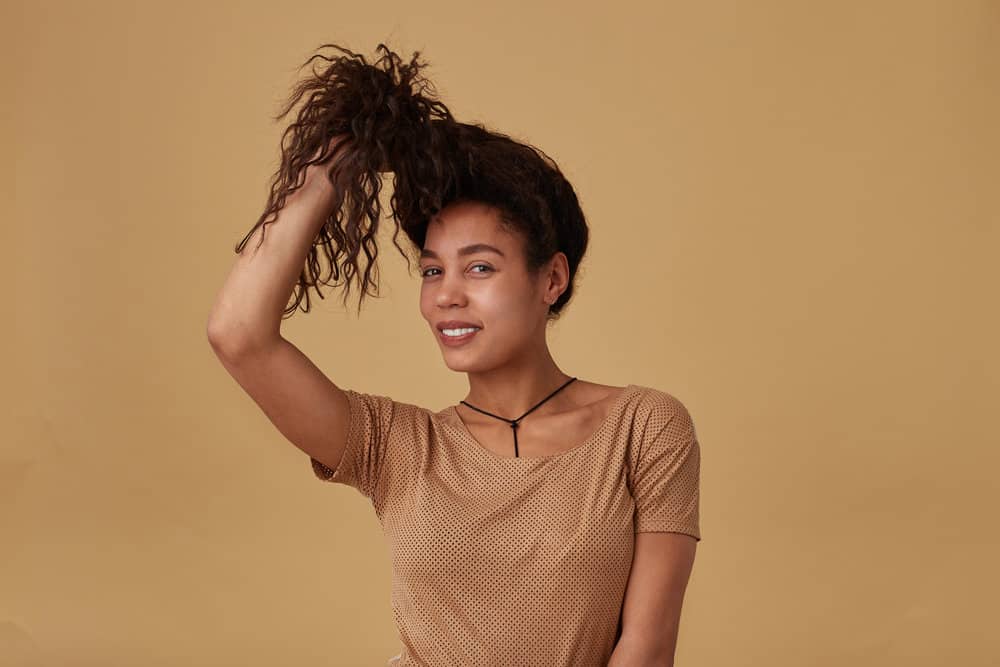
Do the Finishing Touches
Wait a few minutes to let your hair cool down, and then remove all your hair clips. Let your curls fall, and then comb through them with a wide-tooth comb.
Use your fingers to pick out a few face-framing pieces and give your blowout a few spritzes of holding or setting spray to lock your new style in place.
Hold the bottle of hairspray at least a foot away from your hair as you spray it. That way, you won’t weigh down your strands or make them crunchy from overapplying the product.
How to Do a 90s Blowout With Rollers
Want to skip the heat? Whether your hair is damaged or you’re looking to save time, you can recreate a 90s blowout using hair rollers!
Rollers are beginner-friendly and heat-damage free, and they help you style your hair in less than half the time. We know it almost sounds too good to be true, so this section will walk you through everything you need to know to get a 90s blowout with rollers.
Get Your Supplies Ready
The first step to getting your 90’s roller set is to prepare yourself with the proper tools. Here’s what you’ll need!
Wash Your Hair
Shampoo and condition your hair using your normal wash day routine. Then, towel-dry your hair to get rid of some of the excess water.
Work in your preferred leave-in conditioner, volumizing spray or mousse into your damp strands and comb it through to make sure it's evenly distributed.
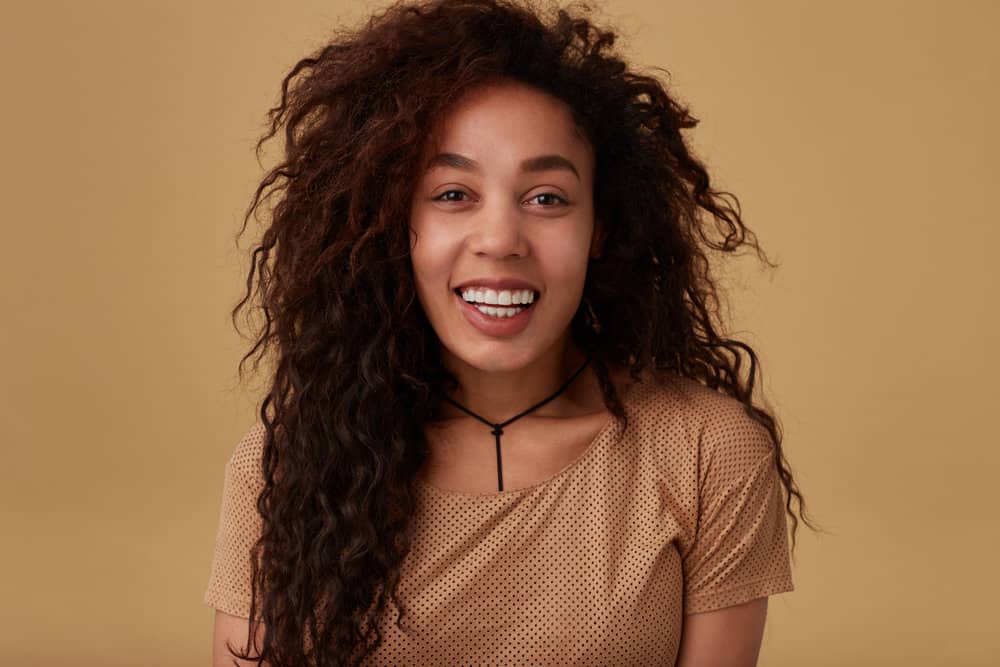
Part Your Hair Into Sections
Divide your hair into four or more sections and secure each one with a hair clip. Breaking up your hair into sections will help the rest of the process go smoothly and prevent your hair from getting in the way.
After your hair’s safely tucked away, undo one of the back sections.
Start Rolling Your Hair
Select your rollers, and make sure you have enough to finish your entire head. You can use whatever type of roller you like, but the larger the roller, the bigger and bouncier your curls will be.
Grab a thin section of hair roughly the same size as your roller and detangle it.
Starting with the ends of your hair, wind your hair around the roller and keep rolling until it sits against your scalp. Try to keep your hair pulled tautly so your blowout comes out looking smooth and shiny.
Secure your roller with a bobby pin or hair clip and repeat the process until you’ve completed your entire head. You can roll your hair in whichever direction you like.
Forward-facing rollers will create a curled under effect, while back-facing rollers will give you the classic bombshell look. Try mixing up the direction of your rollers to create interesting texture and movement.
Note: If you have naturally curly or kinky hair, you might want to straighten your hair before you apply the rollers. That way, your hair will come out perfectly smooth, rather than frizzy or full of texture.
You can either flat iron your hair or use your blow dryer to straighten it.
Then, while your hair is still warm, wrap it around your rollers and give it a few blasts of heat from your blowdryer. Wait for your rollers to feel cool to the touch before taking your rollers out.
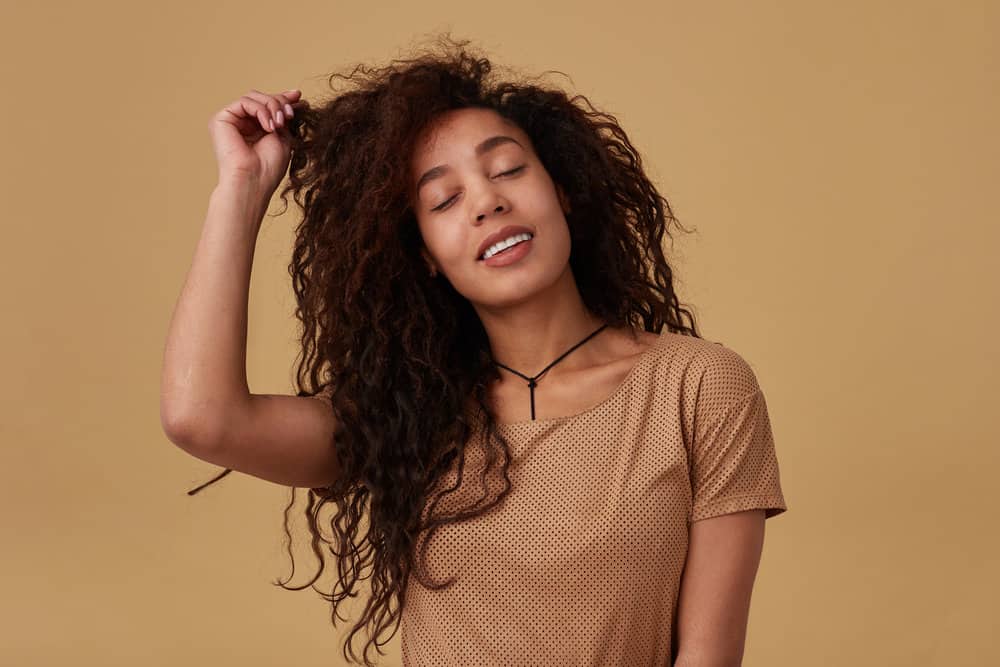
Let Your Hair Dry
Now that all your hair is in rollers, it's time to wait for everything to dry. You can either let your hair air dry for a few hours or use a blowdryer to speed up the process.
Just make sure your hair is completely dry before you remove the rollers. Otherwise, your hair is more likely to become frizzy as the day goes on.
Take Out Your Rollers
Gently unravel your rollers. Try not to yank on them, or you might damage your hair.
You can apply a small amount of lightweight oil or serum to your fingertips to give your hair some extra shine. Once you’ve removed all your rollers, gently break your curls apart with a wide-tooth comb and make sure your hair is laying the way you want it to.
Finish Styling Your Blowout
For more of a tousled look, flip your head upside down and gently shake out your hair. The 90s blowout is all about volume, so fluff up your hair as much as you can.
Stand upright and use your fingers to ensure all your curls fall into place. Once you’re satisfied, finish things off with a blast of finishing spray, and your look is ready to go!
Who Does a 90’s Blowout Look Good On?
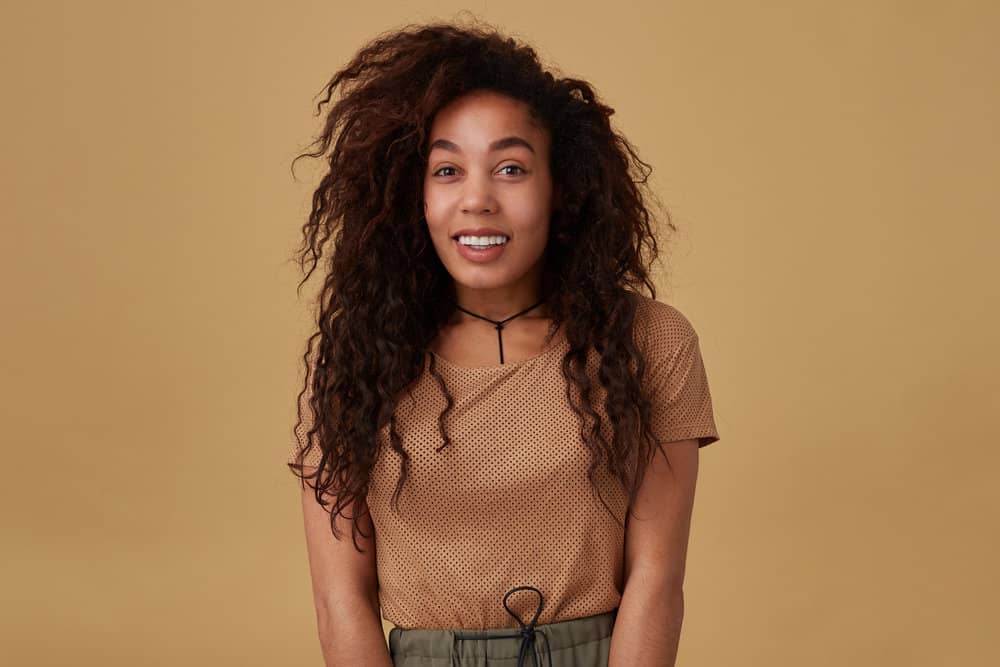
A 90s blowout is an incredibly wearable look that’s flattering on most face shapes and features.
Although they will look good on most people who try it, they aren’t the most flattering on longer faces. The curtain bangs can lengthen your face and throw off your features, depending on how they are cut and styled.
To rock this look with a long face, make sure your bangs don’t stop at your jawline.
Keep them on the longer or shorter side, and part them on the sides or off-center. That will highlight your features in the best way and keep you looking amazing!
Should You Do a 90’s Blowout?
We think that you should absolutely give this look a try! Although it can take a while before you get the hang of blowdrying your hair with a round brush, it’ll eventually get easier.
And once it does, you’ll be tempted to make this your go-to style. Since you’re drying, straightening, and styling your hair at once, blowouts are relatively quick.
They also smooth out your hair and create plenty of shine. 90s blowouts are flattering and surprisingly simple, considering how glam they look.
However, it might not be the best fit for some people.
You will have to ensure your hair is healthy enough to withstand the blowdrying. Additionally, your hair will have to be at least shoulder length or longer to create the necessary volume.
Pros and Cons of Doing a 90’s Blowout
Are you still trying to decide if you want to give the 90s blowout a try? Read this section before you whip out your blowdryer. We’ll review a few pros and cons to help you decide if a 90’s blowout is right for you.
Pros
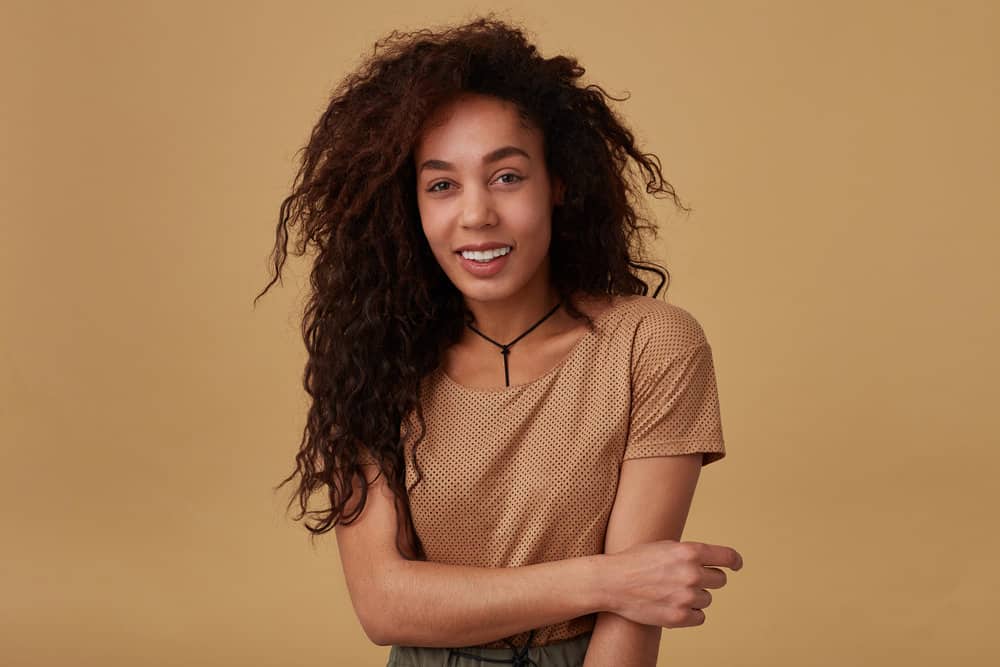
- 90s blowouts can make your hair look thicker and fuller.
- Blowouts are quicker than other styles because you dry and style your hair simultaneously.
- 90s blowouts look good with or without bangs.
- Voluminous styles are a little more forgiving when it comes to frizz and humidity.
- This universally flattering blowout looks fantastic on all hair types, textures, and face shapes.
- You can create a 90s blowout with or without heat, depending on time constraints and the condition of your hair.
Cons
- Washing and drying your hair can be time-consuming and inconvenient.
- Blow dryers can damage your hair.
- 90’s blowouts can be difficult or time-consuming for people with thick and long hair.
- Using a round brush is difficult for some people.
- Getting a super smooth 90s blowout may be difficult for coarse or kinky hair types.
- This look doesn’t work well for people with extremely short or thin hair.
- 90’s blowouts aren’t long-lasting.
Do’s and Don’ts of Doing a 90’s Blowout
Now that you know how to get a 90’s blowout, we’d like to go over a list of do’s and don’ts to help your blowout process go (and look) as smooth as possible!
Do’s
- Do use volumizing, texturizing, or thickening hair products to give your ‘do some extra oomph.
- Do use a high-quality blow dryer.
- Do part your hair on the opposite side as you normally would to create even more volume.
- Do use your blow dryer’s lowest heat setting to avoid heat damage.
- Do get layers added to your hair to give this look plenty of movement and volume.
- Do protect your hair while you sleep to maintain your style for a few days.
- Do use velcro rollers to recreate the look without using heat.
- Do use the right round brush for your hair type.
- Do create enough tension with your round brush so your hair comes out smooth and perfectly curled.
Don’ts
- Don’t try this style if your hair is extremely damaged.
- Don’t rip the brush through your strands.
- Don’t forget to apply a heat protectant before you blow-dry your hair.
- Don’t blowdry your hair while it's dirty.
- Don’t mess with your hair until it cools, or your curls will start to drop.
- Don’t leave the house with damp hair, or it will get frizzy.
- Don’t blowdry your hair against the grain of your cuticles, or your hair will come out dry.
- Blowout vs Flat Iron
- What Is a Dominican Blowout?
- What if You Don't Rinse Brazilian Blowout?
- When Can You Wash Your Hair After a Brazilian Blowout?
So, there you have it! If you’re looking for a new bombshell hairstyle that’s retro in all the right ways, a 90s blowout is the perfect style. And don’t worry if you don’t get the hang of things immediately.
Keep practicing, and you’ll be able to recreate the look in no time! We hope this article has answered all your questions about what 90s blowouts are and how to get them!


