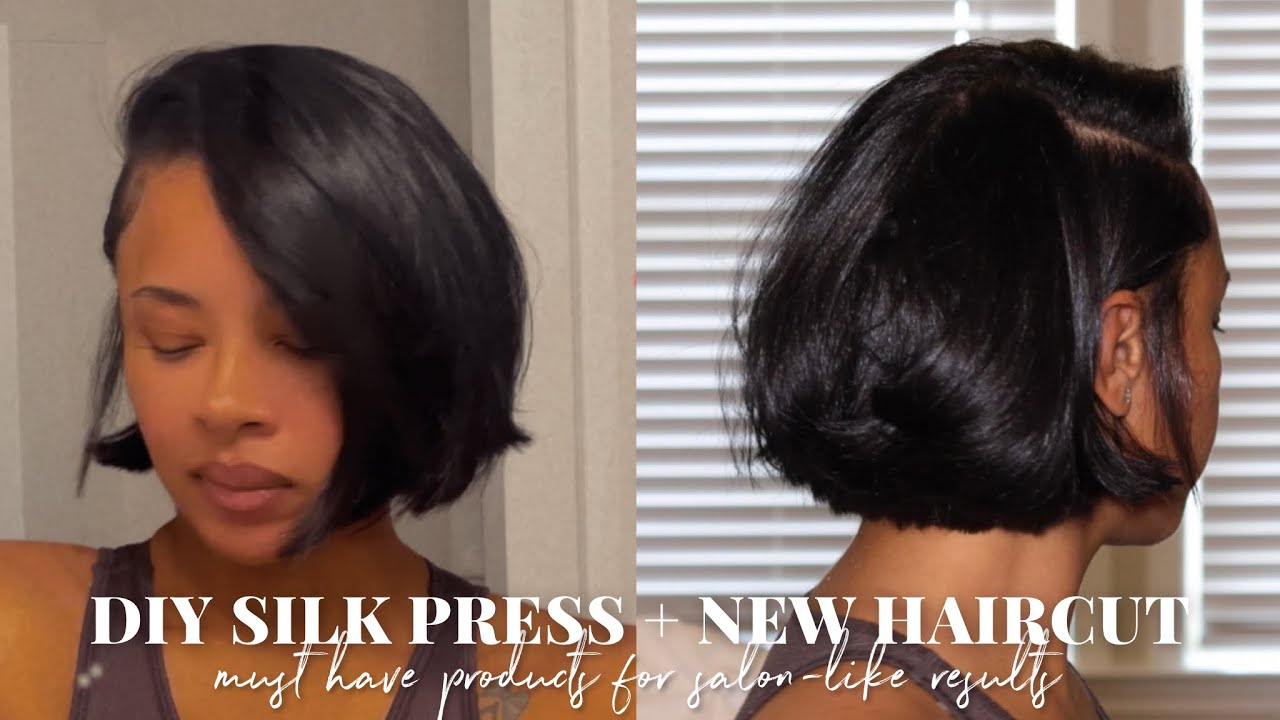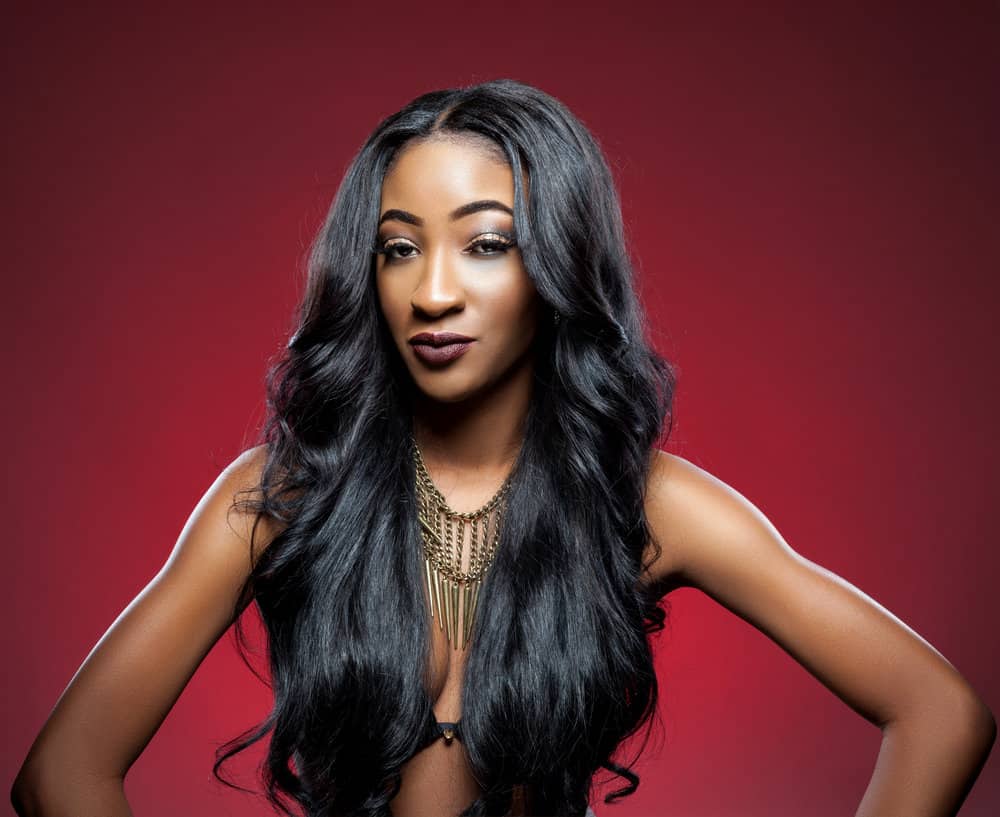
The press and curl of yesteryear involved a straightening comb, a lot of hair grease, and hair damage. It's for that reason that the natural hair community as a whole has turned away from that manner of hair straightening.
Today, instead of the press and curl, we do silk presses.
Silk presses achieve results similar to the press and curl but without much of the damage from the press and curl technique. In this article, we'll tell you everything you need to know about how to do a press and curl, also known as a silk press. Let's get right into it!
Table of Contents
What Does a Modern Press and Curl Entail?
The modern press and curl requires more steps than you might remember from the press and curl of the 90s. Here are the main steps:
- Cleansing and conditioning
- Moisturizing
- Protecting the hair from heat damage
- Sectioning
- Blow drying and stretching the curls
- Pressing with the flat iron
- Curling the hair
- Setting to finish the style
Though it may seem a little excessive, each of these steps is necessary to create the style without ruining your hair in the process.
How to Do a Press and Curl Step-by-Step
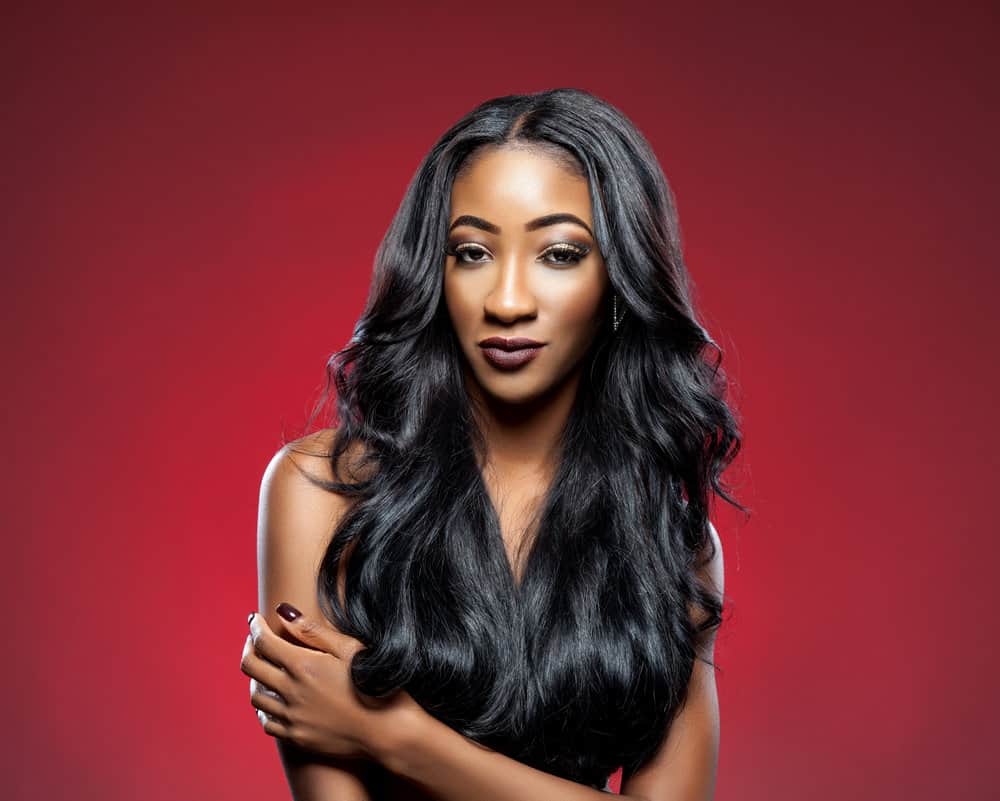
Executing a press and curl takes precision, patience, and a detailed set of instructions. Here, we'll help you with the latter. Follow the below instructions to execute a press and curl like a pro:
Cleanse and Condition Your Hair
Press and curls should never be done on dirty hair. The dirt, oils, and other stuff on the strands can sabotage your results in two ways: (1) make your results super greasy, and (2) cause your heat tools to fry your hair.
Take the below steps to clean and condition your curls the right way:
- Start by drenching your hair with water.
- Apply a clarifying shampoo to your hair.
- Massage the shampoo into your strands. You can do so in sections to make the process easier.
- Rinse the shampoo out of your hair.
- Apply a moisturizing conditioner to your hair, focusing on the ends. Avoid your roots, as the conditioner can flatten them.
- Detangle your hair while the conditioner is still on it. The conditioner will make it easier for the comb to glide through your strands.
- Rinse the conditioner out of your hair.
- Move on to the next step.
Moisturize Your Hair
If you were thinking about pulling out the big guns, stop right there! For a press and curl, you want to be careful not to over-moisturize your hair. Too much product residue could negatively affect your results.
To moisturize your hair, you'll apply a thin layer of leave-in conditioner. You can use a cream or a spray–that's up to you. Distribute the product through your hair with a comb or your fingers.
Protect Your Hair from Damage
When it comes to press and curls, your main enemy is heat damage. You'll want to be proactive in this regard. The single best way to prevent heat damage is to use a heat protectant.
A heat protectant is a hair product specifically formulated to coat and protect your hair from high temperatures. The average heat protectant can protect your hair from temperatures as high as 450 degrees Fahrenheit.
To give your hair the protection it needs, spray it down with a heat protectant spray. Be liberal with this product and ensure that every strand is covered; any missed spots may end up heat damaged when you use your blow dryer or flat iron.
Section Your Hair
This step is optional but very highly recommended. Sectioning your natural hair into several sections can make it much easier to deal with your curls. In workable sections, you'll be able to get to your roots with the blow dryer to get your hair as stretched out as possible in the next step.
You'll use your hands or the straight end of a rat-tail comb to separate your hair into 4 to 8 sections. The thicker your hair is, the more sections you should make. Secure each of the sections with a rubber band, ponytail, or clip to help keep unwanted hair out of the way.
Blow Dry Your Hair
With your hair moisturized, protected from heat, and sectioned, you're ready for the blow drying step. To blow dry your hair, you'll need a quality blow dryer with a comb attachment.
Here's how to blow dry your hair with minimal damage:
- Turn the blow dryer on and set it to medium heat.
- Begin combing through your hair with the blow dryer starting at the ends of one of the sections. As the ends are starting to dry, dry your hair closer and closer to the roots. Do your best to be as gentle as possible with the blow dryer. Ripping through your strands will only result in breakage and split ends.
- Once your first section is dry, move on to another section and do the same thing. Continue until all of your hair is dry and stretched.
Press Your Hair
Pressing your hair with a flat iron may seem straightforward, but this is the step where everything can go downhill. To ensure your press and curl looks as smooth and bouncy as you envisioned, follow the below steps:
- Put your hair into 4 sections and secure each of them with a clip. To achieve this, part your hair down the middle and then from ear to ear.
- Remove the clip from the first section.
- Turn on your flat iron and give it some time to heat up. Set it to a temperature that makes sense for your hair type. If your hair is on the finer side, set it to 325 to 350 degrees. For hair of normal thickness, set it between 350 and 400 degrees. If your hair is coarse, go for 400 to 450 degrees. Of course, these temperature suggestions should only be used as a guideline.
- Part out a ½-inch horizontal strip of hair from that first section.
- Use a fine tooth comb to remove any tangles from the hair.
- Clamp the flat iron down on the roots of the strip of hair.
- Place the rat tail comb through the strip of hair right in front of the flat iron.
- Pull the flat iron and comb through the strip of hair from roots to ends.
- Repeat the last five steps for the rest of the hair in this section.
- Flat iron all the rest of your hair according to the above instructions.
Curl the Hair
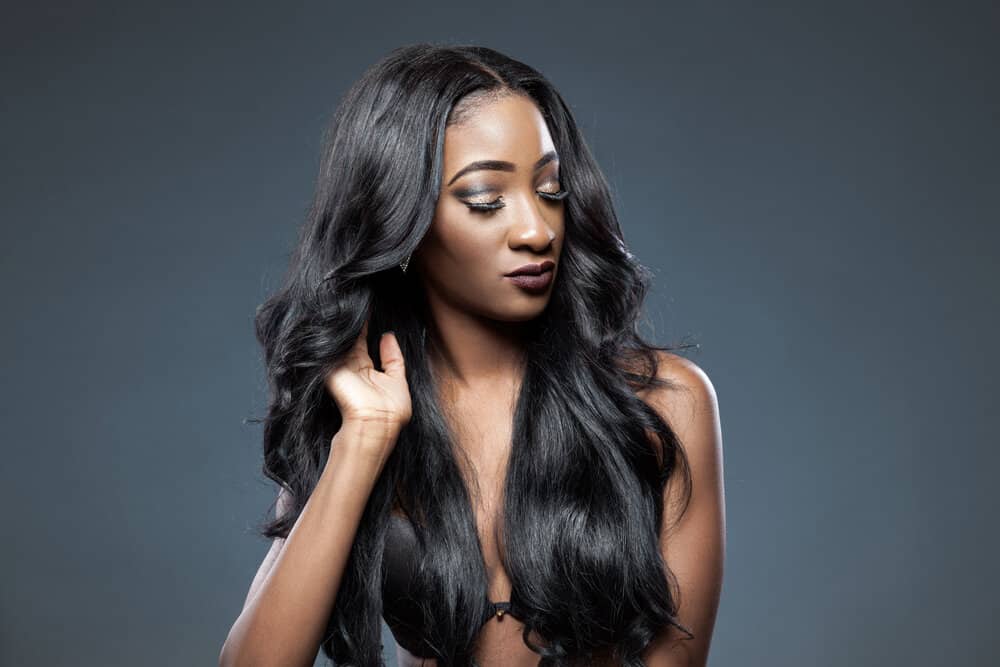
In this step, you'll add some tight curls to your straightened hair. To do so, you'll use a curling iron or your flat iron. Do so in small to medium-sized sections. Try not to do more than one pass with the curling iron.
Set the Hair
This step is optional but can give the look a little more wearability. Wrap your freshly curled hair around your head with a boar bristle brush. It should be super flat.
Then wrap your head in saran wrap, being careful not to let any hair fall out of the plastic. Sit under a hooded dryer (on a medium to hot setting) for up to 15 minutes. After you're done, comb your hair downward and style it as desired.
- What Is a Silk Press on Natural Hair?
- What Is a Dominican Blowout?
- How to Get My Curls Back
- How to Curl Your Hair with a Flat Iron
So, there you have it–everything you need to know about how to do a press and curl on your hair. There are lots of steps, but if you follow the instructions above, you can make it happen! We hope this article has answered all your questions about the process, and we wish you the best with your new style!

