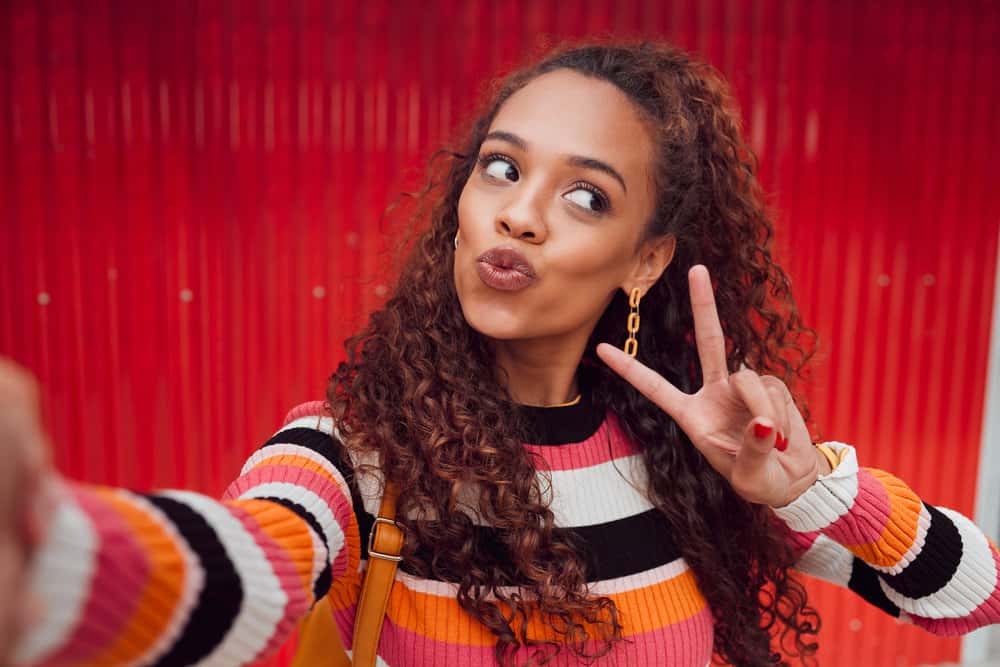
Curly hair has never been more popular. There's something about its playful, carefree aesthetic that we just can't get enough of at Curl Centric. Whether you have straight, wavy, or curly strands, there's at least one curl-creation technique that can give you the exact curls you've been wanting.
In this article, we'll tell you exactly how to get curly hair. We'll cover heat-styled curls, heat-free curling methods, and how to enhance natural curls. Let's get right into it!
Table of Contents
How to Get Curly Hair
This comprehensive guide delves into the enchanting world of curls and explores how to achieve the perfect curly or wavy hair, regardless of your hair type.
Get Curls With Heat
Looking for a quick and easy way to get curls? Turning up the heat could be the way to go. Curling iron and flat iron curls can give you virtually any curl type you want.
You've just got to prioritize your hair's health with mindful prep and learn how to maneuver your chosen heat tool. Keep reading to learn how to get curls with heat.
Curling Iron Curls
Curling iron curls are usually uniform and smooth, being that they're created by wrapping your curls around a barrel. The larger the curling iron barrel is, the bigger and looser your curls will be.
Here are the steps to follow to get curling iron curls with minimal fuss:
- Wash Your Hair. Before going anywhere near a heat styling tool, you must rid your hair of any excess scalp oils, product residue, and debris. If you don't, your hair will sizzle when it comes in contact with the curling iron. Use a clarifying shampoo to get a good deep clean, and then follow that up with a moisturizing conditioner. While the conditioner is on your hair, use a wide tooth comb to detangle it.
- Apply your leave-in and heat protectant. For this type of styling, use a spray leave-in. It won't be so heavy that it weighs your strands down. Ensure that you cover all of your strands in a thin coating of the product without overapplying. And the same goes for your heat protectant. You don't want to go crazy with it, but ensure that you've covered all of your hair. After applying the product, comb it through for even distribution. You can also smooth it through with your fingers.
- Blow Dry. Blow drying your hair is a big deal when you're going to use any heat styling tool. Your hair should be 100% dry, or you'll increase your risk of heat damage. Also, your hair is very fragile when wet, so you should ensure it's dry before putting it through the rest of the process.
- Curl your hair with the curling iron. When you're all done blow-drying your hair, it's time to turn on your curling iron and wait for it to heat up. The temperature you use will depend on your hair type. If your hair is on the finer side, stick to 300-350 degrees Fahrenheit. For normal hair, set it at 350 to 400 degrees. For coarse hair, your best bet is to set it a bit higher – 400 to 450 degrees. Here's how to use your curling iron to get curls:
- Separate your hair into 4 to 6 sections.
- Choose a section and break it down into 1-inch vertical sections.
- Clamp the curling iron down about a section or two from the ends of the hair.
- Turn the curling iron so that your hair starts wrapping around it.
- Stop twisting when you're about a half-inch from your roots.
- Wait 5 to 10 seconds.
- Release the clamp and pull the curling iron downward to release the curl.
- Continue curling your hair in this manner, section by section, until you run out of hair to curl. Be sure to curl the hair along your hairline away from your face. Use clips to keep unwanted hair out of the way until you're ready to curl it.
- Finger style your hair and then finish things off with a flexible hold styling spray.
- You're all done!
Flat Iron Curls
Looking for more organic-looking curls rather than uniform ones? Then, flat iron curls may be the best choice for you. They can give you relaxed, beachy curls or big bouncy ringlets, but they won't all be the same size due to small variances in your curling technique. And many people love that – they look more natural.
Getting flat iron curls is a little more difficult for some than curling iron curls, but after trying out the technique a few times, you should be able to get it down. Here's how to get flat iron curls at home:
To prep your hair, you'll complete steps 1, 2, and 3 from the previous section, Curling Iron Curls. The process is exactly the same, so there's no need to repeat it here. After you've done that, here's what you need to do:
- Turn on your flat iron and wait for it to heat up. You can use the same temperature guidelines we mentioned for curling iron curls – 300 to 350 degrees for fine hair, 350 to 400 degrees for normal hair, and 400 to 450 degrees for coarse hair. No change there.
- Separate your hair into at least four sections, but up to six. Doing so will make your hair super easy to work with. Secure each section with an elastic band or clip.
- Flat iron all of your hair. To do so, take 1-inch sections and clamp the flat iron down on the roots as close to your scalp as possible without burning yourself. Then, pass the flat iron down each section until you get to the ends. If your hair is hard to straighten, consider doing the chase method, where you stick the teeth of a rattail comb through each section of hair and then chase the comb with the flat iron. Doing so will give you much straighter results. The straighter your hair is before curling it with the flat iron, the sleeker your curls will turn out.
- Go back and add curls to your hair. To create curls with a flat iron, you'll clamp the flat iron down at the roots of any given section. Then, pass the flat iron down the section. When you get to where you want the curl to start, begin to turn your wrist. As you turn your wrist, continue to pull the tool down toward the ends of your hair. For loose curls, do a half-turn (180 degrees); for spiral curls, do a full turn (360 degrees). Once you've created the curl, hold it in your hand for a few seconds without letting it fall. Letting your curl cool down before releasing it will help it stay bouncy for longer.
- Repeat this on all of your hair.
- Fingerstyle, and then use a finishing spray to lock your curls in.
Consider a Perm
A perm is a chemical treatment that gives you permanent curls that last for about six months. This may be a bit confusing – though perms are considered permanent, the curls you get from the treatment will slowly disappear over time.
The process is usually done in the salon by a trained professional, but you can DIY your perm at home with a box perm kit.
The curls you get from your perm can be any size and shape you want, depending on the size of the rollers you choose and how you wrap your hair around them during the process.
Perms are great for those who want a specific curl pattern, extra body, or a little help for when their hair just won't hold a curl. The resulting curls won't take much styling in the morning and will make your daily styling routine much easier.
It's important to know that perms are best done by professionals.
They require chemicals that can cause chemical burns and ruin your hair. But if you have done your own hair in the past and feel confident that you can pull it off, there's nothing to stop you from giving this curl-creation method a try.
Here's how to do a perm on yourself at home:
- Get everything you'll need for the perming process:
- Perm rods. Rollers give you uniform curls, while flexi rods give you more natural-looking curls.
- Rattail comb
- Spray bottle with water
- Plastic processing cap
- Clarifying shampoo
- End wraps
- Cotton coils
- Waving and neutralizing solution or a perm kit
- Wash your hair thoroughly with the clarifying shampoo. In order for a perm to work, your hair needs to be squeaky clean. Otherwise, your perm may not process evenly. Don't condition your hair.
- Separate your hair into workable sections and secure each with clips or elastic bands. The larger your sections are, the looser your resulting curls will be. For large sections, you may end up with 8 to 10 sections. For super tight curls, you may need more than 30 sections. Make sure that your hair is free of tangles. Any tangles left behind can cause kinks in your curls.
- Choose a section of hair and apply an end wraps to the ends. Spray the end paper with water to make it pliable and easier to stick to your hair.
- Wrap the section of hair around the roller or flexi rod. Ensure that the hair is completely smooth, or your curls will look wonky at the end.
- Close or otherwise secure the rod or roller.
- Repeat the process on the rest of your hair until all of it is wrapped up.
- Mix up your perm-waving solution according to the instructions on the packaging.
- Apply the perm solution. When done mixing it up, wrap a cotton coil around your hairline and the nape of your neck. Then, apply the solution to your hair while it's wrapped around the rods. Try your best not to miss any spots.
- Wait for 20 minutes while the waving solution does its magic.
- Rinse the waving solution out without removing the rods.
- Apply the neutralizing solution to your hair while it's still in the rods.
- Wait for 5 minutes for the neutralizer to work.
- Rinse the neutralizing solution out.
- You're all done!

Heat-Free, Chemical-Free Curling Methods
The previous methods we shared can be a little on the harsh side. If you're looking for something that's less risky, perhaps going with heat and chemical-free curls and loose waves is the best bet for you. Below, you'll find some cool curling methods that anyone can do at home for beautiful bouncy curls within hours.
Sock Curls
Sock curls are among the easiest curls to do at home. All you'll need for them is a couple of socks, some moisturizer or curl cream, and several hours. First, you'll dampen your hair with water.
Then, apply a curl cream of your choice to your hair and comb or smooth It through for even distribution. Once you've done that, you're ready to wrap your hair around some socks! Here's how to do it:
- Get your hands on some thin calf or knee-high socks.
- Part your hair down the middle. You'll curl your hair in two sections.
- Start wrapping half of your hair around the sock, starting near the top of the sock. Wrap your hair firmly as you slowly move down the sock.
- When you're done wrapping your hair down the length of the sock, flip the sock inside out to secure the hair.
- Complete the wrapping process on the other side.
- Go to sleep – your hair will dry overnight.
- Take the socks out of your hair, separate, and fingerstyle.
Note: This hair curling method works best for those with straight or loosely wavy hair.
Three-strand Braids
Does the thought of sleeping with socks in your hair make you cringe? Perhaps three-strand braids are more your style. Three-strand braids give you wavy-looking curls that look relatively natural.
The style requires you to section, braid, and then remove the braids, revealing the curls. If you want to give this curling method a try, this is what you need to do:
- Dampen your hair with water, or don't. If you do your three-strand braids on dry hair, you'll have to wait hours for your curls to set. If you dampen your hair first, you can release the curls as soon as your hair dries.
- Section your hair into as many sections as you want. The smaller the sections, the tighter the curls will be.
- Braid each section from roots to ends. Secure the ends with an elastic band.
- Cover your hair up and go to sleep, or blow dry your hair.
- Take your braids down to see your new curls!
Roller and Rod Sets
Roller and rod sets are commonly used to give you juicy curls that last for days! All it takes to make this style happen are your desired rollers or rods, some curling mousse, and time for your hair to dry. Here's how to do a roller or rod set:
- Wash and condition your hair. While the conditioner is sitting on your hair, detangle it with a wide tooth comb.
- Apply your favorite leave-in conditioner and comb it through.
- Separate your hair into four sections to make it easier to work with.
- Part out a small section of hair and generously apply some styling mousse to it.
- Smooth and wrap the section of hair around a rod or roller.
- Repeat the last three steps on the rest of your hair.
- Sit under a hooded dryer or blow dry your hair on cool.
- When your hair is dry, take the rollers or rods out and separate and fluff your curls.
Learn More:
How to Enhance Natural Curl Definition
Sometimes, you have natural curls, but they haven't yet reached their full potential. If you resonate with this statement, maybe all you need is some extra definition. You can do this easily if you take the following steps.
- Wash Your Hair. Buildup is one of the main causes of lackluster curls. Give your hair a clean slate with a clarifying shampoo treatment. Get the shampoo on your hair, massage it into your scalp and hair, wait a few minutes, and then rinse. If you don't suspect that you have product buildup, use a moisturizing shampoo, which will cleanse your hair gently without stripping it of all moisture.
- Condition your hair. After your shampooing session, it's time to bring some moisture back into your hair. Choose a super hydrating conditioner and apply it to your hair, focusing intently on the ends. Wait for at least 3 minutes (check the label for an exact time) and then rinse the conditioner out. In lieu of a conditioner, you can use a deep conditioner for extra moisture to really bring out your curls. Follow the instructions on the deep conditioner for the best results.
- Apply your leave-in. Spray or smooth a leave-in through your curls. The leave-in will add yet another layer of hydration to your hair. Ensure that all of your strands are covered.
- Smooth in your curl definer. This is the step that really brings out your curls. Dispense some curl definer into your hands, rub them together, and apply the product to your curls. Make sure that you get the definer on all of your hair – any missed sections will remain undefined.
- Scrunch and define. This part can be the difference between light definition and extreme definition. Coax your curls out with some scrunching, finger-coiling, smoothing, or shingling. You may find that a specific combination of these methods gives you the best results.
- Air dry or diffuse your curls. Never blow dry your curls without a diffuser.
- Fluff and go!
- How to Make Your Hair Fluffy
- How to Get Curly Hair Back After Straightening It Too Much
- Can Straight Hair Turn Curly
- What Causes Curly Hair?
So, there you have it – everything you need to know to get curls. We hope you found all the information you were looking for, and we wish you the best with your new curls!


