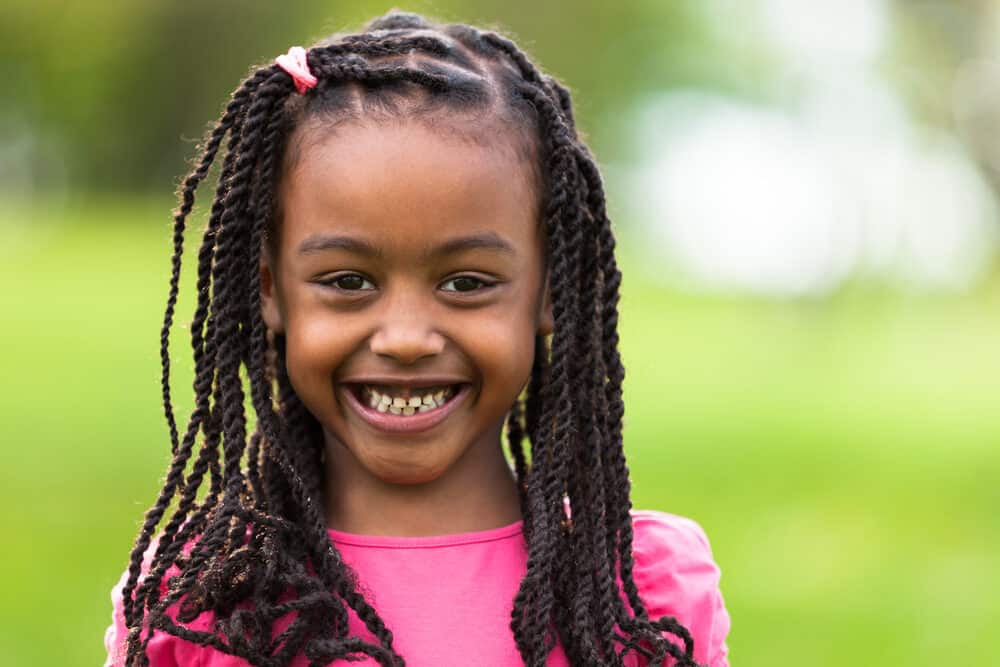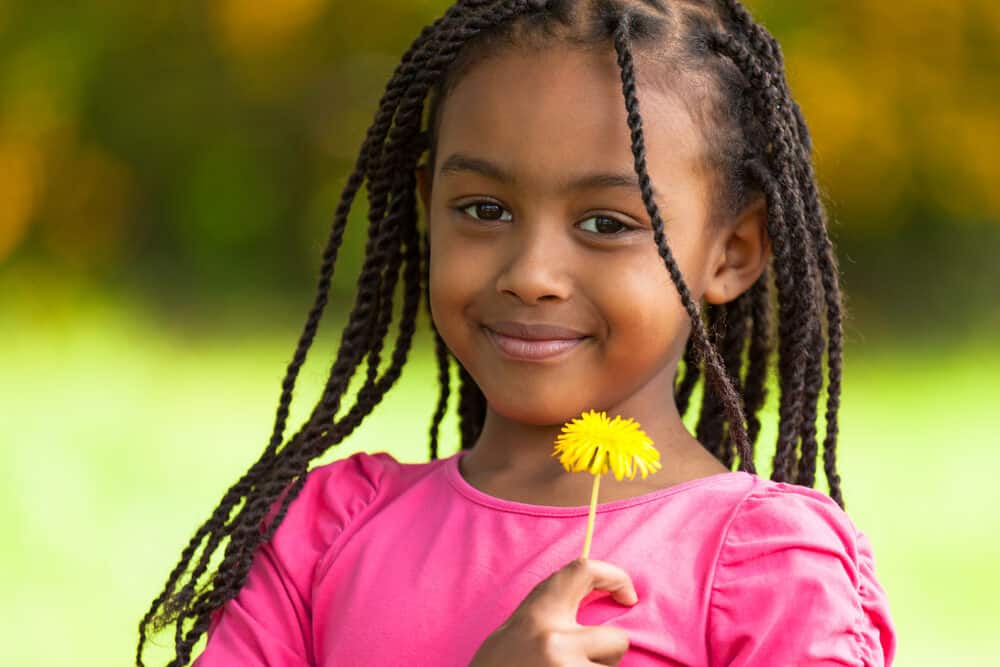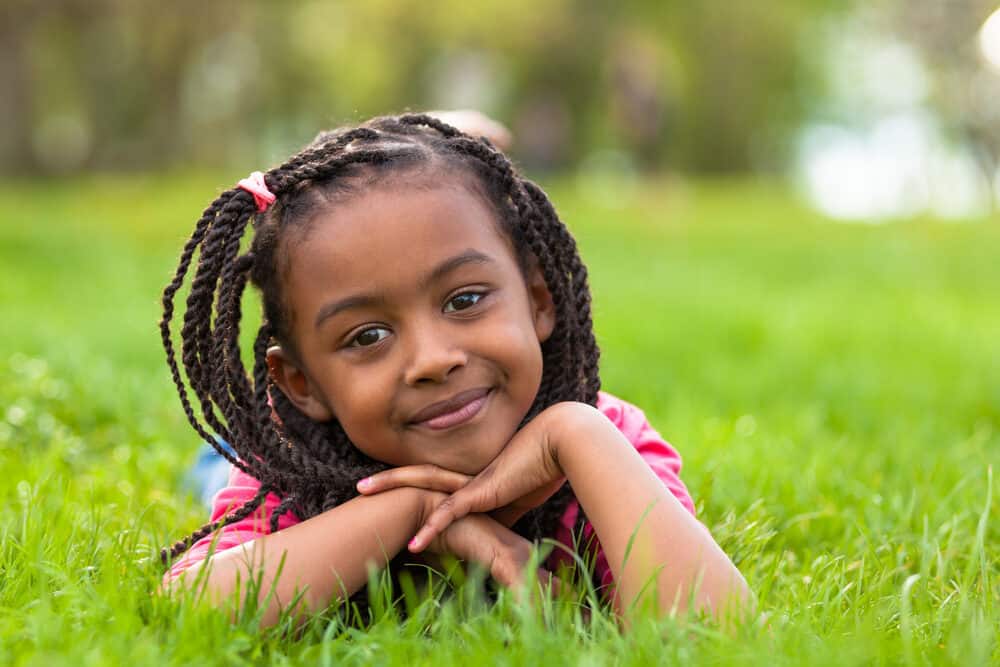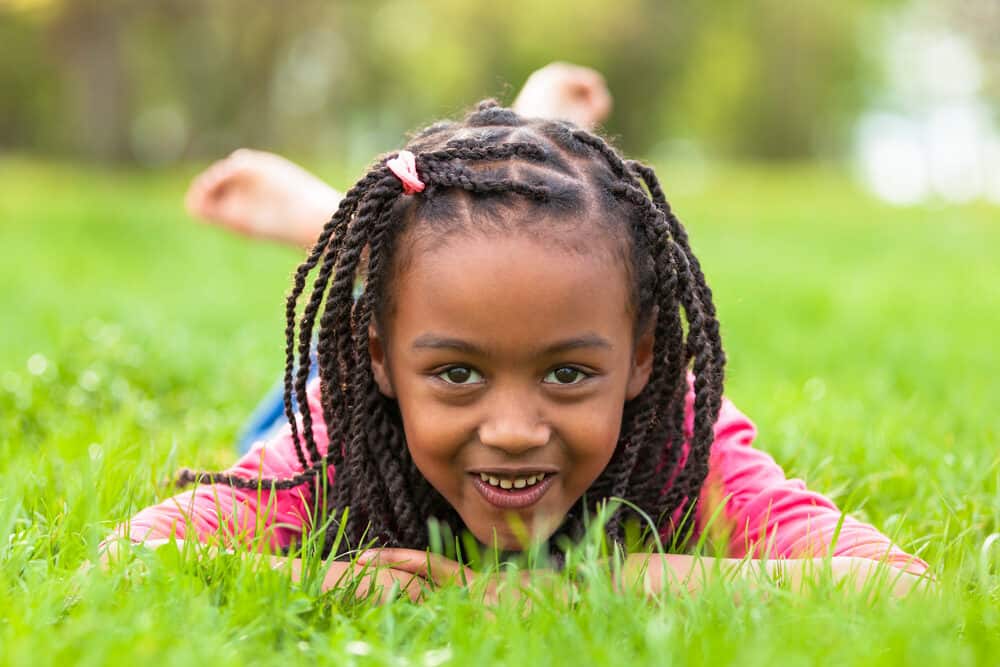
Even if you're a beginner when it comes to styling hair, you can create some adorable natural hairstyles on your little girl's hair.
Here, you'll find details and instructions for creating the top seven little black girl hairstyles. These styles are easy to complete with a bit of practice and will last for a while with proper care.
Table of Contents
Preparing Your Little Girl's Hair for Cute and Extravagant Hairstyles

Before doing any style, it is crucial to complete the below hair prep steps to make the hair easier to style and prevent damage to your kid's hair.
- Shampoo their hair to remove any product buildup. Use a sulfate-free shampoo to preserve the hair's moisture.
- Condition their hair to regain the moisture that may have been stripped away by the shampoo. Gently detangle with your fingers while the conditioner is in their hair. This will make the process much quicker and more painless for them, which will create a more enjoyable experience overall.
- Apply moisturizing products such as leave-in conditioners, oils, and curl creams.
Little Black Girl Hairstyles

Even if you're a beginner when it comes to styling hair, you can create some adorable natural hairstyles on your little girl's hair.
Here, you'll find details and instructions for creating the top seven little black girl hairstyles. These styles are easy to complete with a bit of practice and will last for a while with proper care.
Simple Cornrows
Cornrows are a classic hairstyle for any age, but these braids are perfect for little girls, thanks to their durability and longevity. Follow the below steps to create sleek, long-lasting cornrows for your little one.
Gather Your Supplies
- Wide-tooth comb
- Rattail comb
- Alligator clips or hair ties
- Braiding hair (optional)
How to Do Cornrows on Kids
- Part your child's hair down the middle, then divide each side into three smaller sections. You should have six square parted sections in total.
- Begin styling a section at the back of the head. Secure 5 of the sections out of the way with alligator clips or hair ties.
- Starting at the bottom hairline, part out a section to create a small diagonal cornrow. You will do this by dividing a small section of hair near the ear into three smaller sections. Begin braiding by rotating the outer pieces underneath to create a defined, outward-facing braid. Incorporate into the braid as you go.
- Keep braiding until you've reached the center part. Continue creating small, diagonal cornrow braids up the entire section, leaving the ends of the braids undone.
- Start on the section above the bottom section that you just finished. Create cornrow braids in the same way as described, going diagonally upward toward the crown of the head and the center part. The braids in this middle section should be slightly curved. Continue creating braids until you've styled every section.
- Continue to the front section along the hairline. Create a cornrow horizontally along the front hairline. The end of the braid should be at the center part. Repeat and continue creating horizontal braids in the same direction until you've braided every section.
- Repeat steps 3-6 for the other side of the head.
- Finish the ends of the braids, incorporating some braiding hair at the ends of the braids if you'd like.
Watch this YouTube video for a visual demonstration of the style. The braided bun is also a popular style that can start with cornrows.
Bubble Ponytails
Bubble ponytails are such an adorable style for a little girl. These are small ponytails with "bubbles" created by spaced-out hair ties.
Gather Your Supplies
- Wide-tooth comb
- Rattail comb
- Colorful plastic or rubber elastics
- Spray bottle
- Shea butter
How to Do Bubble Ponytails
- Begin by sectioning the hair into large box-shaped parts. If your child has fine hair, make extra-large sections.
- Lightly spray their hair with water to make it easier to style, but not too much, as you don't want their hair to be too damp.
- Add an elastic to their hair as close to the root as possible without making it too tight.
- Add another elastic about an inch below the first. Repeat with more hair ties until you reach the end of their hair.
- Repeat until you've styled all of the hair.
- Add a small amount of shea butter to the ends of the ponytails to create a clean look.
Watch this YouTube video for a visual demonstration of the style.
How To Remove Bubble Ponytails
Removing bubble ponytails can be difficult, especially if your child's hair has a kinky texture. To remove the elastics, carefully cut them out of their hair with a small pair of scissors. To be as safe as possible, stretch the elastic before cutting.
The french braid and high ponytail are also popular hairstyles for little black girls because their versatile. You little angel can wear it to school, church, or a little league game!
Braids with Beads
Incorporating beads is the perfect way to add a cute detail to any children's style. Here are some instructions for an adorable braided ponytail style with beads.
Gather Your Supplies
- Wide-tooth comb
- Rattail comb
- Spray bottle with water
- Hair ties
- Beading tool
- Hair beads
- Small rubber elastics
How To Do Braided Ponytails with Beads
- Lightly spray the child's hair with water to make the hair easier to style.
- Create a part from ear to ear. Secure the front section out of the way with an alligator clip.
- Create a part down the middle at the back of their head.
- Secure each of the two back sections with elastics. Then, secure the front section with an elastic. You should have three sections in ponytails.
- Part a small section of hair from the front ponytail and create a braid. Repeat until you've braided to the very end. Make sure the braids are not too thick for your beads. If your kid has thick hair, you'll need to create more braids.
- Repeat and create braids with the back sections as well.
- To add beads to the end of your hair, you can use a threading tool that typically comes with hair beads. If not, add them one by one with just your hands.
- To use a threading tool, you simply load several beads onto the tool and put the end of the braid through the tool's loop. Then push the beads up onto the braid and pull the threader away.
- To secure the beads, fold the end of the braid up and around the side of the last bead and secure it in place with an elastic.
- Repeat until you've added the beads to all of the braids.
Watch this YouTube video for a visual demonstration of the style. We have written a comprehensive step-by-step tutorial on how to create this cute style.
If your daughter has short hair, you can incorporate
Box Braids
We often see box braids on teens and women, but they are a fabulous children's hairstyle.
The instructions below describe how to create box braids.
Gather Your Supplies
- Wide-tooth comb
- Rattail comb
- Hair clips
- Edge control
- Beading and beading tool (optional)
- Kanekalon braiding hair
How to Do Box Braids
- Begin with moisturized, detangled, and dry hair. You may also want to stretch the hair by banding, braiding, or blow-drying to make the hair more manageable when styling.
- Decide what type of pattern you want to create (box parts or diamond-shaped parts) and begin sectioning the hair accordingly.
- Begin styling at the back of the head. Pin the rest of the hair out of the way with the hair clips.
- Create a square-shaped section. This will be the base of your first box braid.
- Remove the Kanekalon hair from its packaging and pinch off a section of braiding hair. How much you'll pinch off depends on the braid size you're going for.
- Lay the midpoint of the braiding hair at the base of the section you've just parted.
- Using your child's natural hair as one of the three sections, begin braiding the extensions in with the natural hair.
- Continue to braid until you've reached the end.
- Repeat until all of the hair has been neatly parted and braided.
- Optionally, add beads to the ends of the braids with a beading tool.
Note: Depending on how much braiding hair your add, you could end up with pretty thick braids that pull on your little girl's head and cause discomfort.
Braided hairstyles can also be very heavy and lead to hair loss due to the weight on the hair and scalp.
Since African American hair strands are often a kinky or coily hair type, it's even more important that you're very careful during the styling process.
Throughout the installation process, be sure to ask your kid how her hair feels to ensure that you'll end up with a hairstyle that she'll love.
Watch this YouTube video for a visual demonstration of the style.
Two Strand Twists
Two-strand twists are a simple style for beginners who aren't quite ready to jump into braiding. It's a beautiful style that will last a week if properly maintained.
The best part about this style is that if you use the right product, your child's hair will remain moisturized and hydrated while in the style, promoting healthy hair growth.
Gather Your Supplies
- Wide-tooth comb
- Rattail comb
- Spray bottle with water
- Moisturizing products (leave-in, oil, cream)
- Hair elastics (optional)
- Alligator clips
How to Do Two-Strand Twists
- Start with detangled, damp hair.
- Add some moisturizer to the hair, such as a leave-in conditioner, curl cream, or oil. These products will nourish the hair while it's in the twists and help hold the style in place.
- Part the hair as desired. Hold the hair not being styled out of the way using alligator clips.
- Begin styling at the back. Create a small parted section and divide it into two pieces.
- Twist the individual strands clockwise while wrapping them around each other in a counterclockwise direction. Twist until you've reached the end of the strand and secure the end with an elastic if needed.
- Repeat until you've twisted all of the hair.
Watch this YouTube video for a visual demonstration of the style. Chunky twists and flat twists are also cute hairstyles for young black girls.
Wash and Go (also called a Wash n' Go)
A wash and go is a great way to define and add moisture to your child's curls. All you need for a wash and go is a comb and a few styling products of your choice!
Gather Your Supplies
- Wide-tooth comb
- Hair smoothie or leave-in conditioner
- Gel
- Spray bottle with water
How to Do a Simple Wash and Go
- Begin with freshly washed, conditioned, and soaking wet hair.
- Divide hair into four different sections.
- Add a hair smoothie or leave-in conditioner of your choice to the hair, working it through for even distribution. Lightly detangle as you go.
- Add gel to small sections of hair, ensuring you've coated each strand in the gel. This will give the curls a more defined look. Gently remove any remaining tangles as you apply the gel.
- You can also finger coil the curls to add even more definition.
- Repeat until you've applied the product to all of the hair. Wet the hair with a spray bottle if it begins to dry as you're styling.
- Allow the hair to air dry or use a blow dryer with a diffuser attachment.
Watch this YouTube video for a visual demonstration of the style.
Pig Tails
Pigtails are an adorable little girl's style that will stay in place and help keep their hair out of their face. Follow the steps below for styling instructions.
Gather Your Supplies
- Wide-tooth comb
- Rattail comb
- Boar bristle brush
- Spray bottle with water
- Elastics
- Gel
How to Do Pig Tails on Natural Hair
- Lightly spray the hair with water. You can also add oils to the water to moisturize the hair.
- Make sure that you've completely detangled the hair.
- Using your rattail comb, create a part down the middle from the front hairline to the neck.
- Keep one section out of the way with an alligator clip.
- Add some styling gel to the root of the section that you're styling. Comb it through to distribute it evenly. This step will help the hair lay flat and look smooth.
- Begin brushing the hair into the location where the ponytail will be.
- Once you've smoothed out all the bumps, add the elastic.
- Repeat for the other side, and you're all done!
Watch this YouTube video for a visual demonstration of the style.
Maintaining Children's Natural Hairstyles

The key to making a style last is properly maintaining it throughout the week. You can easily maintain your child's hairstyle with a few simple steps.
- Wrap the hair up in a silk scarf or hair bonnet before bedtime.
- Re-style as needed throughout the week. For example, if a bubble ponytail isn't looking right, take out just that one ponytail and fix it.
- Lay their baby hairs down around their face every day or every other day to give their style a cleaner finish.
- Add moisturizing products, such as oils, if needed to keep their hair moisturized.
- Hair in Baby’s Eye
- Can You See Hair on Ultrasound?
- How to Remove Chewing Gum From Hair
- How to Remove Slime From Hair
We hope that this article has given you plenty of inspiration to try some new styles on your child's hair. Remember to be gentle on their delicate black hair and be patient with yourself as you master new styles.
The hairstyles in this article range from super cute styles that are a great idea for special occasions to easy hairstyles that last for several days, like a traditional protective style.
Be willing to experiment until you find the right hairstyles for your little girl. Also, look at other girls' hair and ask their parents for tips on recreating the styles that you like.
Styling your child's hair can be a great bonding time and the perfect opportunity to boost your child's self-confidence. You want them to sport cute styles but create a wonderful bonding experience at the same time.
For more hairstyling inspiration, read our articles on creating bantu knots, bangs, afro puffs, and other cute hairstyles for curly hair.


