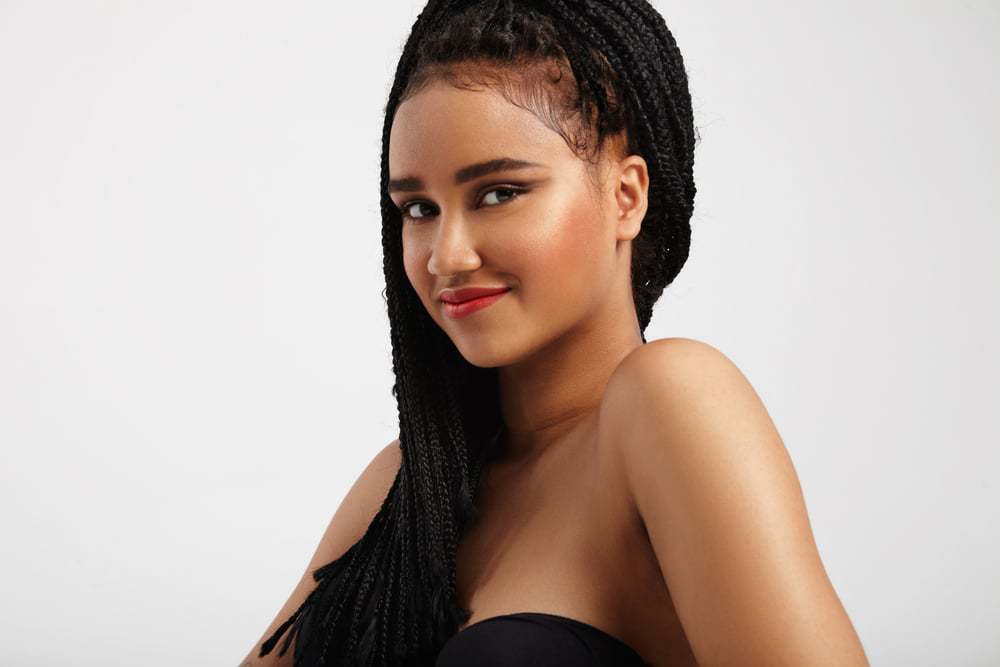
Before being known as poetic justice braids, people used to refer to these popular braids as box braids.
In fact, their name changed after the late Tupac Shakur and Janet Jackson (the pop singer) famously collaborated in a movie titled 'Poetic Justice.'
Poetic Justice was a 1993 romantic drama movie that starred the two musical artists and other popular names of the time, such as Regina King and Joe Torry. The movie was written and directed by John Singleton.
The producer named the main character Justice, a young woman who was an excellent singer and hairdresser. After taking a long trip in a postal mail delivery truck, Janet met Lucky (Tupac) and fell in love with him.
The movie was very successful and grossed approximately $27 million. It's interesting to point out that during the entire movie, Justice wore braids that were eventually dubbed poetic justice braids by the fans.
The scene below shows Justice (i.e., Janet Jackson) wearing poetic justice braids while reciting the poems 'Alone' & 'Phenomenal Woman' by Maya Angelou.
While it's impossible to call hair braiding a trend, it seemed to increase in popularity thanks to Janet Jackson's return to the spotlight.
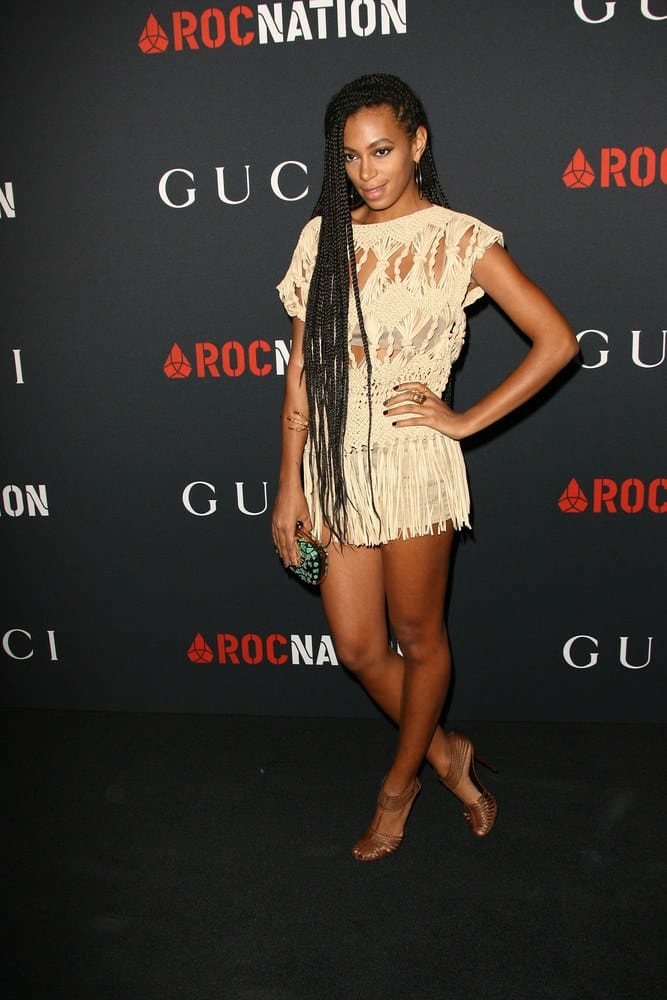
Currently, poetic justice braids are very popular with African American musical artists, including Solange Knowles, Beyonce Knowles, Brandi Norwood, Keri Hilson, and many others.
How to Do Poetic Justice Braids Step by Step
Going from loose natural hair to poetic justice braids is a big deal and requires a lot of work. In this section, we’ll go through all of the steps you should follow if you want to create sleek, long-lasting poetic justice braids.
Table of Contents
Gather Your Supplies
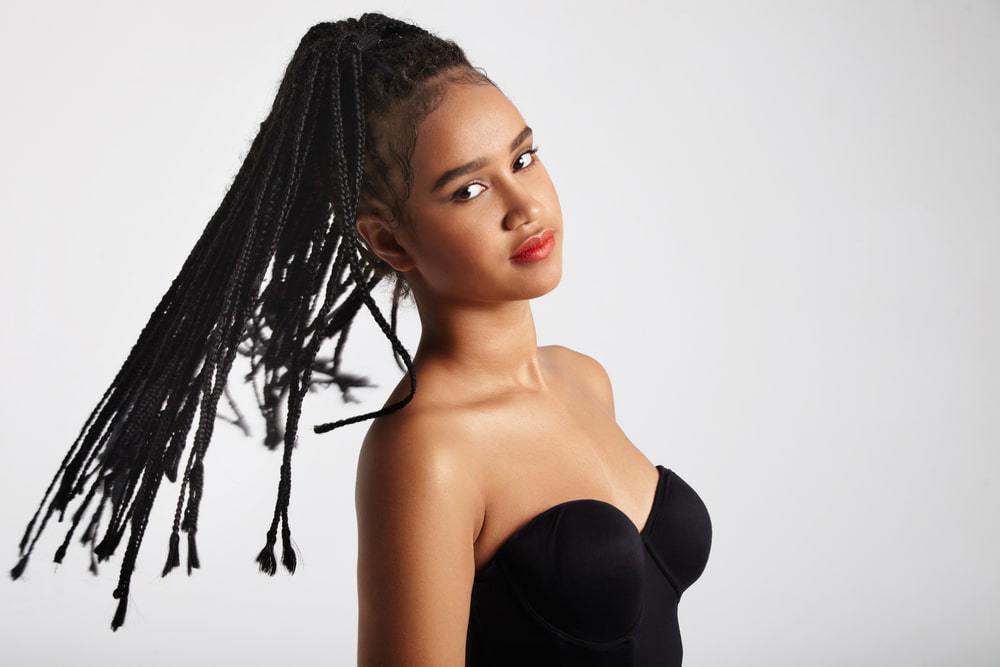
The first step you should take before doing poetic justice braids is to get your supplies. Here are the supplies you will need for the style:
- Shampoo
- Conditioner
- Deep conditioner (optional for extra dry hair)
- Wide-toothed comb
- Rat-tail comb
- Gel/Styling Product
- Oil
- Denman Brush
- Mousse
- Scissors
- Hair ties
- Braiding Hair
- Rubber bands (optional)
Different Types of Braiding Hair
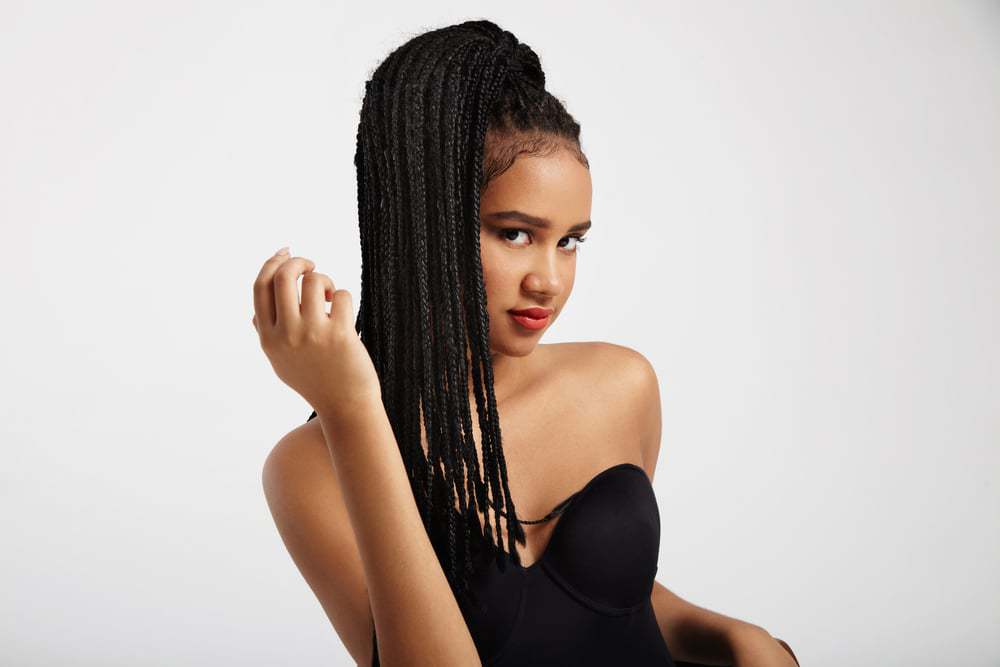
If you’re wondering what type of hair to buy, keep on reading.
100% Kanekalon hair is most commonly used for box braids. It has a slightly kinky texture that lends itself well to braiding.
It’s also very affordable, at only a few dollars per pack, depending on where you get the hair. Lastly, the hair comes in a wide variety of colors, allowing for total personalization.
You can find Kanekalon hair at your local beauty supply store or one of many online beauty retailers. If you’re on the hunt for savings, window shop around to find the lowest-priced hair.
How Many Packs of Hair Are Needed for Poetic Justice Braids?

You'll need about eight or nine jumbo braiding hair packs. There are plenty of colors you can choose from, so you can mix and match any way you want to accommodate your style.
The amount of hair you’ll need depends on the following:
- Your desired braid size - If you want an extra full result, you will need more hair.
- The brand of hair - X-Pression brand hair gives you the most bang for your buck. One pack of X-Pression hair is equal to almost two packs of hair from an alternative brand.
As mentioned, eight or nine jumbo packs of hair will be enough in most cases. However, if you’re buying X-Pression hair, you may be able to get by with 5 or 6 packs.
Keep in mind that if you buy too much hair, you can save it for next time.
Prepare Your Natural Hair
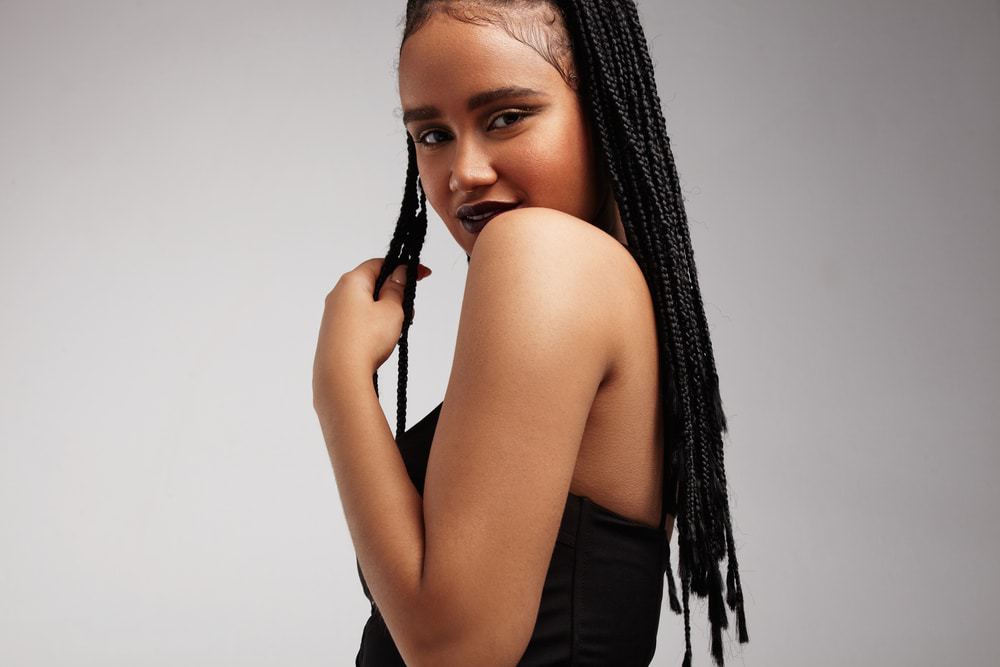
Once you’ve gathered your supplies, you’re ready to prepare your natural hair for poetic justice braids.
Your hair will be tucked away inside the poetic justice braids for an extended amount of time, so your natural hair will need to be adequately prepped beforehand. Take the following steps to get your natural hair ready.
Shampoo Your Hair
All protective styles should be done on clean hair. Wash your hair thoroughly with a gentle cleanser to remove debris, excess oils, and other impurities.
While you should try to give your hair a deep cleansing session, we recommend that you stay away from sulfate shampoos.
These shampoos clean the hair too well, washing away all of your hair’s oils and leaving your hair dry and brittle.
Instead, use a shampoo that has gentle cleansers like decyl glucoside or lauryl glucoside. These cleansers are efficient in removing product residue and dirt without stripping your hair.
Condition or Deep-Condition
Immediately following your shampoo session, condition your hair. Apply your favorite conditioner to your hair, paying particular attention to your ends.
If your hair is parched, apply a deep-conditioning mask to your hair. Follow the instructions on the product label for max moisture.
Apply Moisturizer
When it comes to natural hair preparation, the moisturizing step is crucial. Apply a moisturizing cream, spray, or oil to your hair, and then comb it through for even distribution.
Stretch Your Hair
Stretching your hair is an optional step that makes your braids neater. It also makes it easier to blend your hair with the extension hair. There are several ways to stretch your hair, including:
Braiding - While your hair is damp from the wash, separate it into four equal sections and then three-strand-plait each section all the way down to the ends. You can then allow your hair to air dry if you have time. To cut down on time, you can sit under a hooded dryer for a half hour or so. Once the hair is dry, take the braids down. Here is a video tutorial on stretching your hair with braids.
Banding - Comb through your hair to separate your curls. Then, divide your hair into four equal sections and secure each section with a ponytail holder. Next, repeatedly wrap the band or ponytails around each section of hair until you reach the ends. Once your hair is dry, remove the bands. Here is a video tutorial on stretching hair using the banding method.
Blow-Drying - For quick, efficient stretching, use a blow dryer. If your blow dryer has a comb attachment, comb through your hair with the blow dryer to stretch it. If you don’t have a blow dryer with a comb attachment, you can use a Denman brush to stretch your hair as you blow-dry it.
If you plan to use heat at any time during the styling process, be sure to apply a heat protectant first. Your hair is now ready for the poetic justice braid installation process.
Prepare the Braiding Hair
Now that your natural hair is ready for the braiding process, it’s time to prepare the extension braiding hair by doing the feathering technique.
We don’t advise that you skip this step for a couple of reasons: feathering the ends of your extension hair (1) makes it easier to braid the hair to the ends, and (2) makes your braids sleeker.
We’ll tell you exactly how to prep your braiding hair in this section.
- Take the hair out of the pack and cut off the rubber band holding the hair together.
- Hold one end of the hair in one hand and repeatedly pull up strands of hair until the ends are no longer blunt.
- Hold the middle part of the hair (where the rubber band used to be) and use your fingers to comb the hair downward.
Your extension hair is now ready for use. Watch the video tutorial above for assistance with the feathering technique.
Start Braiding

Installing poetic justice braids may be difficult on the first try, but over time it will become easier. Below, you’ll find easy-to-follow instructions on how to install poetic justice braids.
- Use a rat-tail comb to part your first section. Each section should be a little bit bigger than you want your poetic justice braids to be. Take your time to get the parts straight because the straighter your parts are, the cleaner your final result will appear.
- Apply oil to your parts to hydrate your scalp.
- Put a small amount of gel or styler at the roots and ends of your natural hair. This will help your hair blend with the extension hair and reduce flyaways.
- Take a section of braiding hair, separate it so that you have ⅔ of it in one hand and ⅓ of it in the other hand. Then wrap the thinner section of extension hair around the large section of extension hair and join the two thinner strands. This way, you’ll have three equal strands. Here’s a demonstration of how to separate the extension hair – start watching at 5 minutes and 45 seconds. How to box braid VERY DETAILED
- Position the extension hair at the base of the natural hair section and join your natural hair section with one of the three extension hair sections.
- Begin to braid the extension hair and your natural hair down to the ends. You may need to redistribute the extension hair here and there to keep the sections even as you braid.
- Complete the above steps for all of the sections of natural hair on your head.
- Use the scissors to trim any stray hairs near the ends of your braids.
If you’re having trouble gripping your hairs, you can put a rubber band around the roots of each section before you start braiding in the extension hair.
Seal the Ends
After all of the braids are complete, you’ll need to dip them. This will soften the braids, give them more movement, and keep them from unraveling. We’ll tell you how to seal your ends in this section.
Dip Them in Hot Water
Braiding hair is usually manufactured for hot water sealing. If you’re unsure whether your hair can be sealed with hot water, you can find out by looking at the packaging the hair came in.
Here are the steps for hot water sealing:
- Fill a small pot with water and bring it to a boil.
- Pour the water into a small pitcher or large cup.
- Dip the mid-lengths and ends of your braids in the water to seal them. Be careful not to dip your natural hair into the water.
- Wrap your hair in a towel immediately after dipping.
If you’d rather not use a stove, you can microwave the water until it gets piping hot.
Finish Your Poetic Justice Braids
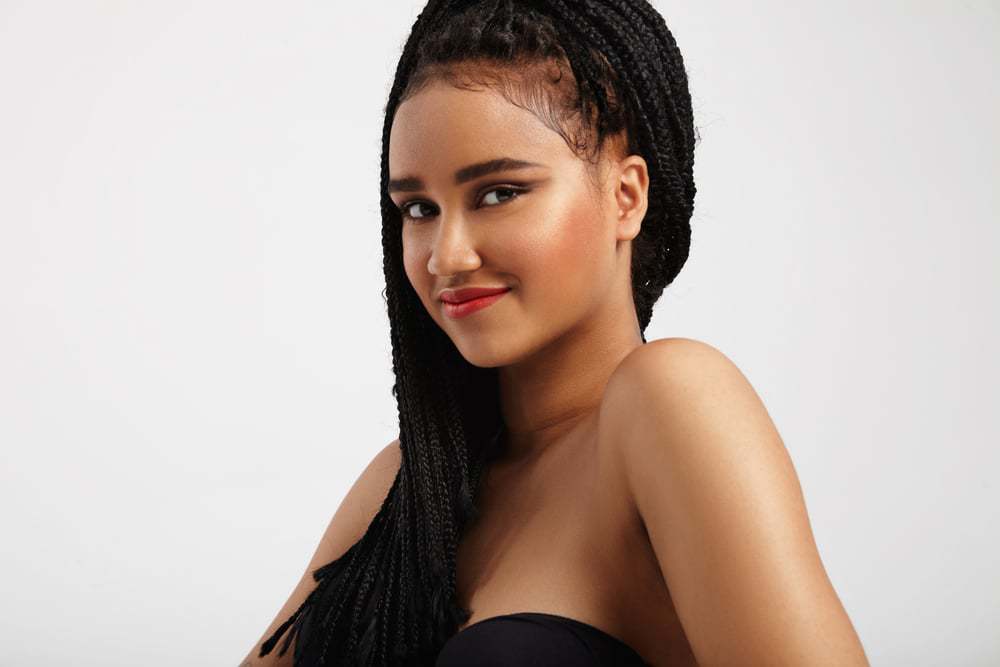
You may have thought that your poetic justice braids were done...not yet! To finish up your braids, apply a styling mousse all over your hair to keep frizz at bay. This step is optional, but it gives the style a polished look.
Once your hair has air-dried, your style is done.
Pros and Cons of Poetic Justice Braids
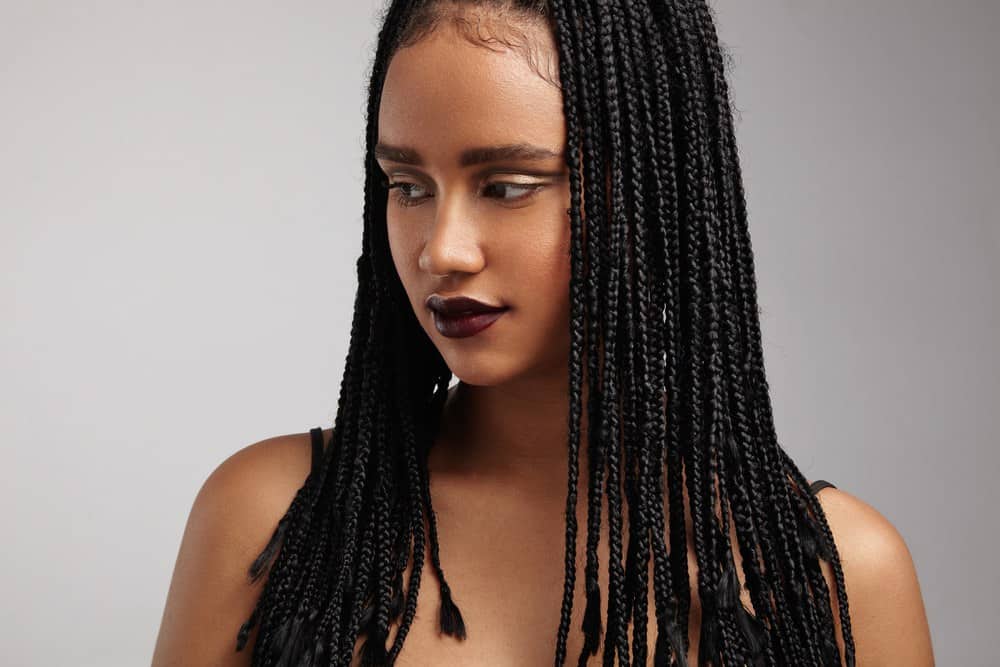
No style is perfect, and poetic justice braids are no exception. Continue reading to learn about the pros and cons of this hairstyle.
Pros
- Once your poetic justice braids are installed, you don’t have to worry about daily styling.
- The style keeps your hair protected from over manipulation, high temperatures, frigid temperatures, etc.
- Poetic justice braids do great in the water, making them a favorite vacation hairstyle.
- They last for months. It’s not recommended to wear any protective style for longer than two months.
Cons
- They can be heavy, especially when the braids are long. Some people don’t notice the braids' weight, while others find it impossible to deal with.
- They can pull your edges out. You can decrease the chances of losing your edges by not braiding them too tight.
- There is a learning curve to braid installation. It may take quite a bit of time and practice to get used to doing poetic justice braids.
- They can be expensive if you have them done professionally. Professional braid installation can cost $150 or more. This does not include the cost of the extension hair.
- Long self-installation time. It could take 3 hours or more to complete your own poetic justice braids. It will take even longer if you want super-long braids.
Dos and Don’ts of Poetic Justice Braids
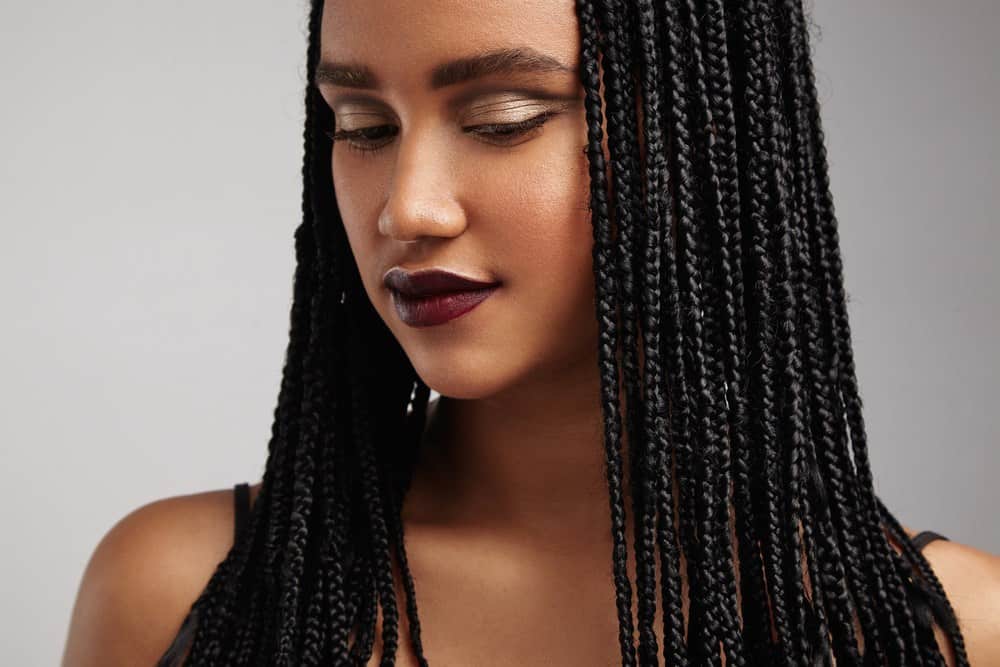
To avoid hair horror stories, we recommend that you take a moment to read the following poetic justice braids dos and don’ts.
Dos
- Protect your braids at night. If you don’t, your braids will not last as long as they could otherwise.
- Oil your scalp when it gets dry. Leaving your scalp perpetually dry can lead to unsightly flaking.
- Do the braids loosely to avoid traction alopecia.
Don’ts
- Don’t overmanipulate your poetic justice braids. It’s okay to style your poetic justice braids now and again, but doing a new style every day can cause thinning and breakage.
- Don’t leave your braids in too long. If you do, your hair may start to get matted, which makes it difficult to detangle. Detangling matted hair can lead to breakage.
Different Ways to Wear Poetic Justice Braids
Poetic justice braids generally refer to long, rope-style braids. These braids are often considered a throwback from the nineties due to Janet Jackson's role in Poetic Justice. Although, these braids have been worn for many years.
Many women still wear poetic justice braids today. Some women wear the braids down their backs, incorporate different hair colors, some opt for thick box braids, while others wrap them up with bandanas.
Some women are very creative with the beautiful braiding hairstyles that they create. You can also look to many popular African American celebrities for inspiration as well.
How Long Do Poetic Justice Braids Last?
In general, we recommend that you keep the braids for no more than two or three months. The braids can actually last quite a while, but it's really important that you take care of your natural hair under the braids.
Now you know exactly how to do poetic justice braids on yourself or for someone else.


