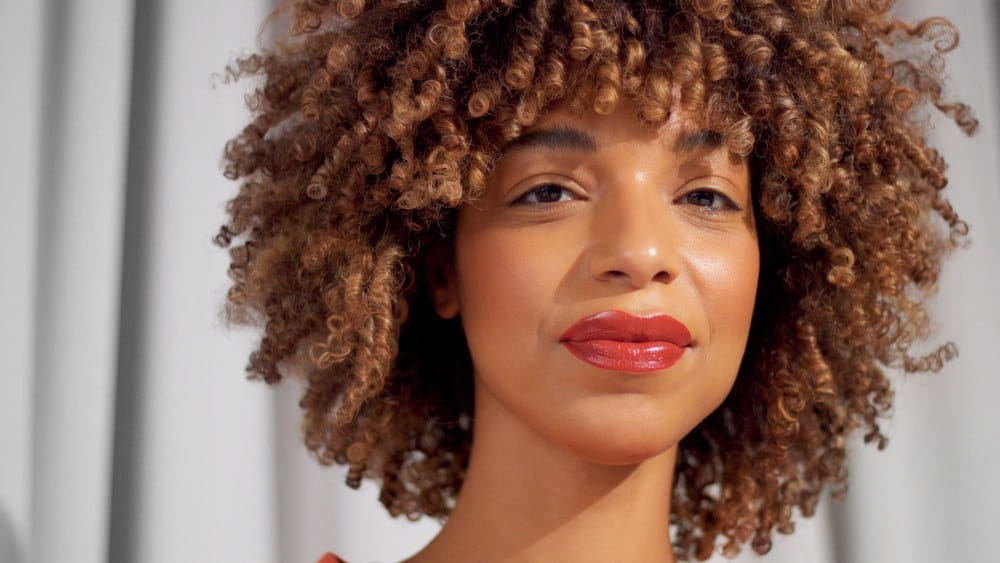
Shirley Temple curls are one of the most recognizable hairstyles of all time. Child star, Shirley Temple, was a little girl with curly hair that popularized the gorgeous pin curls during the Great Depression.
Traditional Shirley Temple curls are about the size of a sharpie marker or larger, but there are many new variations of the style. Today, you’ll see Shirley Temple curls in many different sizes.
Creating the style is an endeavor that takes effort and knowledge, but you can do it yourself, no matter your hair type. In this article, we will teach you how to do Shirley Temple curls step by step.
Table of Contents
Pick Up Your Supplies

Before getting started, obtain your supplies. You will need the following supplies to bring your Shirley Temple curls to life:
- Shampoo
- Conditioner or deep conditioner
- Leave-in Conditioner
- Heat Protectant
- Styler or twisting creme
- Blow dryer
- Hooded dryer (optional)
- Wide toothed comb
- Narrow toothed comb
- Denman Brush (optional)
- Bobby pins or clips
- Flexi rods or Perm rods in your desired size (for heatless curls)
- Curling iron
Prepare Your Hair

Preparing your hair for Shirley Temple curls is essential because if your hair is dry and dirty, the curls won’t have their characteristic sleekness and bounce.
Read the sections below to learn about how to prepare your hair for the style.
Remove Debris and Buildup
It’s critical to ensure that your hair has been thoroughly washed before doing Shirley Temple curls. Use a gentle shampoo that adequately removes buildup and debris from your hair.
As a general tip, it’s best to refrain from using sulfate shampoos, as they have the potential to completely strip your hair, leaving you with dry, unhealthy strands.
If your hair is very dirty, don’t be afraid to shampoo it twice.
Condition or Deep Condition
To impart moisture and nutrients to your hair, you should condition it after the shampooing session. If your natural hair is curly, coily, or kinky, it's important that you add sufficient moisture.
Apply your conditioner and leave it in your hair according to the instructions on the product container.
If your hair is parched, apply a slippery deep conditioner to your hair and leave it on for at least 15 minutes. You can put on a shower cap and sit under a hooded dryer to enhance the conditioner’s penetration.
Detangle Your Hair
The best time to detangle your curls is right after putting the conditioner/deep conditioner on your hair if your conditioner is slippery.
If your conditioner is not suitable for detangling, you can use an actual detangling product.
No matter what product you use as a detangler, be sure to use a wide-toothed comb to remove tangles and knots from your hair.
A Denman brush or narrow-tooth comb may be too rough on your strands, increasing the risk of hair breakage and damage.
You’ll have to rinse the conditioner out of your hair after detangling.
Section Your Hair
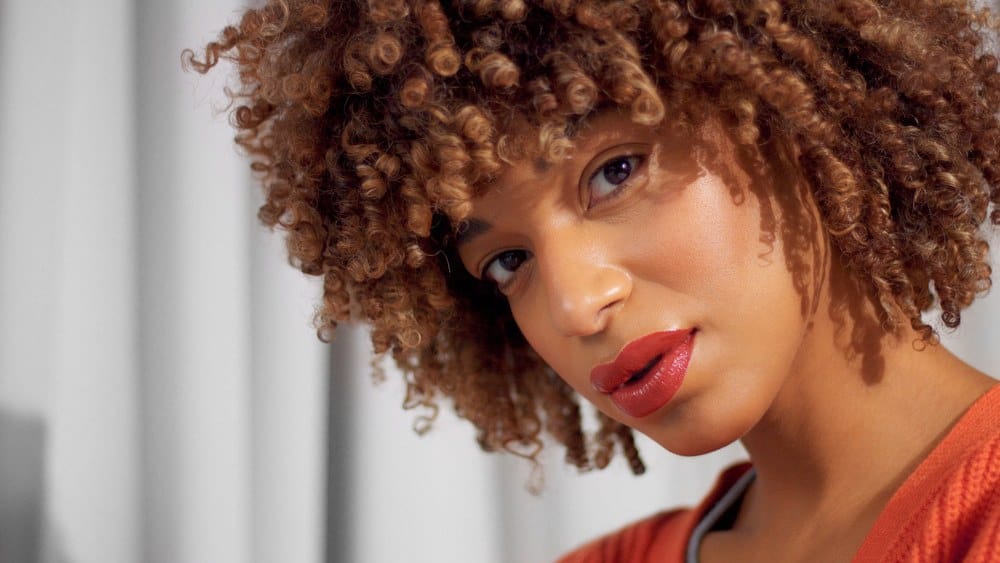
Once your hair is clean, conditioned, and detangled, it’s time to section your hair to make the styling process as stress-free as possible.
Use your fingers or a comb to part your hair into four equal sections, and then secure each section with a ponytail holder.
Moisturize Your Hair
While your hair is in the Shirley Temple curls, you won’t be able to apply moisturizing sprays or water, as your hair will revert to its natural state. So, the time to moisturize your hair is before doing the Shirley Temple curls.
Working with one section at a time, apply a cream or oil to lock in the moisture from the wash.
You should ensure that all of your strands are coated, but it’s also important not to overapply the moisturizer. Applying too much product to your hair can cause weighed-down strands.
Stretch Your Hair
Once your hair is moisturized, it’s time to stretch it out. This step is optional, but if you want your Shirley Temple curls to be extra-sleek and long-lasting, you shouldn’t skip this step. Use one of the following methods to stretch your hair.
Blow Dry
If you want to stretch your hair in a quick, efficient way, blow-drying your hair is a great option.
Apply a heat protectant to your hair and comb it through for even distribution. Then, direct the blow dryer toward your hair as you pull your hair taut with your hands.
Alternatively, you can use a Denman brush to brush through your hair as you blow dry it.
Banding Method (Heatless)
For a heatless hair stretching session, take the following steps:
- Grab some ponytail holders or elastic bands.
- Wrap each section of hair from roots to ends using the bands. Wrap each band until you can’t wrap it anymore, and then grab the next one and wrap until you reach the ends of your hair.
- You can allow your hair to air dry, or you can sit under a hooded dryer to save time.
If you have tight curly hair, watch the video tutorial above to learn how to stretch your tight curls using the banding method.
Curl Your Hair
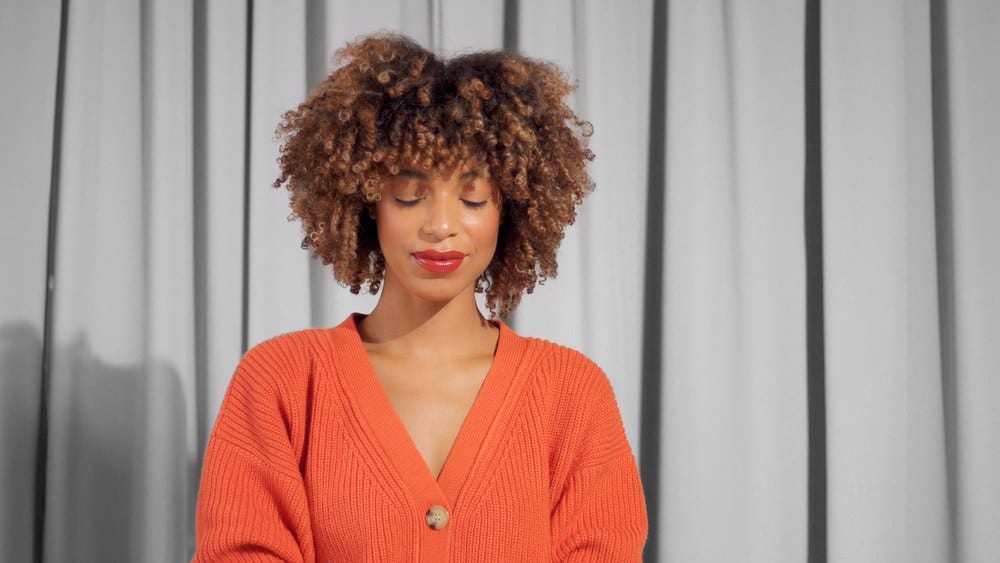
There are several ways to create Shirley temple curls, especially since the style has evolved to include spiral curls in general. Use one of the following curling methods to create your curls.
Traditional Shirley Temple Curls (i.e., Pin Curls)
Shirley Temple’s mother created her signature style by doing 56 pin curls in her straight hair. Use the following directions to get traditional Shirley Temple curls:
- Part out a small section of hair and detangle it again if needed.
- Pass your flat iron through your hair to make it as straight as possible.
- Clamp the curling iron down on your roots and then pass the iron through until you get to the ends of your hair.
- Twist the curling iron upward until it is about an inch from your roots. If you twist it up too high, you may burn your scalp.
- Hold the curling iron still for a few sections to allow it to heat the hair all the way through.
- Open the curling iron and release your hair.
- Wrap that section of hair repeatedly around your finger as it cools. Be careful, as your hair will be hot.
- Once all your hair has been wrapped around your finger, push the hair downward off of your finger.
- Secure the hair with a bobby-pin or clip so that it won’t unravel.
- Allow the hair to set with the clips for at least 10 minutes.
- Release the curls by removing the bobby pins or clips.
This method requires you to apply direct heat to your hair, which increases your chances of visible heat damage and breakage. Therefore, we advise you to use a heat protectant or try one of the heatless methods below.
Shirley Temple Curls with Perm Rods (Heatless)
If you’d rather not use a curling iron, you can use perm rods. Follow the steps below to do Shirley Temple curls with perm rods.
- Part out a small section of hair.
- Apply a twisting creme to your hair. It's important that you choose one that won’t make your hair revert. If the first ingredient is water, there’s a good chance that it will cause your hair to revert.
- Brush through your hair to get the section of hair smooth.
- Wrap the ends of your hair around one end of the perm rod a couple of times.
- Rotate the perm rod around your hair repeatedly to create the spiral effect.
- When you get to the roots of your hair, close the perm rod.
- Repeat the previous steps all over the rest of your head.
- Sit under a hooded dryer or allow your hair to air dry.
- Check to make sure that your hair is completely dry.
- Carefully remove each of the perm rods and fluff out your hair if you’d like.
Shirley Temple Curls with Flexi Rods (Heatless)
Some people have a hard time working with perm rods, which is understandable. If you’d like, you can do your Shirley Temple curls with flexi rods using the following steps.
- Part out a medium-sized section of hair.
- Apply a twisting creme to the section of hair and brush it through. Important: If your hair is stretched, choose a twist crème that won’t make your hair revert to its natural state.
- Wrap the ends of your hair around one end of the flexi rod. Ensure that you’re wrapping the hair around itself to secure it to the rod.
- Once the ends have been wrapped securely around the flexi rod, twist the rod diagonally.
- Get the perm rod as close to your scalp as you can without making it too tight.
- Fold both ends of the flexi rod toward the middle to close it.
- Repeat the previous steps all over your head.
- Either sit under a hooded dryer or allow your hair to air dry.
- When your hair is completely dry, carefully remove your flexi rods and separate and fluff your hair as needed.
You’re all done with your Shirley Temple Curls! Doesn't curly hair look amazing?
Shirley Temple Curls Maintenance

With all the time it takes to set your Shirley Temple curls, we’re sure you’d want your style to last as long as possible. Unfortunately, Shirley Temple curls are not known to last a long time.
They can last up to a week or more, but some have trouble getting their curls to last a few days. Here’s some helpful information on how to maintain your Shirley Temple curls.
- Cover your hair up with a silk or satin bonnet every night. A large bonnet will work best, as it won’t smash your curls.
- Lightly spray your hair with oil as needed. It’s best not to spray your hair too often, as this can cause your curls to fall or look greasy.
- Keep your hands out of your hair to lessen frizz.
Shirley Temple Curls: Pros and Cons

Now you know how to create and maintain Shirley Temple curls. But are you aware of the style’s advantages and disadvantages? We’ll go over the pros and the cons in the following sections.
Pros
- Sleek, bouncy curls - Shirley Temple curls exude a timeless beauty.
- Suitable for DIYers - You can do the style on your own. There’s no need to go to a professional to get this style done in most cases.
- Heatless Options - While some will opt to use heat to create their Shirley Temple curls, the style can be done without using any heat at all. Going heatless is much better for the hair. It's important to avoid heat damage.
Cons
- Learning Curve - Though the style is easy enough to do on your own, not everyone will get a perfect result the first time they try the style. It will take a bit of practice to get the style right.
- Heat Damage - If you choose to use heat to create your curls, you could end up with heat damage, leading to split ends and breakage.
- Not Long Lasting - The main complaint that people have with Shirley Temple curls is that they don’t last long. Often, the curls will fall within the first few days.
Shirley Temple Curls: Dos and Don’ts
If, after reviewing the pros and cons of Shirley Temple curls, you’ve decided that you want to try the style, that’s great! But before you start, make sure that you read the below dos and don’ts to avoid hair snafus and frustration.
Dos
- Properly wash your hair before styling. Buildup and oiliness can ruin your style from the start. Begin with clean hair to avoid a flat, greasy result.
- Be patient. It may take several tries to learn how to wrap your hair around perm rods or flexi rods.
- Purchase more flexi rods or perm rods than you think you’ll need. Running out of rods can lead to unnecessary stress.
Don’ts
- Don’t apply too much product to your hair at any point during the styling process. When doing a style like this, your hair needs to be light and moisturized. Otherwise, your curls won’t last, and your hair will be weighed down.
- Don’t wrap the rods too close to your scalp. If you wrap your hair too tight, this can cause headaches and even hair loss around your hairline.
- How to Use Flexi Rods on Natural Hair
- How To Do Straw Curls on Natural Hair
- How To Do Spring Twists on Natural Hair
Now you know how to make Shirley Temple curls, just like George Francis Temple's daughter's hair. We hope that this hair tutorial helps you create the nostalgic curly hairstyle of the beloved television star.


