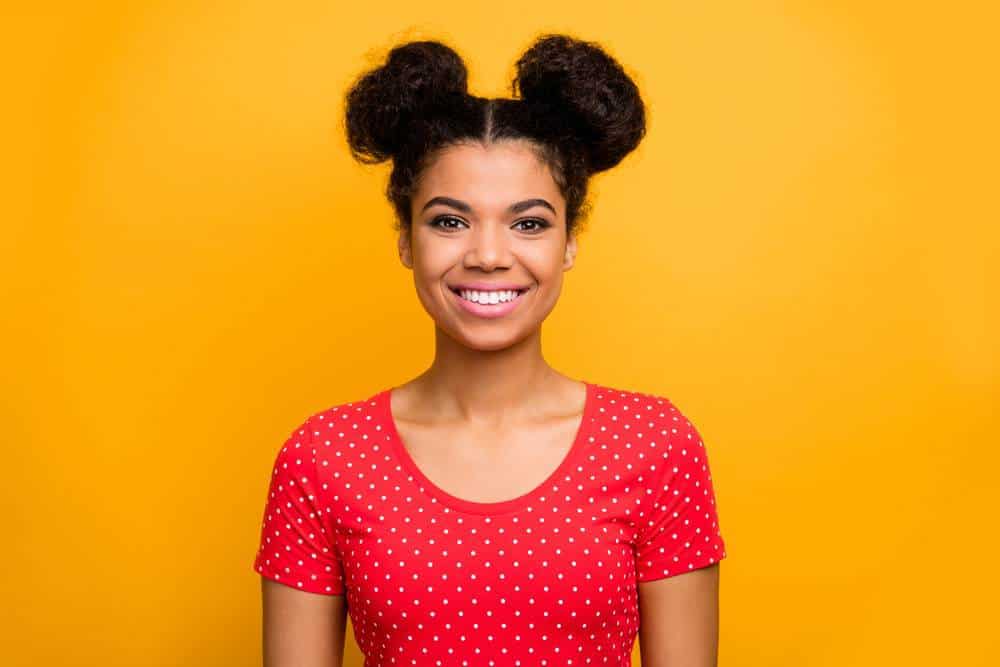
Of all bun hairstyles, space buns rise above the rest. Chances are you’ve seen the style all over beauty blogs and social media, especially on Instagram pages and Pinterest boards.
Many celebrities have also worn the hairstyle, including Britney Spears, Gwen Stefani, Ariana Grande, Yara Shahidi, Ciara, and Tracee Ellis Ross.
The sassy style is extremely trendy, and there’s no wonder why.
Space buns exude sassiness and personality.
If you’ve ever considered doing space buns on your own hair but have no idea where to start, you’re in the right place.
This article will tell you exactly how to do space buns and give you helpful tips you can use to make the styling process painless.
Table of Contents

What Are Space Buns?
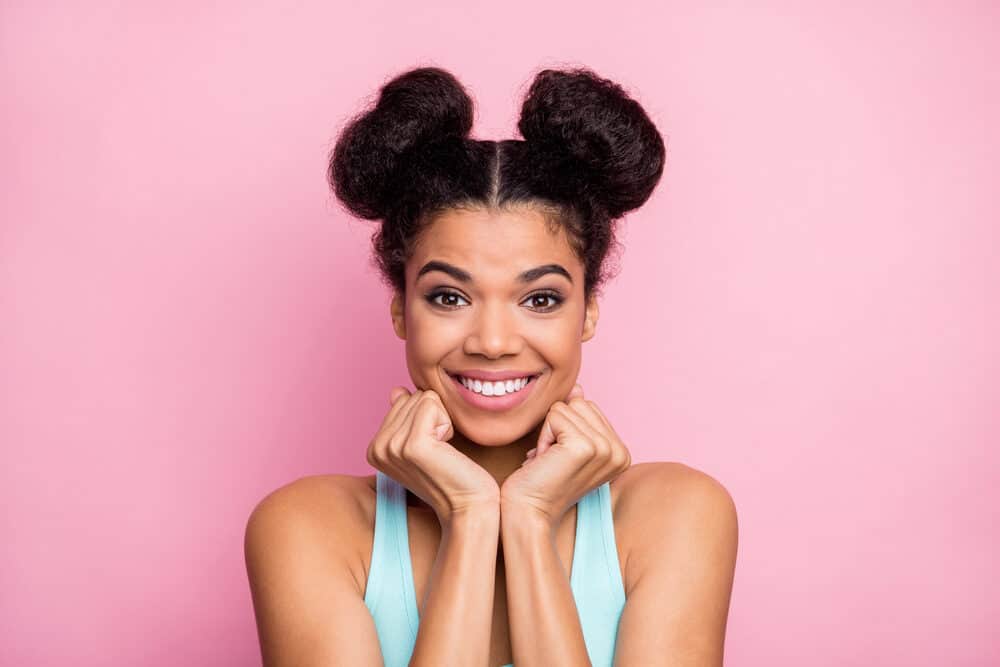
Space buns are a simple style composed of two high buns on both sides of the head. Space buns take their inspiration from a couple of historical sources.
They closely resemble Princess Leia’s signature buns, though her space buns hairstyle was situated lower on the head than today’s average space buns.
Another source of inspiration is Squash Blossom Buns worn by Native American Hopi women. The style was worn to indicate that a woman was unmarried.
Space buns can look different depending on the texture of the person’s hair.
If your hair is left in its curly state, the space buns will look textured. Although if your hair is in a straightened state, the space buns will have a sleeker appearance.
How to Do Space Buns
There are two main types of space buns, and we’ll tell you briefly about them here.
If you prefer frizz and texture, you can create textured space buns. On the other hand, if you want a smoother, more polished look, you can create sleek space buns.
The steps you take to create your space buns will depend on the final result you’re trying to achieve.
In the following sections, we will tell you how to do both types of space buns.
Gather Your Supplies
The worst thing that can happen when doing any style is finding out that you don’t have the right tools and supplies.
Before you get started, you should gather the necessary supplies:
- Detangling Comb: You should use a wide-toothed comb to minimize breakage.
- Rat-toothed comb for parting.
- Gel: Use an alcohol-free gel that won’t dry out your hair.
- Brush: Use a soft boar bristle brush.
- Edge Control: Great for creating sleek edges.
- Hair Ties: We recommend fabric hair ties without a metal clasp to minimize snagging.
- Flat iron (for sleek space buns only)
- Holding Spray
- Bobby Pins
- Soft Bristle Toothbrush (if you like laid edges)
- Silk or satin scarf
- Shampoo
- Conditioner
- Moisturize
- Heat Protectant
- Styler for curl definition (optional)
Prepare Your Natural Hair for Space Buns
Doing space buns on dry, unwashed natural hair won’t give you the result you want. So, you’ll need to take a few steps to prepare your natural hair for your space buns.
Wash Your Hair
We recommend washing your hair with a sulfate-free shampoo to give yourself a nice clean slate.
We specify “sulfate-free” because shampoos without sulfates are usually gentle on your hair. If you decide to use a sulfate shampoo, be aware that it may dry your hair out.
Condition
Condition, or deep condition, your hair after washing it. This step is essential, especially if you plan on wearing the style for several days. Use a moisturizing conditioner or deep conditioner of your choice.
Read this article to learn how to how to deep condition your hair at home.
Moisturize
Take a few minutes and apply a moisturizer to your hair, as moisturized hair behaves better than dry, crunchy hair.
To make your hair as pliable and cooperative as possible, don’t skip the moisturizing step. You can use a moisturizing spray, a moisturizing cream, or your favorite essential oil.
Just make sure that you don’t overapply the moisturizer, especially if you will be creating a sleek space bun.
Apply a Styler
If you want your curls to be defined, apply a styler of your choice to your hair and then allow your hair to air dry. Skip this step if you want your space buns to be sleek.
Stretch Your Hair (only for Sleek Space Buns)
If you want extra sleek space buns, you’ll need to manipulate your hair into a sleeker state.
This step is optional, as space buns do not need to be sleek, but if that’s what you desire, follow the steps below to find out how to stretch your hair.
There are several methods that you can use to stretch your hair, and they are outlined below:
Stretch with Braids
- Part your hair into several sections using a comb or your fingers. As a rule of thumb, part your hair into two or more sections. However, depending on your hair's thickness, you may have to make more sections.
- Braid each section down to the ends.
- Put a ponytail holder or rubber band on the ends to ensure that the braids don't unravel prematurely.
- Let your hair air dry.
- Unravel the braids.
French braids
- Part your hair in half (i.e., two sections).
- French braid each section. Do a minimum of 2 french braids.
- Let your hair air dry.
- Unravel the braids.
Read this article for a detailed, step-by-step tutorial on how to do french braids on your hair.
Banding
- Gather your hair up into two low ponytails on each side of your head. Secure each ponytail with a ponytail holder.
- Wrap more ponytail holders or a large stretchy band around the length of your hair repeatedly until you get to the ends.
- Let your hair air dry completely.
- Remove the ponytail holders/band.
Blow Dry
If you prefer a quicker hair stretching method, you can blow dry your hair. We recommend limiting heat use as much as possible. Although, you can use the “cool” setting on your blow dryer to stretch your hair as you dry it.
As you blow-dry your hair, stretch it by brushing it. If you plan to use a heat setting on your blow dryer, be sure to use a heat protectant beforehand.
Straighten Your Hair (only for Sleek Space Buns)

For super sleek space buns, you may want to straighten your hair. Use a heat protectant before straightening your hair to ward off heat damage.
Take the following steps to minimize the chances of heat damage:
- Detangle your hair before you get started straightening.
- Apply your heat protectant, making sure that all of the strands are covered.
- Part your hair into four equal sections.
- Flat iron small sections of hair from root to tip. Try not to pass over any section more than once. Learn how to flat iron your hair without heat damage by reading this article.
- Repeat the previous step on all of your hair.
If you’d rather not straighten your hair, continue to the next step.
Do the Ponytails
Part your hair straight down the middle using a rat tooth comb. Feel free to take your time to get the part straight.
If you’re not concerned about the cleanness of your parts, you don’t have to obsess, but you may find that the style looks better when the part is straight.
Gather your hair up into two ponytails on each side of your head. The ponytails should be high and off to the side.
Tie a ponytail holder around each of the ponytails, being careful not to tie them too tight.
If you tie them too tight, you could experience headaches and even lose the hair around your hairline. Tight hairstyles are a primary cause of hair loss.
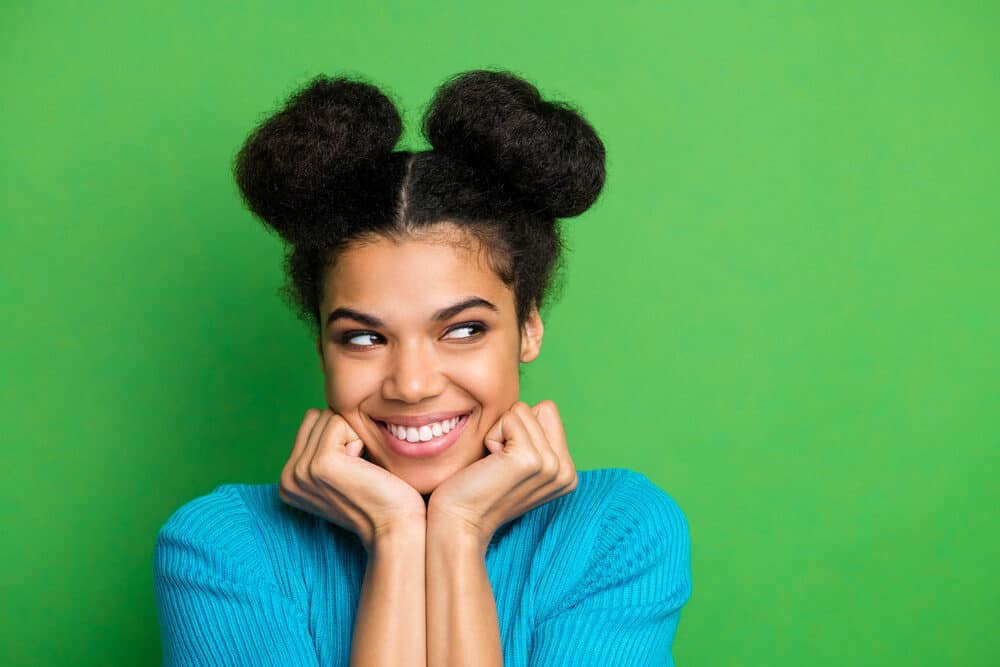
Lay Down Stray Hairs
Whether you’re doing sleek or textured space buns, the hair above the ponytail holder (your roots) should be flat and laid. To lay your hair down, apply some gel to your roots and brush it through.
If you’re going for a sleek bun, ensure that the gel you use won’t make your hair revert to its natural state.
If you like the look of laid edges, break out the edge control gel. Apply it to the hair around your hairline and style your baby hairs however you prefer.
Use a soft-bristle toothbrush to help style your edges. It will give you more control over the hairs and won’t pull them out. Here’s a tutorial on how to lay your edges.
Use a Scarf to Set Your Roots
You’ve gone through a lot to get your hair to this point. To set your roots, you need a silk or satin scarf.
Tie the scarf around your hairline; this will flatten your roots even further. Leave the scarf on for a few minutes while you create your space buns hairstyle in the next step.
Create Your Space Buns
Creating your space buns is probably the easiest part of the styling process.
Do the following to create your space buns:
- Twist your loose hair around so that it resembles a rope.
- Wrap your hair around the base of your ponytail in a circular motion.
- Pin the ends in place with bobby pins.
It may take a few tries to get the buns to look round, but you’ll quickly get the hang of it.
For Short Hair
If your hair is short or you’d like more fullness, you can use a donut bun maker, which you’ll wrap your hair around.
Braided Space Buns
You can also create a braided bun for a little added flair. Three-strand braid your hair down to the ends, wrap the braid around the base of your ponytail, and then use bobby pins to secure.
Freeze the Style in Place
If you’d like, you can spray your hair with a holding spray. It makes the style last longer, reduces flyaways, and increases the overall stability of the bun.
Remove the silk scarf from your roots, and you’re done!
How to Do Space Buns on Natural Hair
How to Do Space Buns With Straight Hair
Pros and Cons of Space Buns
Space buns evoke a playful sassiness that few other styles can replicate. While the style is trendy and beautiful, there are both pros and cons that you should be aware of.
Pros
Below are a few benefits of space buns:
- Youthful, playful look. No one can deny the playfulness that space buns evoke.
- Easy to do. Once you have done the style once or twice, doing it again won’t take much effort.
- Versatility. Space buns can take many forms. You can wear them textured, sleek, or even messy. Personalize them however you’d like. For example, you can create half space buns, low space buns, classic space buns (as shown in this article), high space buns (this article also) and much more. Your options are only limited by your imagination. You can even add a bit of hair color if you want your buns to stand-out.
- Protective. Though space buns are not a long-term style, they have protective qualities, being that they require you to tuck your ends away.
Cons
- Heat damage. If you’ll be using heat to get your hair straight during the styling process, there’s always a risk of heat damage.
- Traction alopecia. If you wear your hair in space buns often, you could begin to experience traction alopecia around your hairline.
- How To Do Different Types of Messy Buns
- How To Do Bantu Knots on Straight Hair
- Natural Hair Afro Puff Updo
Dos and Don’ts of Space Buns
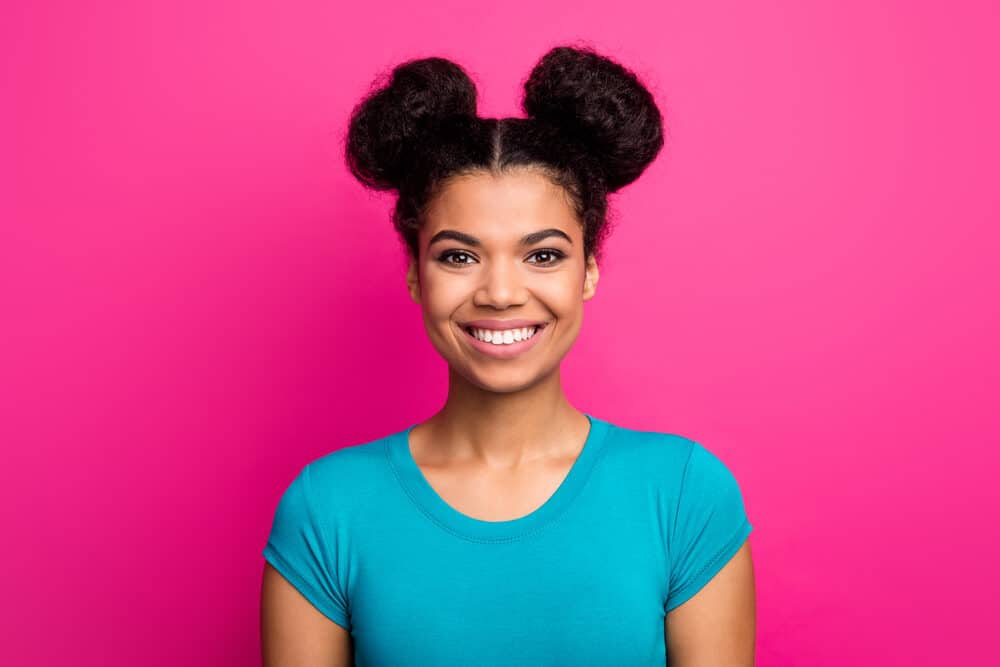
To ensure that you have a positive experience with your space buns, read about the following dos and don’ts.
Dos
- Reduce heat use. In the pursuit of perfectly sleek space buns, heat may be necessary. However, it’s wise to reduce heat as much as possible. If you can, use the “cool” setting on your blow dryer.
- Take your time when parting. Space buns look much better when the part is straight.
- Personalize the style. If you want to add bangs to the style, do so before putting your hair in the two ponytails.
Don’ts
- Don’t tie your ponytails too tightly. When it comes to traction alopecia, prevention is key! Tie your ponytail holders securely around the base of your ponytails without wrapping them around too many times.
- Don’t do space buns too often. We get it. Space buns are so beautiful that you may be tempted to wear them every single day. But it would be best if you allowed your hair to rest for a week or more after wearing it in space buns.
Now you know everything you need to know about how to do space buns.


