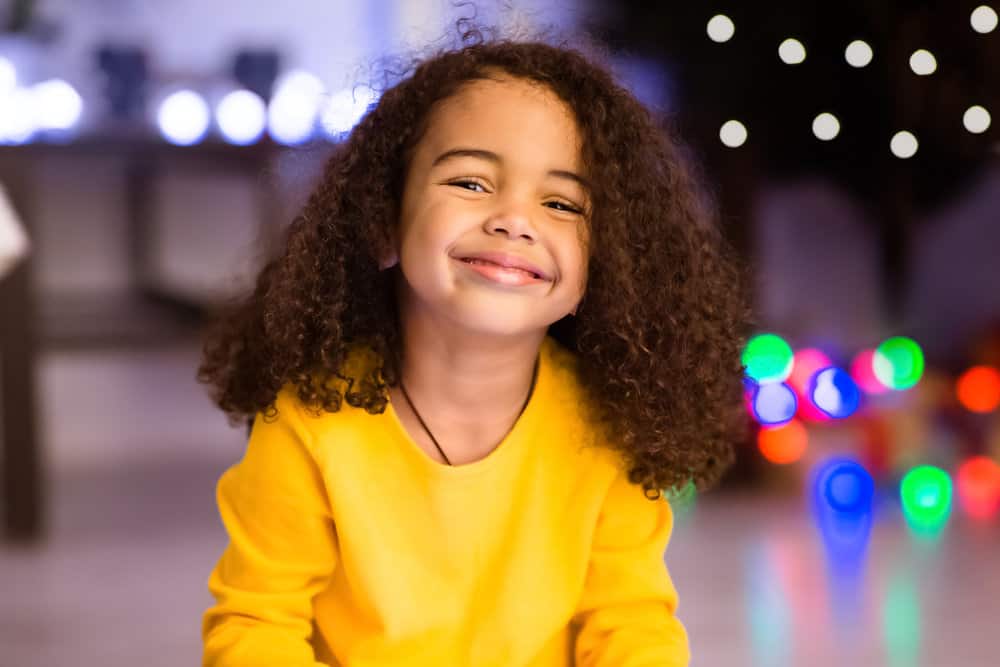
It’s not always easy to style a toddler's hair. Toddler girls can be fidgety and restless, and good luck getting them to sit still for more than an hour or two!
As a result, you might end up falling back on the same one or two hairstyles.
But if you’ve come here in search of easy hairstyles for little girls, we’ve got great news! This article will dive into a list of the top easy hairstyles for little girls. So sit back, relax, and get ready to find you and your little one’s next favorite hairdo!
Table of Contents
- 1 15 Cute Toddler Girl Hairstyles with DIY Tutorials
- 2 1. Mini Bantu Knots
- 3 2. Front Pull-Through Braids
- 4 3. Two-Strand Twists
- 5 4. Braided Ponytail Updo
- 6 5. Braided Half Updo with Bows
- 7 6. Mini Afro Puffs
- 8 7. Stair-Step Ponytail
- 9 8. Pigtails
- 10 9. Fro-Hawk
- 11 10. Messy French Braid Pigtails
- 12 11. Half-Up Bubble Braid
- 13 12. Cornrows with Twists
- 14 13. Marley Twists
- 15 14. Space Buns
- 16 15. Rubber Band Dutch Braids
15 Cute Toddler Girl Hairstyles with DIY Tutorials
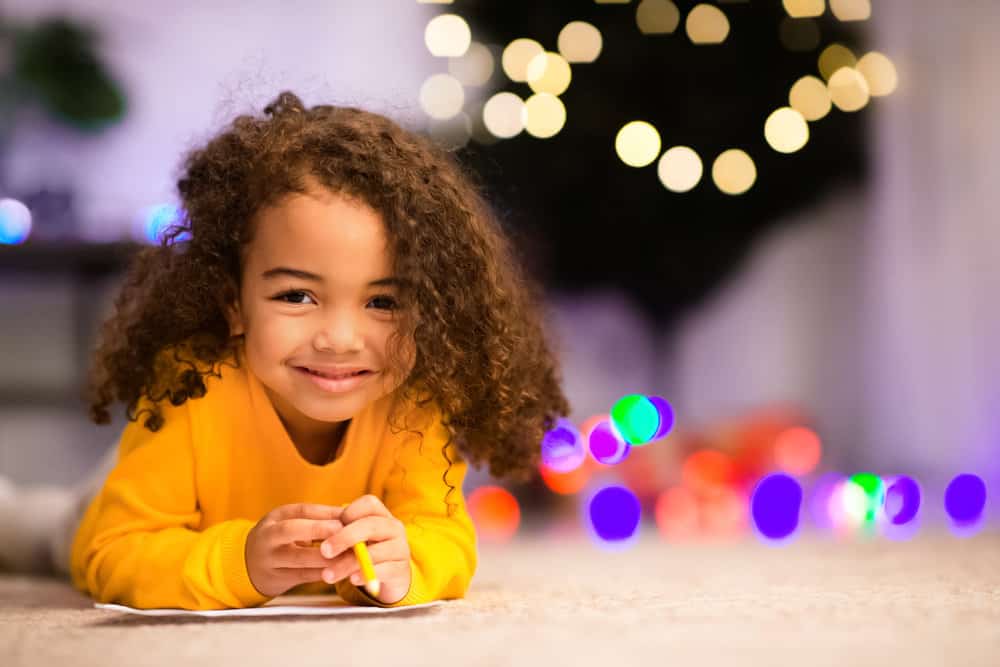
With options such as a knotted mohawk, two french braids combined with messy buns, a classic side bun, and several other different hairstyles for your little princess. These new hairstyles are super cute and easy to achieve.
1. Mini Bantu Knots
There are tons of styling options for longer hair, but styling shorter hair can be a challenge. But since these mini Bantu knots are small, you can do them on pretty much any length of hair!
Bantu knots are a type of multi-bun hairstyle in which small buns are arranged around the head in an intricate pattern. Bantu knots are cute, packed with texture, and super easy to pull off!
Simply part your toddler’s hair into multiple sections and tie a rubber band around each one.
The parts you make are just as crucial as the buns themselves. You can either make them square-shaped for a classic look or try playing around with triangular or round sections.
After you make your parts, gather each section into a separate mini bun. Check out this video demo to learn how to get the perfect mini Bantu knots.
2. Front Pull-Through Braids
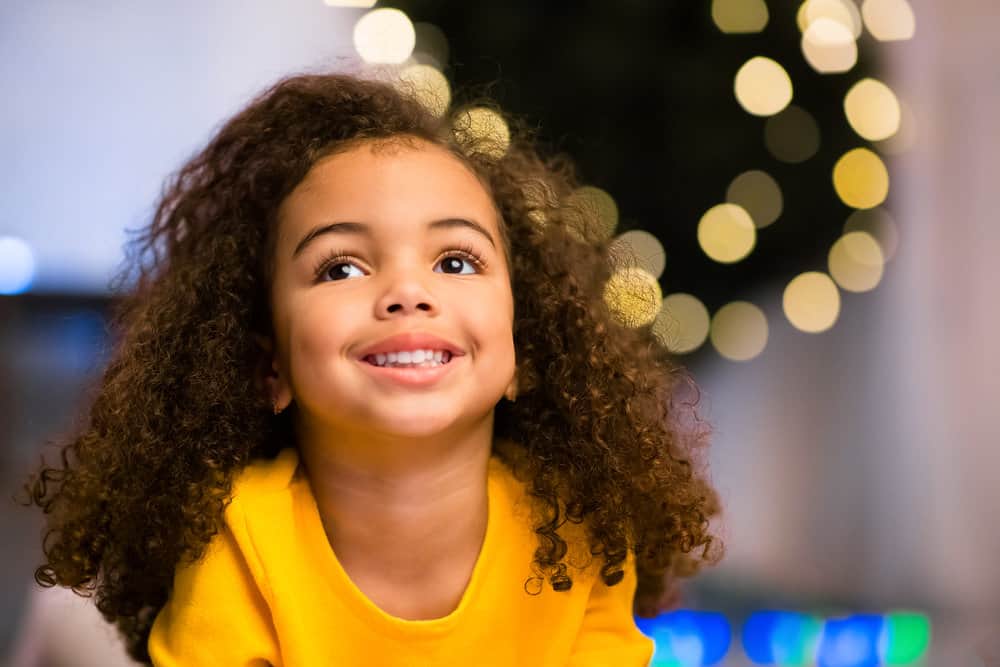
Our next look is perfect for almost any occasion. And you’ll love how quick and easy it is to install. Pull-through braids, also called bubble braids, are a unique take on traditional braids.
Instead of weaving hair around itself, you’ll use small rubber bands to create braid-like sections. To make pull-through braids, make a horizontal part around your little one's head.
Separate the front half into even rectangular sections and wrap a colorful rubber band around each one. Split the first section in half, and wrap it around the following one.
Then, use another rubber band to combine it with the third section. Repeat the alternating pattern until you’ve reached the end of the row.
Whenever you’re ready to remove your braids, just use a small pair of scissors to snip each rubber band carefully. Have you decided this adorable look is right for you and your little one? Here’s a YouTube tutorial explaining how to get it just right.
3. Two-Strand Twists
Two-strand twists are one of the easiest toddler-friendly hairstyles that you can find. They’re made with twists rather than braids, so they take a fraction of the time to style!
They’re also exceptionally beginner-friendly! And once you finish your twists, your little one’s hairstyle will last for weeks! Wondering how you can recreate this exquisite style?
To start, part your toddler's hair into small, even sections and twist each one from root to tip. Continue making your way through the rest of her hair until you run out of sections, and that’s all there is to it!
Once you get the hang of the technique, try dressing your toddler’s twists up with colorful hair accessories like beads, baubles, and clips.
It’s also important to mention that two-strand twists are like two awesome hairstyles in one. When it's time to take her twists out, you’ll reveal a mess of soft, wavy curls!
Here’s a video showing how to make these adorable two-strand twists.
4. Braided Ponytail Updo
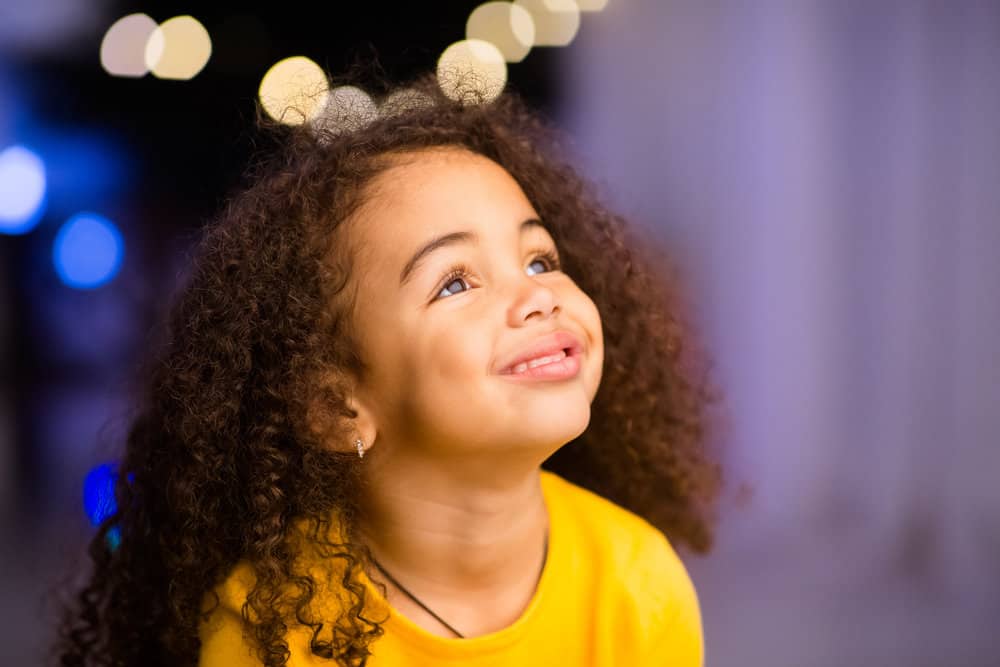
This super sweet and simple style is as wearable as it is cute. And the best thing about this look is that it has some serious staying power. As long as you take care of them, your little one’s braids should last for at least a week or two!
To make a braided ponytail updo, part your toddler’s hair into rows. When you finish, the rows should have a triangular shape and meet in the center of her head. Crownrow each row straight back.
Once you reach the center, stop cornrowing, and switch to a loose braid. After you finish all the rows, gather the loose braid into a tight ponytail. Then, loop the ponytail around itself to form a bun.
As a final touch, wrap a cute bauble or bow around their bun.
This adorable look has a few more steps than the other hairstyles we’ve covered on this list. Luckily, you can find a tutorial (like this one) to walk you through all the steps.
5. Braided Half Updo with Bows
Most of the looks we’ve gone over so far are great for day-to-day wear. But what if you need something a little more formal? Whether you have a special event or want to help your little one feel more like a princess, our next hairstyle is for you!
A braided half updo with bows is fun and stylish and will have your little one looking picture-perfect. Want to try it out?
First, part your toddler's head from ear to ear. Section the back into square sections, and braid each one down the to ends. Just as before, separate the top section into square-shaped sections.
But this time, wrap a rubber band around the first one. Then, add it to the next section to create a row. Keep doing this until you reach your first part.
After that, break the hair into multiple groups and braid each one before gathering it into a bun. As a final touch, add a bow to each bun and colorful beads onto the braids in the back.
Did we lose you? Watch this YouTube video for more information on how to make a braided half updo with bows.

6. Mini Afro Puffs
These mini afro puffs are a great way to accentuate your little one's texture and put her curls on display. They’re also super quick, making them perfect for those mornings when you’re short on time.
Want to try it out? First, smooth a nourishing cream or leave-in onto your toddler's hair. Next, brush through their hair to break up their curls and ensure that the product is evenly dispersed.
Part her straight down the middle and gather both sides into high ponytails.
You can make three or four ponytails if her hair isn’t long enough. Use your fingers to fluff up the puffs, and as a finishing touch, add one or two bows to their hair.
Need a bit more help? Just watch this video tutorial to learn how you can try these mini afro puffs out on your own.
7. Stair-Step Ponytail
Our next hairstyle is so cute; you won’t believe how easy it is to do! A stair-step ponytail is an intricate style that incorporates rubber bands into the mix.
The rubber bands create different sections, which are reminiscent of stairs. They’re a much more exciting take on a regular ponytail and act as an excellent way to pull your little one’s hair off her face.
Ready to try it out?
First, create a rectangular section behind her hairline and wrap a bright pink rubber band around it. Then, make a second row and combine the two with another rubber band. Repeat the process until you reach the center of her head.
Gather your toddler's loose hair into a ponytail to finish the look.
But instead of using a boring old hair tie, add a bow to give their hairstyle more oomph. Not enough info for you? You can learn how to do a stair-step ponytail by watching this video.

8. Pigtails
When it comes to easy hairstyles, pigtails are one of the best options. These double ponytails are simple, quick to create, and absolutely adorable! And keep in mind that this look isn’t your average, everyday pigtails.
They incorporate a mix of stunning accessories, braids, twists, and parts to upgrade the simple style dramatically. To create basic pigtails, part your little one’s hair straight down the middle.
Brush through the hair a few times to work out any knots or tangles.
Then, gather both sides into a neat ponytail. You can position the ponytail towards the top of your head for a high pony, or move it down for a low pigtail look.
Once you get the basics down, you can customize your pigtails in any way you like. And as you can see in this video, there’s no shortage of options!
9. Fro-Hawk
Do you have a little rockstar on your hands? If so, our next look is sure to delight. A fro-hawk is a softer, more toddler-friendly take on the classic punk cut.
But instead of featuring shaved sides, this look has sleek ponytails to create a mohawk-inspired silhouette. Start your toddler's space bun by parting their hair from ear to ear.
Next, split the back section across the middle to create three roughly even sections.
Gather each section into a sleek ponytail smack dab in the center of their head. When you finish, you should have an even row of afro puffs.
If needed, you can fluff them up a little more or add some gel to their sides to make them sleeker. Not sure if you can tackle this look on your own? Here’s a video tutorial that breaks everything down a little further.

10. Messy French Braid Pigtails
Pigtails are a classic look for little girls. They’re easy, adorable, and kid-approved! Our next look puts a spin on pigtails by combining them with chic, messy French braids.
They also have a fun crisscrossing braid to dress up and pigtails and give them a little more edge. Begin by separating a wide section of hair straight down the top of your toddler's head.
Split the hair down the middle, and braid each half straight back until you reach her crown. Finish the braids straight down, so the ends hang loosely.
Now it’s time to work on the pigtails. Split the back section straight down the middle and grab the opposite braid. Gather the two into a ponytail, and repeat the process on the other side.
You can either stop there for free-flowing ponytails or create two buns. Watch this beginner-friendly tutorial to learn more about creating these messy French braid pigtails.
11. Half-Up Bubble Braid
A half-up bubble braid is so cute you might be tempted to try it out on yourself! The bubbles create a fun, three-dimensional texture that your little one will love!
And by combining it with free-flowing locks, you get a style that’s both sweet and highly versatile. To get the look, create a deep side part in your toddler's hair. Break each half into large, rectangular boxes. Wrap a rubber band around the first section.
Next, pull it backward and use another rubber band to join it to the next box.
Keep going until you reach the center of her head. Gently tug on the sides of each bubble to puff it up, and create the characteristic look.
Once you finish your bubble braids, brush and style her loose hair as usual. As you can see in this tutorial, a half-up bubble braid is super simple once you get the technique down!
12. Cornrows with Twists
Does your little one have more hair than you know what to do with? Well, you’re in luck! Our next look is an excellent choice for little girls with thick, coarse curls.
Cornrows with twists is a charming style that’s as practical as it is cute.
In addition to keeping your little one's hair out of the way, this twisted style is incredibly long-lasting! As long as your toddler doesn’t play with her twists, they should remain wearable for an impressive two to six weeks.
Start by parting your toddler's hair from one ear to the next.
Break the back half of their head into smaller sections, and twist each one into two strand twists. When you finish, go back to the top half, and create vertical rows.
Cornrow each row until you come up to your part. At that point, stop cornrowing, and finish each braid with a two-strand twist.
After you complete the twists, feel free to add a selection of brightly colored beads to their ends. Want more tips and tricks? Check out this convenient video tutorial.
13. Marley Twists
Do you wish that your regular two-strand twists had a little more oomph? Marley twists are a bolder, more textured take on typical twisted styles. They’re done with Marley
Because Marley hair has a kinky texture, it holds up exceptionally well. As a result, your toddler can wear her twists for up to six weeks! Another great thing about Marley twists is that they’re free-flowing.
You can pull them into a number of hairstyles. To keep your twists toddler friendly, be mindful of how much hair you use. Try to keep them light, and avoid overloading her hair with twists.
When used correctly, braiding hair is a great way to make your toddler’s hair look longer and more full. They also protect her hair, which can help it grow long and strong. Here’s a tutorial that will make installing Marley twists a breeze.

14. Space Buns
Do you know what’s better than one bun? Two! And that’s precisely what this look has. Space buns are a double bun hairstyle. They’re a more casual take on an updo and have a cool, youthful vibe that lends itself to a children's hairstyle.
To start your space buns, part your toddler's hair down the middle to form two equal sides. Want to know how to make the buns look even cuter?
Instead of parting their hair in a straight line, try throwing in a curve or zig-zag. Gather both sides into ponytails, but on the third loop, tug a small section of hair through the hair tie.
Wrap the rest of their ponytail around the bun to form a twisted knot. Then, slide a bobby pin into it to keep it from coming undone. And that’s it! If you still need help, you can watch this video demo to learn more.
15. Rubber Band Dutch Braids
It doesn’t get any easier than double Dutch braids! Dutch braids are a type of braid done close to the scalp. They’re similar to cornrows, but the weaving method varies slightly.
Dutch braids are crossed over, while cornrows are crossed under. While they make a fantastic look on their own, this look elevates Dutch braids by incorporating bright rubber bands down their length.
Begin rubber band Dutch braids by parting your toddler's hair straight down the center. Start braiding both sides straight back. Partway down the braid, stop cornrowing and wrap a brightly colored rubber band around the hair.
Continue braiding for another inch or two before adding another rubber band. Don’t have a ton of experience with braids? Don't worry! This tutorial will turn you into a Dutch braiding pro.
- Beginner Easy Black Girl Hairstyles
- Hairstyles With Beads
- How to Put Beads in Hair
- Infant Black Baby Girl Hairstyles
The good news is that there’s a toddler-friendly hairstyle out there for everyone: regardless of their hair length or texture. So, try incorporating some of the looks we’ve covered today into your styling routine.
You can either recreate the look exactly or go rogue and come up with something that’s totally your own! Either way, we hope that our list of easy toddler hairstyles has helped you find a style both you and your little one absolutely adore!


