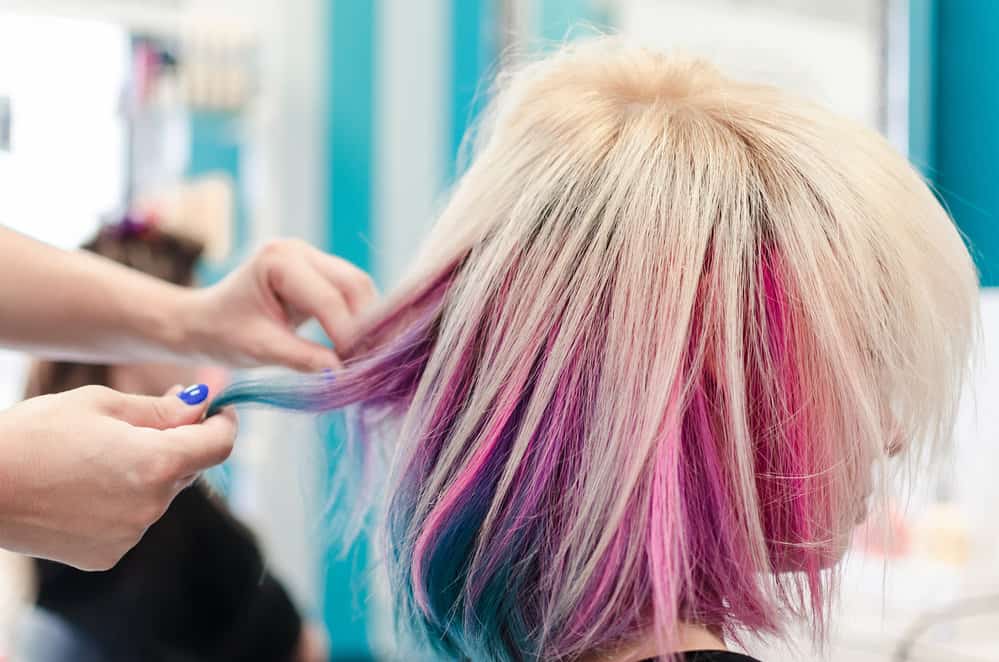
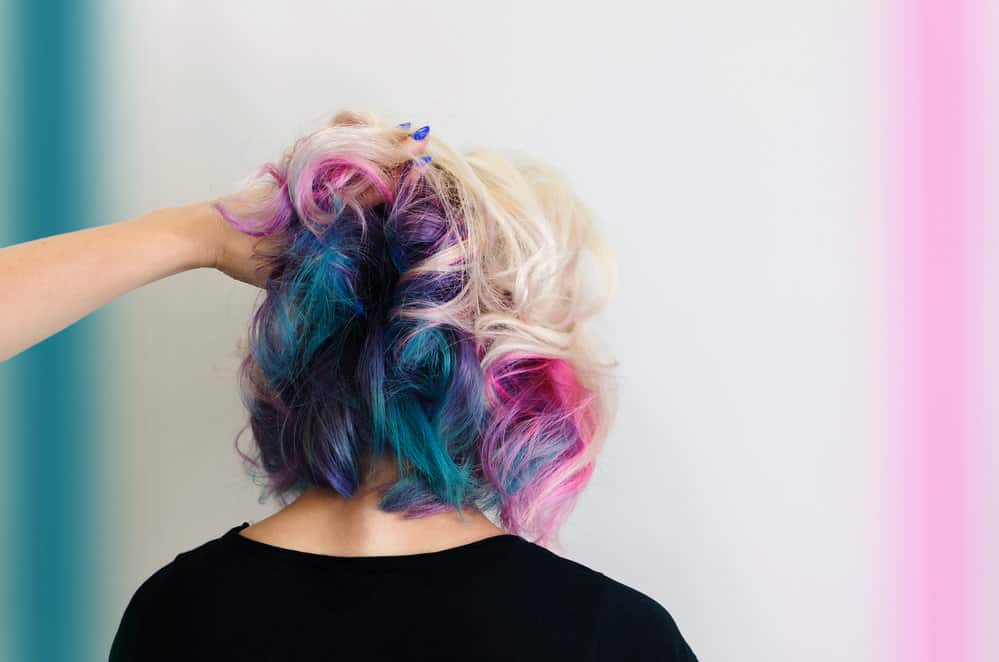
The underdye hair color trend is one of the coolest birthed by social media. It's a dyeing technique where you dye only the underlayers of your hair for a peek-a-boo effect. The cut is not only a lot of fun, but it gives you control over who you want to be in the moment.
You can style your hair in a way that covers up the underlayer or go bold and showcase it. If you want to get the most out of your underdye color job, this is the article for you. We'll share with you 8 underdye hairstyles for helpful inspiration. Let's get right into it!
Table of Contents
Underdye Hair Tutorials
In the section, we provide detailed instructions and tips for eight distinct underdye hairstyles, including Half-Up Half-Down, High Pony, Low Bun, Space Buns, Hanging with Curtain Bangs, Wavy Bob, Narcissa, and Bombshell Curls.
Each style is adaptable to various hair types and personal preferences. We also address common questions about maintenance and color selection for underdye hairstyles.
Half-Up Half-Down
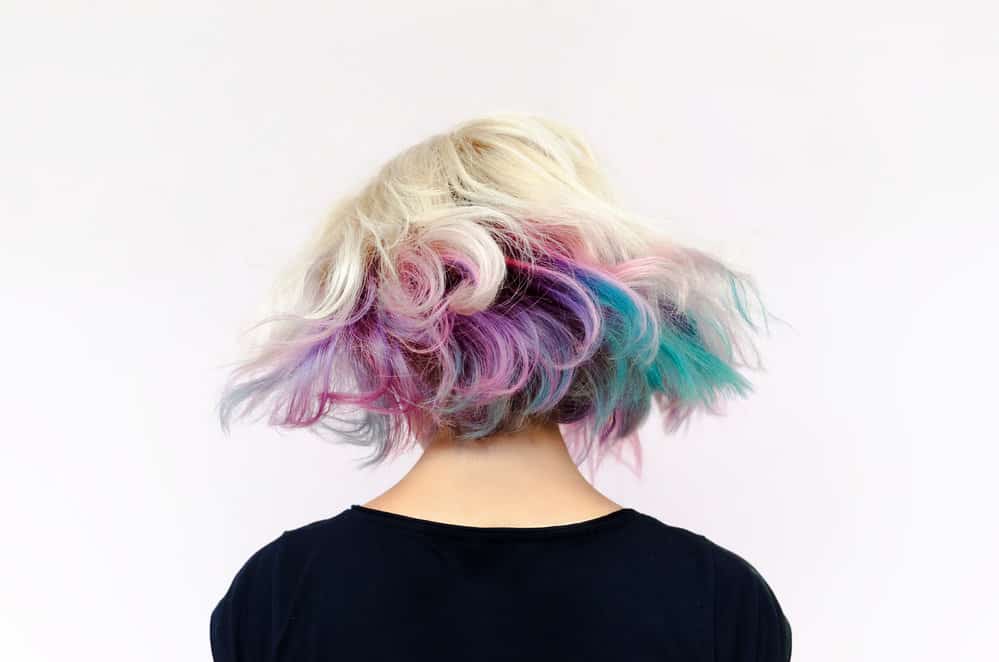
By this point, you've likely seen someone with a half-up half-down style. It's a style where the top half of the hair is in a ponytail or bun, and the bottom is left to hang down. What makes this a great underdye hairstyle is that it puts that underdyed portion on full display.
There's something youthful and carefree about this style, and that's why it's a favorite among teens and young adults. Though, if you're older and want to give it a try, you certainly can. It can be tailored to your face shape with the addition of bangs.
Go with long bangs to shorten a longer-looking face, side-swept bangs to camouflage a larger forehead, or a middle part to elongate your face. The choice is yours!
What's more is that this look works on all hair types, from the straightest to the kinkiest. The key is ensuring that you style it correctly.
Here's how to style your underdyed hair in a half-up half-down style:
- Wash, condition, and detangle. Then define, straighten, or otherwise style your hair as you normally would. If you prefer it to be straight, you'll straighten it. If you have curls you like to define, do that.
- Part your hair horizontally from ear to ear.
- Use a styler or gel to smooth down your edges, and then pull the top portion of your hair into a ponytail.
- Fingerstyle the bottom portion of your hair as you desire, and go.
This is a style everyone can do at home, and once you get used to the process, you'll be able to do it in your sleep. Just avoid pulling your hair too tight or wrapping the elastic around the hair too many times.
That's a surefire way to get hair loss from traction alopecia. If you want to see someone do a half-up half-down style on their own hair, watch this video. It'll make the style even easier to achieve.
High Pony
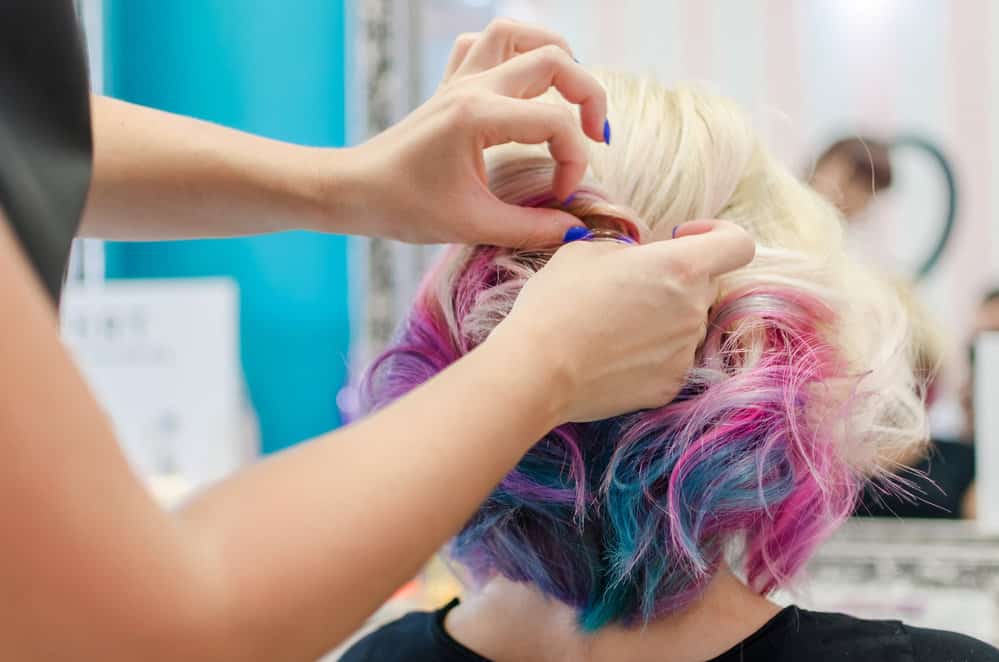
There are few styles as bold and sexy as the high pony. It involves pulling your hair up into a high ponytail, as you might guess. In the case of underdyed hair, a high pony will reveal the back of your hair, so the underdyed part will show.
So, we advise that you only choose this style if you don't mind the underdyed part showing. The key to a good high ponytail is sleekness around the perimeter of your head.
Before you pull your hair into a ponytail, you'll apply some styler, gel, or pomade to the hair around your edges and at the nape of your neck.
Then, you'll brush your hair in the direction that you want your high pony to sit.
It could take several tries and a few minutes to get the ponytail looking the way you want, so be patient with yourself. Once your ponytail is in place, you can spray it with a holding spray so it'll stay put.
If you want to add some length to your pony, add some extensions! Countless people love the high pony because it looks great on all hair textures. In addition, high ponytails keep your hair out of your face and put your beautiful face on blast.
So, put on your favorite earrings, beat your face, and rock your high ponytail with pride. Want to see how a high ponytail is done from start to finish? Watch this video for a full demonstration.
Low Bun
Just because you took a bold step and dyed the underlayer of your hair doesn't mean that you want to show the color all the time. On those days when you need to look ultra-professional, a low bun is a great style to choose.
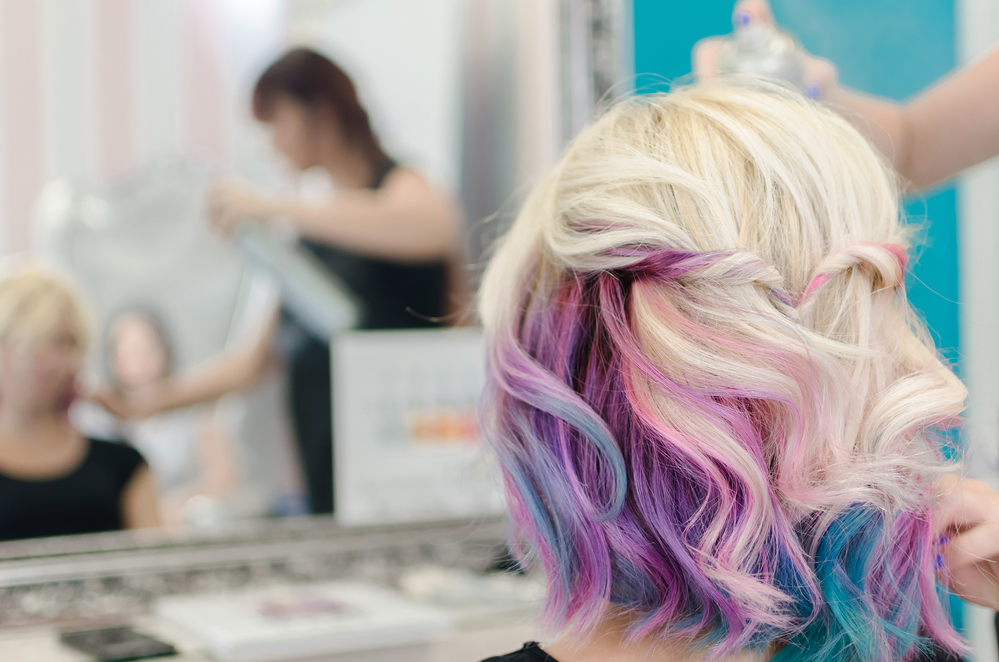
It's sleek, professional, and will almost completely hide your underlayers. Notice the word "almost." In the majority of cases, a pinch of the underlayer will show at the nape of your neck.
To do a good low bun, think sleek. You'll have to smooth your hair down, add some gel, smooth your hair some more, and then put your hair into a low ponytail.
You'll then wrap the hanging hair around the base of the ponytail to make a bun and secure it all with bobby pins. If you want to do a side part, middle part, or deep side part, use a comb to carve out the part before putting your hair into a ponytail.
Just like with the previous style, be careful not to pull your hair too tight.
One of the lesser-known benefits of a low ponytail is that it can last for several days if you cover your hair with a silk or satin bonnet before going to bed every night.
Has this style caught your eye? Why not try it out? Watch this video to see how it's done from beginning to end.
Space Buns
Space buns are a fun and trendy way to show your underlayers. If you've never heard of space buns before, it's a style where you put your hair into two buns–one on each side of your head.
The resulting look is playful and youthful, perfect for any young person or anyone who's young at heart. If you choose this style, be ready for some stares; not only does it look peculiar, but it'll show your underlayers off.
They'll show at the back of your head, on the sides (if you colored them), and within each of the buns. Space buns aren't the easiest style to master, but they’re definitely doable with some practice.
Here's how to bring the look to life.
- Part your clean, dry hair down the middle to make two sections. Take your time to ensure that the part is straight, as it will be on full display. The style won't look good with a crooked part.
- Put some gel, styler, or pomade around the first section of hair. It'll go along the part, your hairline, the hair around your ears, and the nape of your neck.
- Use a boar bristle brush to gather your hair into a ponytail.
- Wrap the hanging hair around the base of the ponytail you just made. You may need to use a few bobby pins to adequately secure the bun.
- Repeat the last three steps on the other half of your head.
- Finish the look off with some baby hairs if you'd like. Use a toothbrush and edge control for max control.
Before we move on to the next style, it's important to know that space buns aren't viewed as a style for those with serious or mature personalities.
But if you're looking for a way to open up and harness your inner kid, go for it! Want to take the jump and try some space buns? Watch this video to get it right the first time!
Hanging with Curtain Bangs
Just because you have underdyed hair doesn't mean that you have to wear your hair up to showcase it. Wearing your hair hanging down with curtain bangs is a more understated way to show your color off.
As you sashay here and there, and your hair moves to and fro, your color will pop out wherever your hair naturally parts. The curtain bang portion of the style is dreamy and fashion-forward.
For the past year or so, curtain bangs have been the "it" hairstyle for women in the U.S. and elsewhere. They are bangs that are short in the middle and gradually get longer on either side.
The bangs are usually parted in the middle and swooped toward the back, giving a curtain-like effect. This style is universally flattering, no matter what hair texture you have. All you need to do to achieve it is get yourself some curtain bangs and let the rest of your hair hang free.
To get the look, go to a hair salon and see a skilled stylist.
We urge you to get in touch with someone who has not only done curtain bangs but has also worked with your specific hair texture. Different hair textures require different cutting methods. Do ample research before you make your choice.
If you want to bypass the salon and do things on your own, that's an option as well.
But before you reach for the scissors to cut your bangs or shape up the rest of your hair, watch this video. It should give you a good idea of what you need to do to get your curtain bangs at home.
Wavy Bob
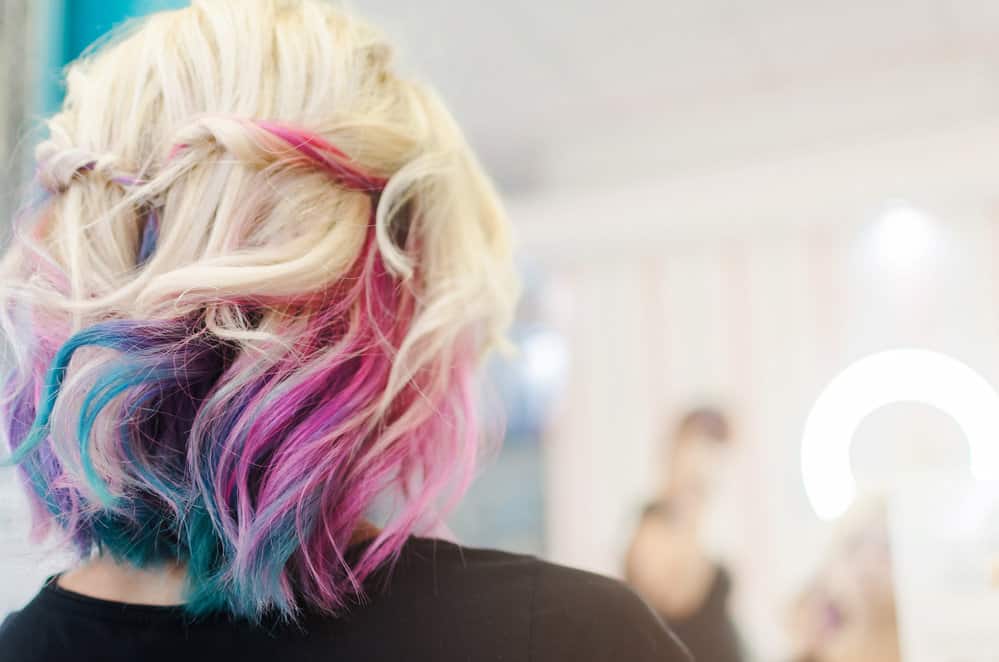
The wavy bob has a wide appeal because of its effortless volume and movement. If that's what you're looking for in your next hairstyle, this may be the one to try! It's simply a bob cut on wavy hair.
If you don't have wavy hair, you can get your hair cut into a bob and then add waves to it. Wondering how your underlayers will look with a wavy bob?
It all depends on just how much of it you dyed. If you just dyed a little bit of your underlayer, most of it will be concealed under the topmost portions of your hair. But if you colored a big section of hair underneath, then it may be much more visible.
Most people can cut a basic one-length bob, but the bob you need if you want to show off your underlayer, is this one. It's the irregularity in lengths that will allow your underlayer to peek through more.
The back of your hair will be super short and will gradually get longer as you come around to the front. You'll add layers at the top after that.
If you're not going for a one-length bob, we urge you to see a professional stylist. They'll be able to cut your bob in a way that showcases your underlayer. But if you want to give it a go on your own, here's a video to help you out.
Narcissa
The Narcissa is a style donned by Narcissa Malfoy from the hit book and movie series, Harry Potter. The look features an underdye job with two sections of hair near the ears pulled back to show the underlayers of the hair.
Narcissa also has blunt tapered bangs. The look is a looker and has inspired many to jump on the underdye bandwagon. Getting this look is super easy and takes no more than a few seconds.
Once you've got your bangs and hair color done, all you need to do is pull back a section of hair on both sides of your head and secure them at the back with an elastic or bobby pins. That's it! You're done.
Literally, anyone can wear this style, though it won't exactly channel Narcissa when done on wavy or curly hair. But, there's no denying that the style is gorgeous regardless.
The bangs frame the face beautifully, and the pulled-back pieces put your underlayers on full blast. Unless you're in need of a trim or have severe damage at the ends of your hair and need professional hair help, you can pull this look together on your own.
Bombshell Curls
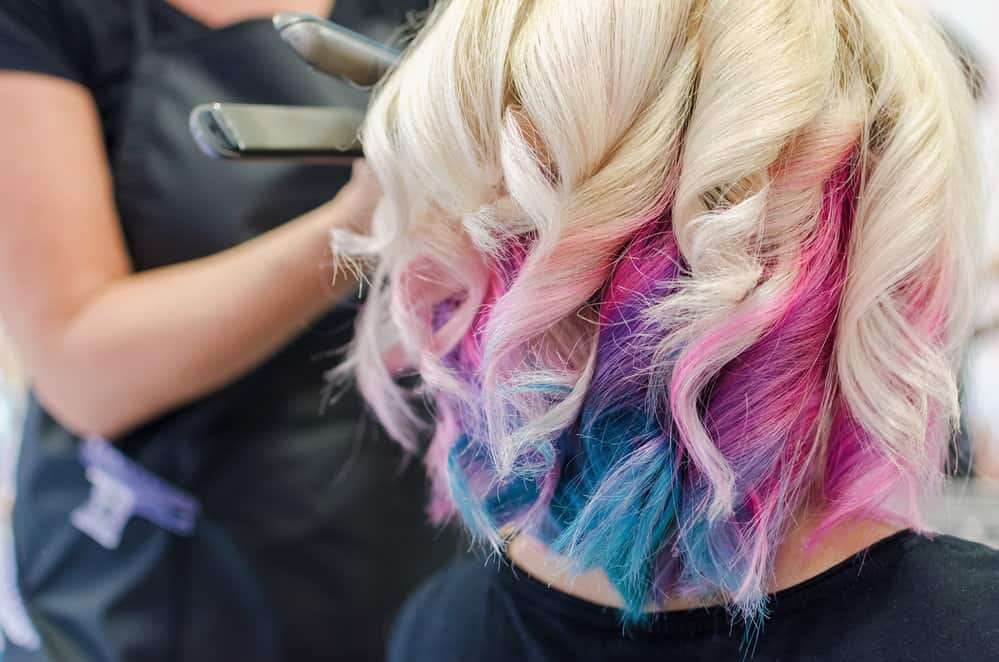
If your style is more glam than anything else, then bombshell curls are the perfect way to show off your underdyed tresses. With your curls done just right, the color will show in the twists and turns of the curls on the sides.
In addition to that, you'll have gorgeous, sexy, face-framing curls that exude an aura of Hollywood glamour. Who can say no to that?
To get these curls, all you need is a curling iron, flat iron, or wand curler. Using either of those, you'll add curls to the bottom half of your hair in large sections.
Once the curls are done, you'll run your fingers through them a few times to break them up a little bit. Spray on a bit of finishing spray, and you're all done! Here’s a video tutorial showing how it’s done.
Bombshell curls have a way of elevating virtually any look, but they don't pair well with casual fits. So, we recommend pulling this style out of your back pocket when you'll be going to a black tie event, graduation, or another formal event.
If you're planning on wearing this style to work, ensure that your underlayer color isn't against the company dress code.
Frequently Asked Questions
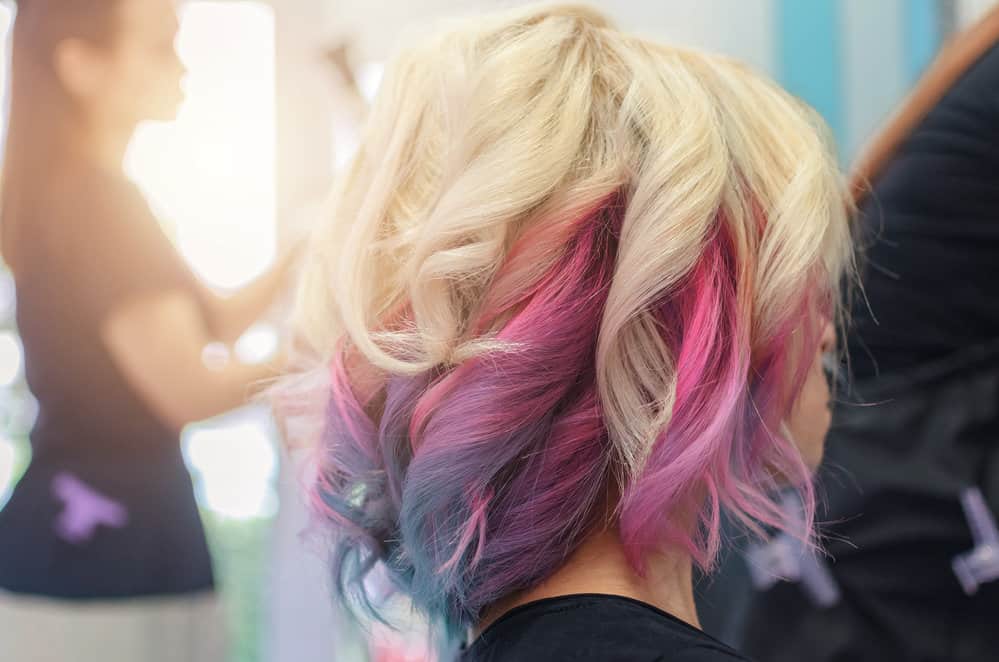
Whether you've already dyed the bottom layer of your hair or not, chances are you've got some questions about the dye trend or styling process. Here are the answers to some of the most frequently asked questions about underdye:
Is Underdye Hair High Maintenance?
Underdye hair is 100% low maintenance. Since the roots of your underdyed hair are always covered (at least to an extent) by the upper layer of your hair, you won't have to rush to touch up the color. You can color it as you please.
What's the Best Color to Underdye Your Hair?
If you haven't yet underdyed your hair, this is the right place to be. The color you choose for underdyeing is very important. The main thing you should keep in mind when selecting a color is contrast.
The color you choose for your underlayers should stand out against your current color. For instance, you wouldn't do a blonde underlayer on dark blonde hair. The two hair colors are too similar for the underlayer to make an impact.
As for natural vs. unnatural colors, it's all up to you! People have used every color of the rainbow for underdye color transformations, and you have that choice as well.
If you're feeling ice blue, do it. If you want banana yellow, go for it. The good thing about peekaboo color is that you'll always have your natural/main color on the top to make the look wearable.
Is Underdye Damaging?
Underdye does have the potential to be damaging. In the vast majority of cases, you'll be going light from a dark color, which will necessitate the use of high-lift color or bleach. Whenever you're lightening your hair, you could lose a considerable amount of your hair's protein or even experience hair fall.
That's a risk that you'll have to take if you want the look. Before you make the choice, always examine your hair to ensure it's not full of split ends or breaking off from dryness.
It's also not a good idea to color or bleach your hair after a chemical process. Healthy hair is much less likely to become severely damaged than already-compromised hair.
So, there you have it–8 underneath hair color ideas and hairstyles you can do with underdyed hair. We hope that you found the inspiration you were looking for. Good luck!


