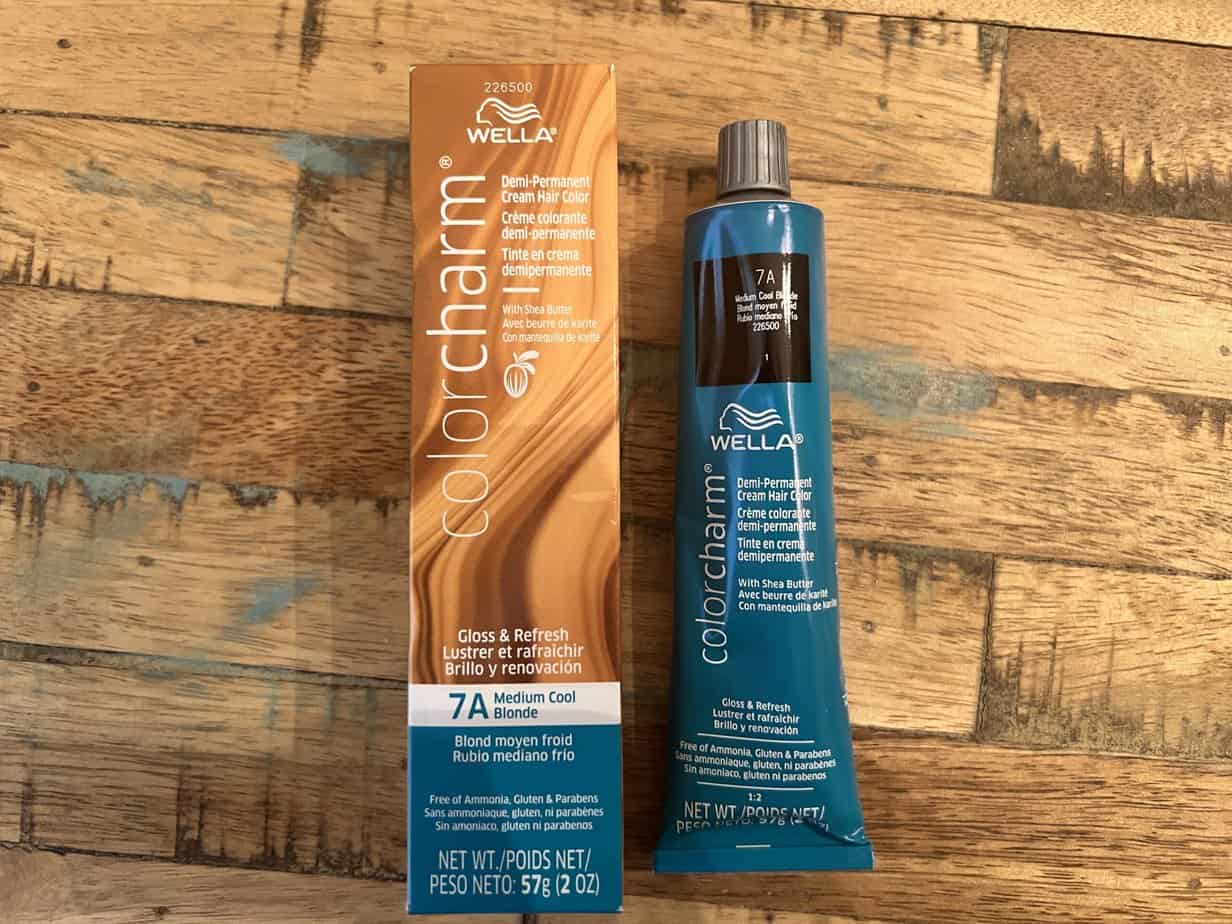
When going blonde, it's incredibly important to select the appropriate toner shade. Of all the cool blonde hair dyes, Wella 7A is one of the most popular.
If you're wondering whether this dye shade could give you the blonde look you’re after, this is the article you need to read. In it, we'll tell you how to use Wella 7A, before and after expectations, and much more. Let's get right into it!
Table of Contents
What Is Wella 7A?
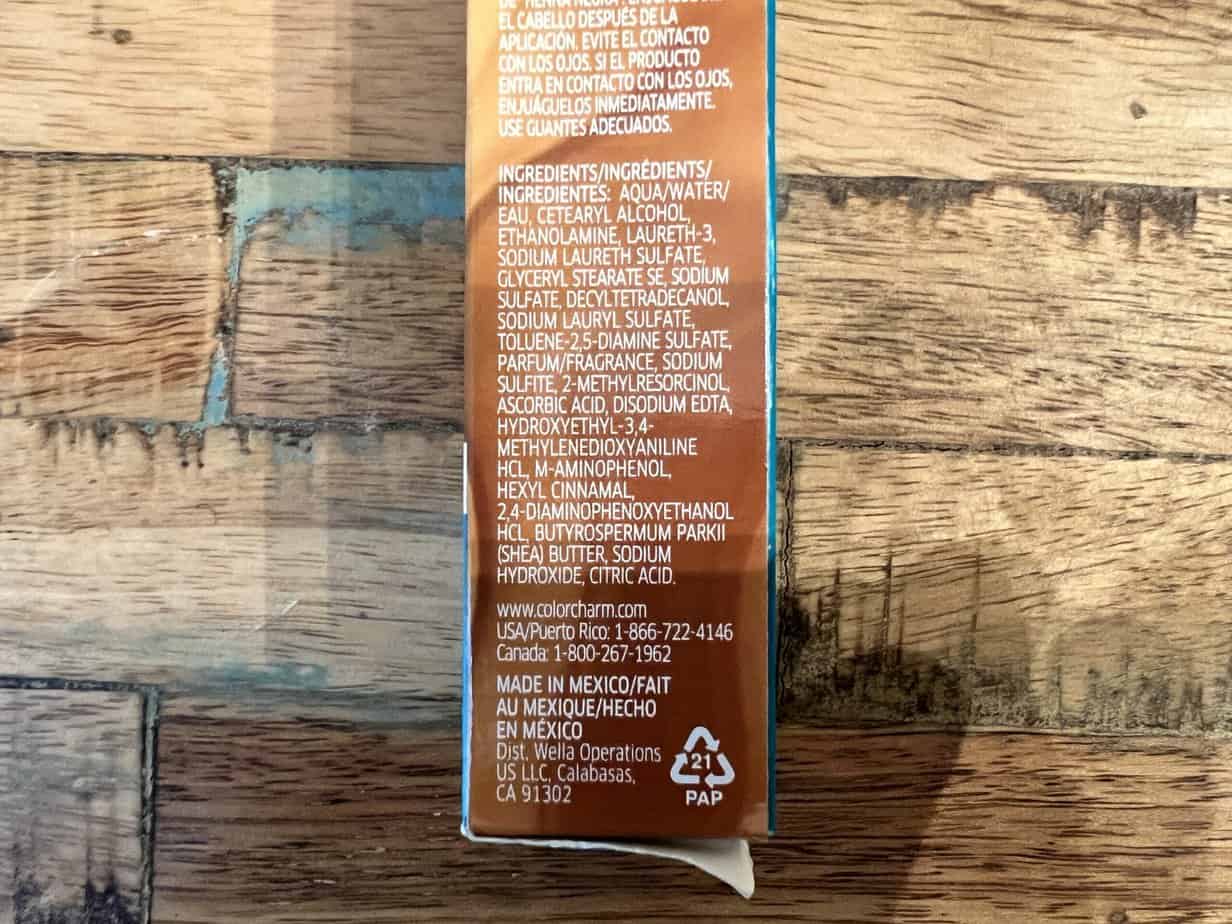
Wella 7A is a demi-permanent cream hair color in medium cool blonde. The color is formulated with nourishing shea butter to moisturize the hair and guard against damage. It also doesn't contain ammonia, so it'll be gentler on the hair than the average permanent hair dye.

What people really love about Wella demi-permanent dyes like this one is that they are infused with Gelfuse technology. This technology ensures that your results will last for several weeks.

In order for Wella 7A hair color to work, it should be combined with Wella Color Charm's Activating Lotion. Though demi permanent hair dyes don't penetrate the hair to the extent that permanent hair dyes do, the activating lotion is still necessary to facilitate color change.
What the Hair Should Look Like Before Using Wella 7A
Wella 7A is a little different from the average Wella toner. It can be used for a variety of things, including grey blending, refreshing dull color, toning, and glossing. There's also no pre-lightening requirement for this product.
There are some specific use cases for Wella 7A that you should know about before you choose this product. Before using this product, your blonde hair may:
- Look dull and dusty.
- Have faded.
- Be freshly highlighted and need a tint.
- Be brassy.

What Will Your Hair Look Like After Using Wella 7A?
Now that you understand what Wella 7A is for and what hair issues it is designed to remedy, it's time to look at the results you can expect when you use this product on your hair.
Wella 7A Before and After Results
Most who use this product will find that their blonde hair is:
- Brighter and more vibrant.
- Healthier looking.
- More even in tone.
- Less brassy.
Pros and Cons of Wella 7A
Before you take the jump and apply Wella 7A to your hair, you should know the good and bad that come along with this product. That way, you'll have a better understanding of whether it's the right choice for you.
Pros
- The dye imparts a shiny, vibrant cool medium blonde shade to your hair.
- It takes just 20 minutes of processing to get your new color.
- The dye can be used as a gloss or for grey blending.
- You can tone your hair with Wella 7A to reduce brassiness.

Cons
- Demi-permanent dyes don't last as long as permanent dyes.
- For the best results, you have to use Wella Color Charm's Activating Lotion. Though, you can use a 10-volume developer in a pinch.
How to Use Wella 7A on Your Hair
If you've decided that Wella 7A is what you need to get the cool medium-blonde hair you've been dreaming of, keep on reading. We'll give you some clear instructions to follow to get the best possible results.
- Survey the health of your hair. If your hair is already damaged, dry, and brittle after lightening, applying demi-permanent dye to it isn't the best idea. Compromised hair needs TLC first.
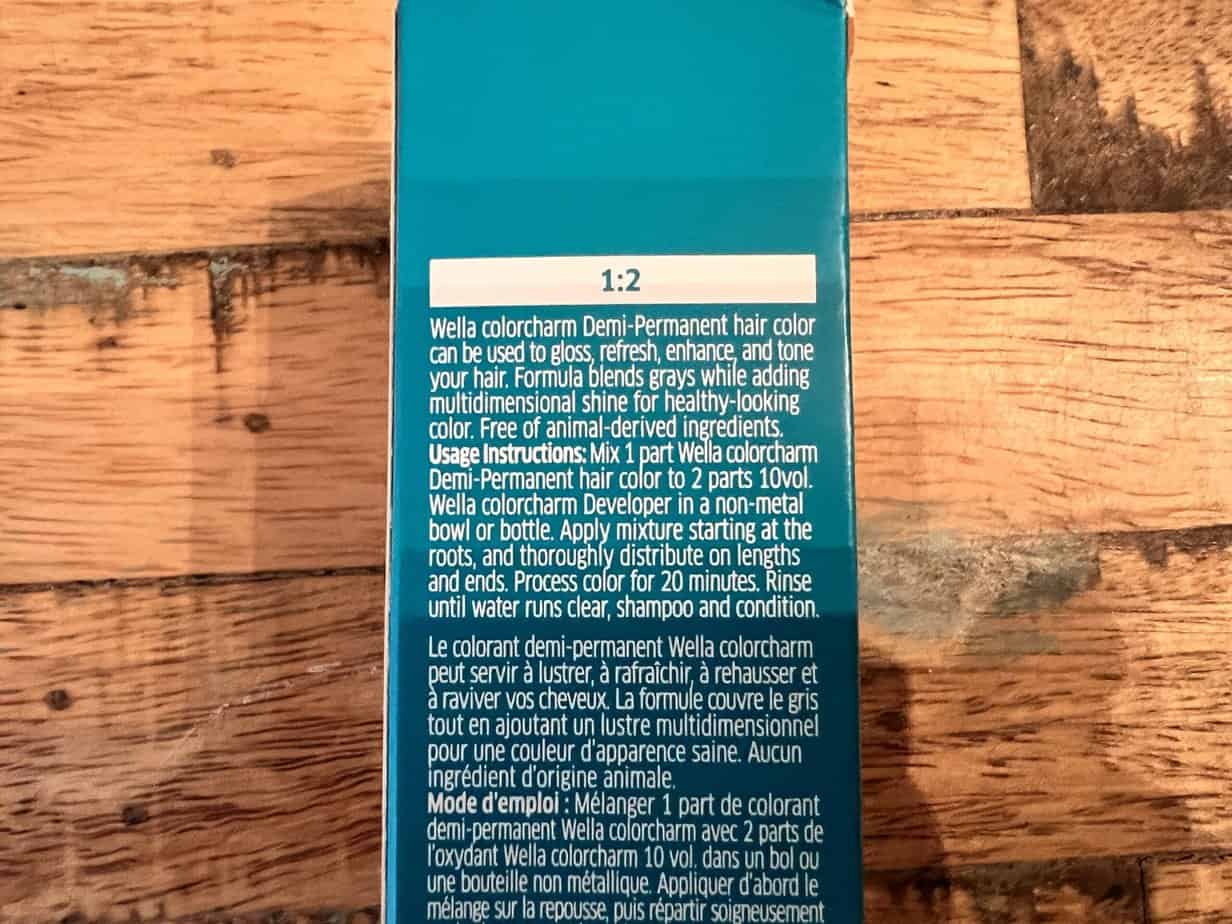
- With gloved hands, mix the Wella 7A hair color with the Wella Color Charm Activating Lotion in a 1:2 ratio. You can use a 10-volume developer of your choice in place of the activating lotion if necessary. Add both to a plastic mixing bowl and mix with a whisk or a plastic spoon.
- Apply the hair dye mixture to your hair, starting at your roots and slowly moving to your ends. Be generous with the dye, and take your time to ensure that every strand of hair is coated. If you're not thorough, you won't end up with even results.
- Leave the dye to process for 20 minutes. Then, rinse your hair with lukewarm water until all the dye is gone.
- Finish up by conditioning your hair with a color-safe conditioner or deep conditioner.

Should You Pre-lighten Your Hair Before Using Wella 7A?
One of the most common questions people have about using Wella 7A is whether they have to pre-lighten their hair. The concern is warranted, considering the fact that bleaching or otherwise lightening your hair can drastically damage it.
If you're concerned about the health of your hair, you should definitely avoid chemicals wherever possible.
Thankfully, pre-lightening your hair is not a requirement when using Wella 7A, as we mentioned earlier. But, in some cases, you will need to pre-lighten your hair if you want to achieve the color on the box.

Dark brown hair won't magically lift to a medium blonde with just Wella 7A. Ideally, your hair will be one shade lighter than the color of the toner before application.
Note: We don't recommend pre-lightening your hair if it's at all fragile. Though demi-permanent dye is not the worst chemical you can expose your hair to, it can still damage your hair.
How to Pre-Lighten Your Hair with Bleach
Bleach is a very efficient way to lighten your hair. But it's also one of the harshest hair treatments out there.
To ensure the integrity of your hair and avoid wasted time, here are the steps you need to take:
- Ensure that your hair doesn't have visible buildup on it. If it does, you'll need to clarify it first with a clarifying shampoo 48 hours before pre-lightening.
- Prepare your space for the bleaching process. Put on an old T-shirt, put down newspaper everywhere to catch spills, and ensure that the room is properly ventilated.
- Put on gloves and mix one part bleach powder and two parts 20-volume developer in a plastic bowl. The two products should be smooth and completely integrated for the best results.
- Separate your hair into at least 4 to 6 sections. The more sections you make, within reason, the easier it'll be to get the bleach onto your hair quickly and evenly.
- Use a tinting brush to apply the bleach to your hair, starting with the mid-lengths and ends. Once those are completely coated in bleach, go back and apply the bleach to your roots.
- Set a timer for 45 minutes. You probably won't need to leave the bleach on for that long, though. Check your hair every 5 minutes to see how quickly it's changing. Once your hair is about level 8 or 9, go to the next step.
- Rinse the bleach from your hair with lukewarm water, massaging your scalp in the process.
- Follow up with a shampoo session to remove any bleach that may still be hanging out in your hair or on your scalp. This step isn't negotiable. You can't always see bleach residue.
- Proceed with your Wella 7A hair color treatment.
Note: It could take several bleaching sessions to get your hair a shade lighter than medium blonde. It's not unusual for people to have to do 2 or 3 bleach sessions in total. The number of bleaching sessions you'll need depends on how dark your natural hair is, your hair history, the strength of the developer, and more.
Learn More:
- How Often Can You Bleach Your Hair?
- Will My Hair Fall Out if I Bleach It Twice?
- How Long to Wait to Dye Hair After Bleaching?
Space out your bleach sessions to give your hair adequate time to recover, and never bleach your hair if it shows signs of damage.
- Wella T27 Before and After
- How to Use Wella Toner at Home
- T14 Wella Toner Before and After
- Ash Brown Toner on Bleached Hair
So, there you have it - everything you need to know about Wella 7A color. We hope you found all the information you needed! We wish you the best of luck with your hair color transformation.


