It's a good chance that you've seen someone with yarn braids, considering the hairstyle's popularity. Yarn braids are a popular protective hairstyle with a distinctive aesthetic.
At first glance, they may resemble box braids, but these braids are something else entirely. By no means is the style new; yarn braids have been around for decades.
Though yarn braids have been around for a while, many are unaware of the hairstyle's nuances. Whether you're totally new to yarn braids, or you're interested in learning more about the unique style, this article is for you.
Table of Contents

What Are Yarn Braids?
Yarn braids, like many hairstyles that use extension braiding hair, are considered a protective hairstyle. However, instead of using traditional braiding hair, yarn braids are created with yarn instead.
Think crocheting or knitting yarn.
One of the main appeals of yarn braids is that yarn comes in endless color options, many of which are not available with braiding hair.
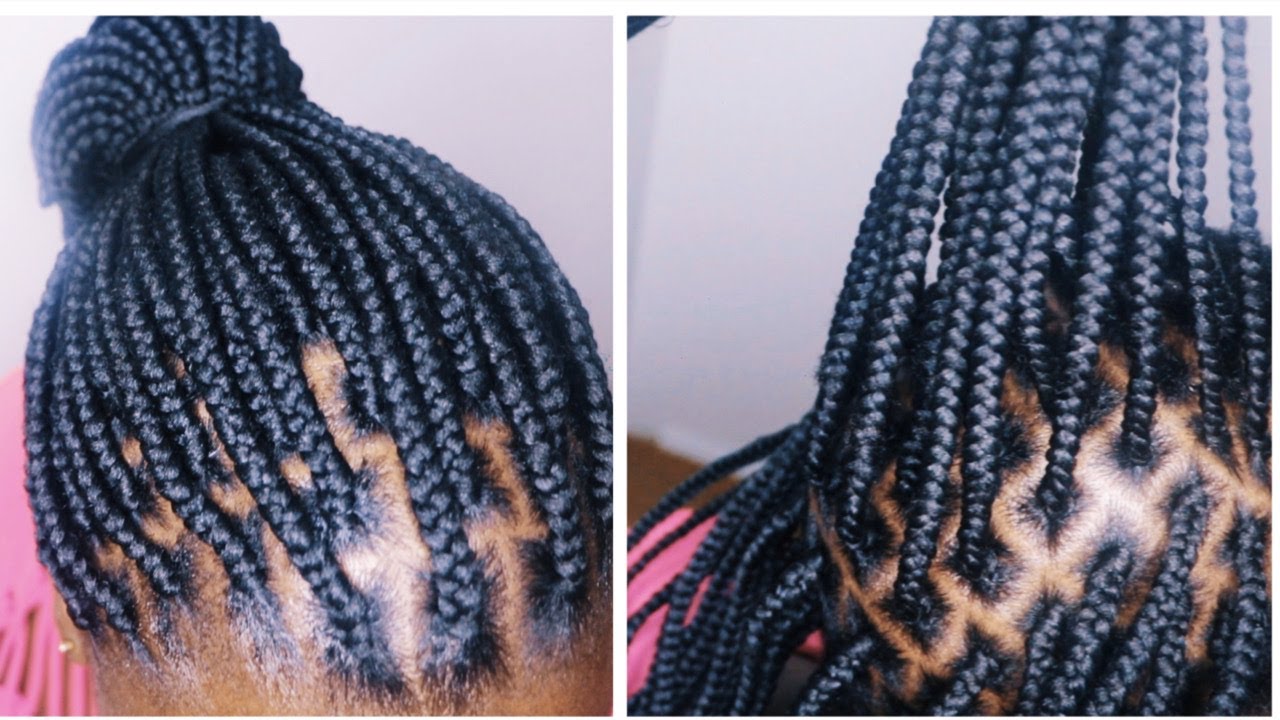
Often, yarn braids are likened to box braids, but these two braid styles are very different. The differences lie in the yarn braid installation process and the finished look. We'll get into both of these topics later on in this article.

What Type of Yarn Is Used for Yarn Braids?
We recommend using 100% acrylic yarn. Acrylic yarn is recommended because other types of yarn, like cotton or wool yarn, can often adhere to your hair strands and become matted.
Yarn also comes in several different weights. Using either a 4 or 5 weight yarn would be perfect for yarn braids.
How Much Do Yarn Braids Cost?
There are two costs to consider when it comes to yarn braids: (1) the cost of the yarn and (2) the cost of installation.
The Cost of the Yarn
The total cost of the yarn varies based on:
- Your desired braid length
- The size of your head
- The price per ball of yarn
A skein of yarn can be small (~50 grams), medium (~100 grams), or large (~200 grams). Depending on the three factors above, you could need anywhere from 6-8 small balls of yarn, 3-5 medium balls, or 2-3 large balls.
Acrylic yarn goes for around $3-$10 per skein, depending on the skein's size. You may be able to find it cheaper at discount craft stores or on sale. Keep in mind that specific colors may cost more than others.
Below are some excellent yarn options on Amazon:
- Red Heart Super Saver Yarn in Brown (Large Skein)
- Red Heart Super Saver Yarn in Black (Large Skein)
- Well Krafty Black Yarn 2 Pack (Medium Skein)
- Knit Picks Black Yarn 6 Pack (Small Skein)

The Cost of the Installation
The cost of installation varies based on the specific stylist doing the install. However, you can expect to spend from $150 to $250 (in most cases). The cost will increase based on the length of your braids.
How To Do Yarn Braids: Step-by-Step
The installation is a three-step process, and each step is essential for the braids to turn out beautifully and last. Whether you are doing the style on yourself, or someone else, the following section will be useful.
Let's go over each of the steps below.

How to Prepare the Yarn
Yarn comes in a tightly wound ball. To braid the yarn into your hair, you'll need to cut individual strips.
Here are step-by-step instructions to prepare your yarn:
- Estimate the length. Make a rough estimate of how long you want your braids to be. Measure that length in inches and multiply it by 2. Take note of that number, as you will need it later.
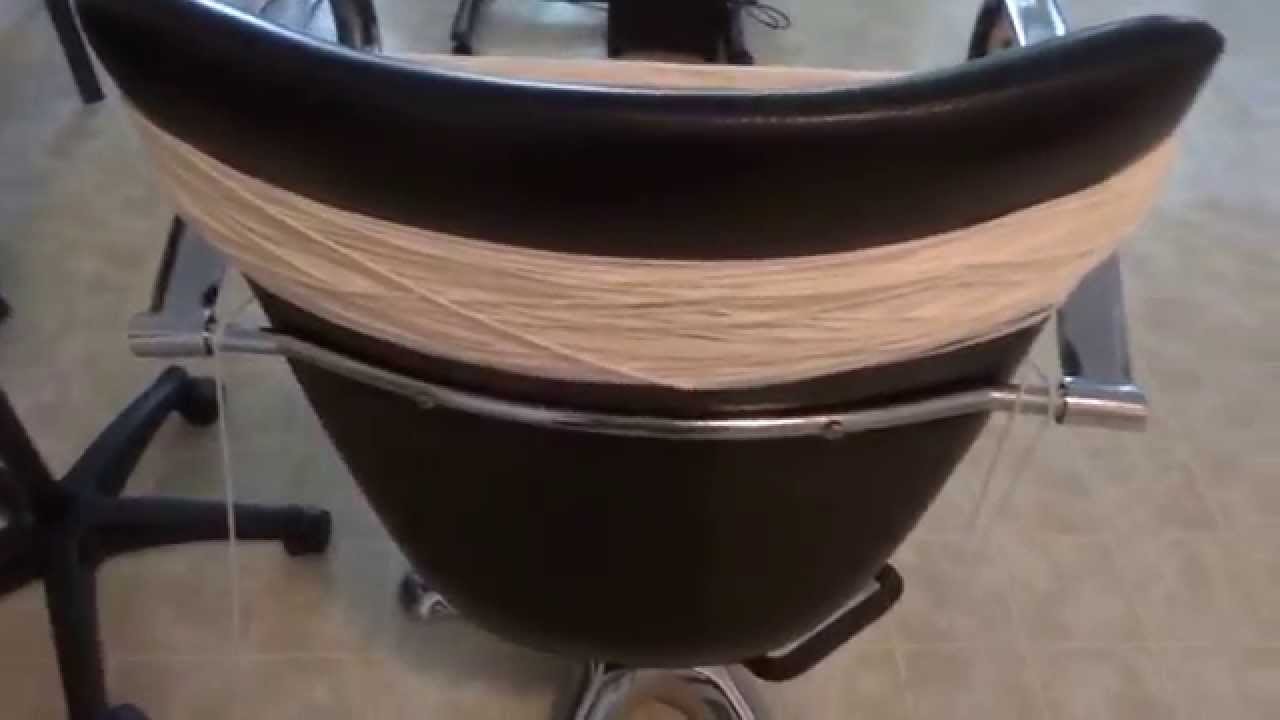
- Find an item for wrapping. Look around your home and measure a few items by wrapping a soft measuring tape around them. The item’s circumference (measurement around it) should be the same, or larger than, the number you estimated in the previous step.
- Wrap the yarn. Once you find an item that is wide enough around, wrap your yarn around the item until the entire ball has been used up.
- Cut the yarn. Use scissors to cut the yarn. You’ll only cut the yarn one time.
- Pull the yarn apart (optional). If the yarn is thick compared to the braid size you want, you can break down the yarn further by pulling it apart into smaller pieces.
For those that are visual learners, we recommend watching the video tutorial above for a step-by-step walkthrough of the process.
How to Prepare Your Hair

Before any yarn touches your hair, you should adequately prepare it.
Your hair should be:
- Washed
- Conditioned or Deep Conditioned
- Moisturized
Use a sulfate-free clarifying shampoo to get rid of any hair buildup.
Then, deep condition your hair to impart moisture and nutrients. This step is crucial because your hair will be tucked away in the braids for an extended amount of time.
Once your hair is washed and conditioned, it's ready to be moisturized.
Choose a substantial moisturizer that will coat the hair and protect it from friction with the yarn.
You can dry your hair with a blow dryer that has a comb attachment. Alternatively, you can braid your hair in large braids and allow it to air-dry.
Now your hair is ready to be braided.
Braiding Your Hair
Once your yarn is appropriately separated, it is time to start braiding your hair.
There are several steps you should take to properly install yarn braids, and the following list will outline every step in detail. We've also included another video tutorial if you prefer that option:
- Part your hair. Separate your hair into sections using a rat tail comb. For a sleek finish, take your time to make the parts clean.
- Oil your scalp. Apply oil to your scalp. Liberal oil application will ensure that your scalp won't look dry and flaky.
- Add gel. Grab one section of hair and put a pea-sized amount of gel on the ends of your natural hair. This will help your hair mesh seamlessly with the yarn as you braid it.
- Attach the yarn and braid. Place the yarn at the base of that section (from the previous step) of your natural hair. Using your natural hair as one of the three braiding sections, begin to braid the yarn and your natural hair down to the ends.
- Repeat. Repeat the above steps for the rest of your head.
Seal Your Ends
After you've spent all of that time braiding your hair, the last thing you want is for them to unravel.
To secure your braids until you're ready to take them out, you've got to secure the ends. You can use three methods, and the following sections will tell you about each of them.
Method #1: The Lighter Method

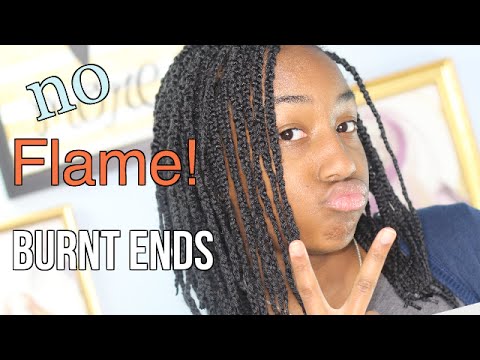
The lighter method requires using an open flame from a lighter to melt the yarn. Once you are done braiding all of your yarn braids down to the ends, do the following:
- Hold the very end of a braid and use the lighter to burn it at the point where the braid begins to unravel.
- Once the yarn appears like it's melting, stop running the fire over it.
- Use your fingers to shape the yarn into a cylindrical shape.
- Allow the sealed yarn to cool.
- Cut off the excess yarn at the bottom.
Warning: The lighter method is a common technique used during the installation process to prevent braids from unraveling. However, it's not a technique that we recommend for newbies.
It's possible that you can set yourself on fire. If you're using wool yarn or any blend of yarn fibers that is not 100% acrylic, using a flame to burn your braid ends can actually light them on fire.
Use this method at your own risk. Do not use this method unless you know what you're doing. Also, 100% acrylic yarn tends to be less flammable than yarn blends or other types of yarn.
Method #2: Use a Hair Extension Fusion Tool

This method is recommended for anyone who doesn't like the idea of working with a flame. A hair extension fusion tool is a heat styling tool that is usually used to seal hair extension bonds.
However, this tool works great for sealing small to medium yarn braids. If your braid ends are larger than the size of a number 2 pencil, then this method may not work well for you.
How to Use a Hair Extension Fusion Tool
Plug the hair extension fusion tool in and turn it on. Allow it to get hot and it's ready to go.
To seal your braids, put the end of a yarn braid between the tool's plates and clamp down. The heat of the device will seal the yarn fibers and prevent the braid from unraveling.
Once you have held the tool on the braid ends for several seconds, release the braid, and cut off the excess yarn with your scissors.
Method #3: Use Rubber Bands
To prevent your braids from unraveling without using heat, you can use rubber bands.
Rubber bands are not often preferred for securing yarn braids, since they can be unattractive. But, if you want to use rubber bands to keep your braids from unraveling, it's super easy.
All you need to do is wrap a rubber band around the ends of your braids repeatedly and then cut off the loose yarn below the rubber band.
That's it. You're finished!
How Long Do Yarn Braids Last?

With all the work that goes into yarn braids, you may be itching to know how long they last.
The style can last several months, depending on how well the braids are secured to the natural hair and whether your ends remain sealed.
On average, yarn braids last one to two months, and this is on par with the longevity of the average protective style.
Some people try to make their braids last longer, but it is not advised to leave braids in your hair for longer than 2 months.
Maintenance
Yarn braids should be maintained to ensure maximum style longevity. This section will tell you how to properly maintain your braids.
Washing Yarn Braids
If your hair begins to feel dirty, or you go swimming in chlorine water, you should wash your braids with shampoo and a light conditioner.
When you wash your braids, keep in mind that they will get very heavy.
So, it is advised to wash your yarn braids in a shallow sink or tub where you can allow the braids to rest at the bottom – this will take the weight of the braids off of your scalp and neck.
After you're done washing your hair, squeeze the water out of your braids before you allow them to air-dry. Yarn braids often take hours and hours to dry, so be prepared.
Oil Your Scalp
Though you may have oiled your scalp during installation, you may need to oil it again from time to time over the weeks. Whenever your scalp feels or looks dry, you should reapply the oil.
Cover Your Head
Covering your yarn braids up at night not only keeps them sleek but also decreases tension on your roots since it restricts hair movement. Wrapping your hair up with a silk or satin scarf is ideal.
Benefits of Yarn Braids
Yarn braids are loved by many, and those who have tried the style know exactly why. But if you are inexperienced with this braiding style, the list of benefits will be helpful.
Yarn braid benefits include:
- They are a protective style. Your hair will be protected from the outside elements and over manipulation while it’s tucked away in your braids.
- They have a unique look. Since yarn comes in many varieties, you have endless color options to choose from.
- They are long-lasting. Just like other long-term protective styles, yarn braids last up to two months, giving you a long break from your natural hair.
Drawbacks of Yarn Braids
Just like any other style, yarn braids come with disadvantages that you should know about. The list below will highlight the common drawbacks:
- Long styling time. Unwinding and cutting the yarn can take quite a bit of time. The installation process for yarn braids is also lengthy (taking days in some cases). If you are a professional stylist or know your way around a head of hair, this time may be reduced.
- Heaviness. Though it may feel light in your hand as you install it, yarn can add a ton of weight to your roots. This can be uncomfortable for you and damaging to your hair. If you have very long yarn braids, you can end up with hair breakage and thinning around your edges.
- The texture of the yarn. The texture of the yarn is very different from the texture of human hair. In some cases, you may see your natural hair peeking through your yarn braids shortly after getting them installed. Also, as the braids age, your natural hairs could peek through over time. Whether you like this or not will depend on your personal preference.
Should You Get Yarn Braids?
Yarn braids are not for everyone, and whether they'll be a good fit for you depends on two primary factors:
- The health and thickness of your hair
- Your level of patience
If your hair density is low, or your hair is weak, you may want to pass on yarn braids.
Yarn braids have the potential to be heavy, and if your hair is not in good shape, you run the risk of severe damage. Your hair should be thick enough, and strong enough, to support the weight of the yarn and minimize breakage.
Also, your level of patience plays a role in whether you should get yarn braids. Since the installation time for this style is long, you will need patience to get the style installed, or to install it yourself.
In addition, you should consider how long it takes to uninstall yarn braids – to minimize breakage during the takedown process, you should take your time and be gentle.
Dos and Don'ts of Yarn Braids
If you've decided to get yarn braids, that's great! But before you do, take a quick glance at the Dos and Don'ts to ensure that your yarn braid experience is a positive one.
Do:
- Use 100% acrylic yarn. We don't recommend using blends or other types of yarn.
- Keep the braids as light as possible by using just enough yarn per section.
- Protect your hair at night to help the style last.
- Moisturize your hair deeply right before you install the braids.
- Wash your braids if build-up begins to accumulate at the roots.
Don’t:
- Make them too tight, as this could cause breakage and traction alopecia.
- Use heavy moisturizers and creams on them. This may cause buildup at the roots of your hair.
- Make too many braids. The larger the sections are, the lower the chances of breakage due to the yarn's weight.
Now you know absolutely everything you need to know about yarn braids.
You've gathered information about prepping the yarn, braiding the yarn into your natural hair, braid maintenance, and more. You're well equipped to try out the coolest yarn braids!


